
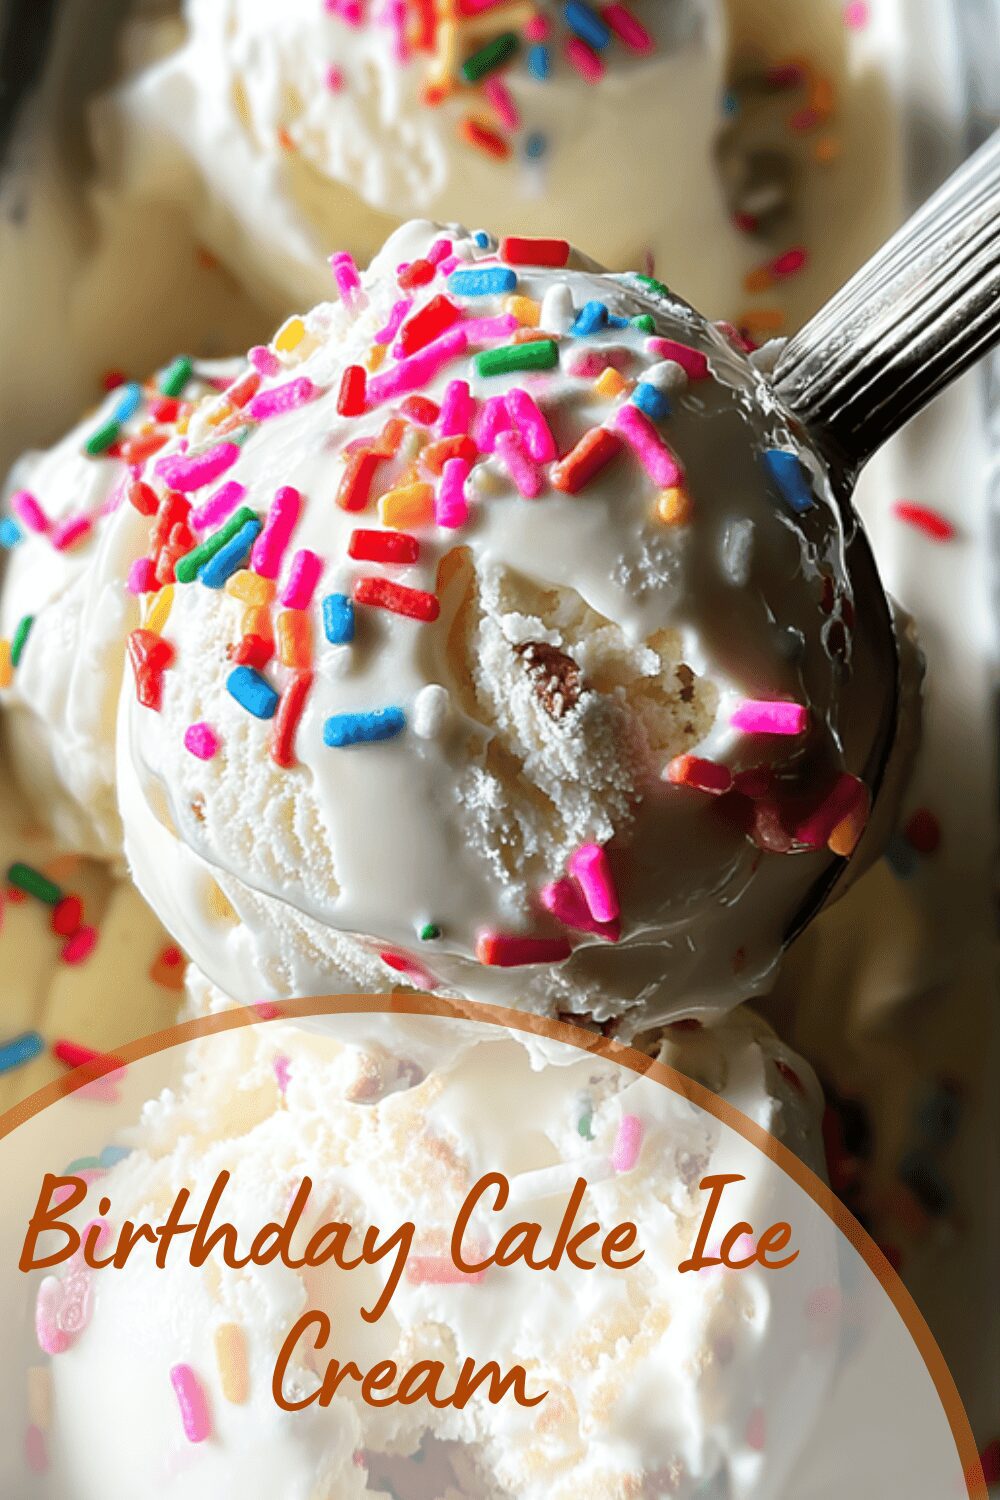
Why You’ll Love This Birthday Cake Ice Cream
Imagine whipping up a fun, homemade birthday cake ice cream that’s perfect for turning any day into a party! This delicious homemade ice cream combines creamy textures with colorful sprinkles and bits of vanilla cake, making it a hit for family gatherings or simple treats. You’ll love how easy it is to create this birthday cake dessert that brings joy to home cooks and baking enthusiasts alike.
One of the best parts is its ease of preparation you only need a few ingredients and steps, so busy parents or students can make it without fuss. Plus, this ice cream recipe offers some health benefits by using balanced ingredients that promote wellness, like options for lighter versions if you’re watching your diet. It’s incredibly versatile too, adapting to different preferences while delivering that signature birthday cake flavor everyone craves.
Whether you’re a food enthusiast looking for a simple birthday cake ice cream or just want a tasty homemade ice cream for celebrations, this recipe stands out with its festive vibe and creamy goodness. You’re going to adore how it makes every scoop feel special, just like a homemade birthday cake ice cream recipe straight from your kitchen!
Jump To
- 1. Why You’ll Love This Birthday Cake Ice Cream
- 2. Essential Ingredients for Birthday Cake Ice Cream
- 3. How to Prepare the Perfect Birthday Cake Ice Cream: Step-by-Step Guide
- 4. Dietary Substitutions to Customize Your Birthday Cake Ice Cream
- 5. Mastering Birthday Cake Ice Cream: Advanced Tips and Variations
- 6. How to Store Birthday Cake Ice Cream: Best Practices
- 7. FAQs: Frequently Asked Questions About Birthday Cake Ice Cream
- 8. Birthday Cake Ice Cream
Essential Ingredients for Birthday Cake Ice Cream
Creating the perfect birthday cake ice cream starts with the right ingredients, and I’ve got everything you need listed out clearly. This section focuses on the key items that make this easy birthday cake ice cream recipe so simple and fun to prepare. Let’s dive into what you’ll gather for this delightful treat.
- 1 1/2 cups heavy cream
- 1 1/2 cups half and half
- 1 cup granulated sugar
- 1 teaspoon pure vanilla extract
- 1 teaspoon pure almond extract
- 1/2 cup rainbow sprinkle jimmies
- 2 bakery cupcakes with vanilla frosting (crumbled)
These ingredients come together to give you that creamy, celebratory taste of birthday cake ice cream. For special dietary options, you can swap things around while keeping the fun intact a small change here makes it accessible for everyone.
Special Dietary Options
To make this recipe even more flexible, consider these swaps: for a vegan version, use coconut cream instead of heavy cream and a plant-based alternative for the half and half. If you’re aiming for gluten-free, ensure your cupcakes are made with gluten-free ingredients. This way, delicious homemade ice cream can be enjoyed by all, no matter your needs.
How to Prepare the Perfect Birthday Cake Ice Cream: Step-by-Step Guide
Making homemade birthday cake ice cream is easier than you think, and I’m excited to walk you through each step! Start by gathering all your ingredients to ensure you have everything ready, including any substitutions for dietary preferences like vegan or gluten-free options. This simple birthday cake ice cream will have you churning out a tasty treat in no time, perfect for busy families or baking newbies.
First, in a large bowl, whisk together the 1 1/2 cups heavy cream, 1 1/2 cups half and half, and 1 cup granulated sugar until the sugar fully dissolves this creates a smooth base for your ice cream. Next, stir in the 1 teaspoon pure vanilla extract and 1 teaspoon pure almond extract to add that irresistible birthday cake flavor. For more ideas on ice cream variations, check out our homemade mango ice cream recipe to see how we mix things up.
Now, pour the mixture into your ice cream maker and let it churn for 20-25 minutes until it starts to thicken. While that’s happening, crumble the 2 bakery cupcakes with vanilla frosting into small pieces and set them aside remember, semi-freezing these crumbles first helps keep them from breaking down too much. As the ice cream thickens in the maker, add the crumbled cupcakes and 1/2 cup rainbow sprinkle jimmies, then continue churning for another 2 minutes to mix everything evenly.
Finishing Touches and Freezing
Once your mixture is ready, transfer it to a freezer-safe container and pop it in the freezer for at least 4 hours to set properly this step ensures a creamy texture that’s oh-so-scoopable. Before serving, let it sit at room temperature for about 5 minutes to make scooping easier, and feel free to garnish with extra sprinkles or cake pieces for that extra wow factor. With a prep time of just 5 minutes and a churn time of 20 minutes, your total time before freezing is only 25 minutes, making this an ideal recipe for any occasion.
This method keeps the ice cream recipe light and airy, and it’s a great way to enjoy a delicious homemade ice cream without much hassle. Remember the tips like using sprinkle jimmies that won’t bleed color to keep your birthday cake ice cream looking vibrant and festive!

Dietary Substitutions to Customize Your Birthday Cake Ice Cream
One of the joys of this birthday cake ice cream is how easy it is to tweak for different needs whether you’re going vegan or cutting back on gluten. Let’s look at some simple swaps that keep the flavor fun and the texture just right. This way, everyone from diet-conscious individuals to baking enthusiasts can dive into their own version of this homemade ice cream.
Protein and Main Component Alternatives
For vegan-friendly options, swap the heavy cream with coconut or almond-based creams, and use a plant-based version for the half and half to maintain that creamy consistency. If gluten is a concern, choose gluten-free cupcakes or cake mix to replace the bakery cupcakes, ensuring your birthday cake dessert stays delicious without any issues.
Vegetable, Sauce, and Seasoning Modifications
To change things up, try swapping the vanilla extract with almond or maple extract for a fresh twist on the birthday cake flavor. If you’re watching sugar intake, natural sweeteners like agave can replace granulated sugar, and opt for sugar-free sprinkles to keep it light. These adjustments make your ice cream recipe adaptable and exciting for all sorts of preferences.
Mastering Birthday Cake Ice Cream: Advanced Tips and Variations
Once you’re comfortable with the basics, let’s amp up your birthday cake ice cream with some pro tips and fun twists! Using chilled equipment helps keep the cream firm and airy, so always chill your bowl before starting. Gently folding in ingredients preserves that light texture, making your homemade ice cream even better.
For flavor variations, add a tablespoon of cocoa powder to turn it into a chocolate birthday cake ice cream, or mix in some lemon zest for a citrusy kick. Presentation is key too serve it in fun bowls with edible glitter to make it feel like a real celebration. If you’re planning ahead, prepare the mixture the night before and freeze it, so flavors blend perfectly by serving time.
You can also draw inspiration from other recipes; for instance, our vanilla custard cream squares offer ideas for creamy desserts that pair well with this ice cream. To learn more about the benefits of enjoying ice cream, discover the health benefits of eating ice cream from reliable sources.
How to Store Birthday Cake Ice Cream: Best Practices
Keeping your birthday cake ice cream fresh is simple with the right storage tips, so it stays creamy and ready for whenever a sweet craving hits. Start by storing it in an airtight container in the freezer to lock in that delicious flavor. This helps prevent any freezer burn and keeps your homemade ice cream tasting just as good as when you made it.
- If you need to soften it quickly, place the container in the refrigerator for a short time before serving.
- For meal prep, divide it into single-serve portions so it’s easy to grab on busy days.
- Always avoid reheating, as it can change the texture just let it thaw at room temperature for a few minutes.
With these steps, your birthday cake dessert will stay fresh for weeks, making it a go-to treat for families and food lovers.
FAQs: Frequently Asked Questions About Birthday Cake Ice Cream
What kind of cake works best for Birthday Cake Ice Cream?
Vanilla cake is the ideal choice for Birthday Cake Ice Cream because its mild flavor complements the ice cream base well. You can either bake a simple vanilla cake using a box mix for convenience or buy vanilla cupcakes from a store. After baking or buying, crumble the cake into small pieces—about 2 cups are needed. Make sure the cake is fully cooled before mixing it into the ice cream to avoid melting.
Which sprinkles should I use to keep the ice cream’s color vibrant?
Use jimmie-type sprinkles that are solid and will not bleed colors into the ice cream. Avoid nonpareils or candy-coated sprinkles as their colors tend to run and create unwanted swirls in the ice cream base. Jimmies maintain their shape and color, preserving the festive look of Birthday Cake Ice Cream.
How can I add frosting flavor to my Birthday Cake Ice Cream?
To incorporate frosting flavor, crumble frosted vanilla cupcakes directly into the ice cream or add small pieces of buttercream frosting mixed with your cake crumbs. You can also swirl store-bought or homemade frosting gently into the ice cream base before freezing for extra creamy sweetness and authentic birthday cake taste.
Can I make Birthday Cake Ice Cream without an ice cream maker?
Yes, you can make Birthday Cake Ice Cream without an ice cream maker by using the no-churn method. Whip heavy cream until stiff peaks form, fold in sweetened condensed milk and vanilla extract, then gently mix in the crumbled cake and sprinkles. Freeze the mixture for at least 6 hours, stirring once midway for a smoother texture.
How long will Birthday Cake Ice Cream stay fresh in the freezer?
When stored in an airtight container, Birthday Cake Ice Cream stays fresh for up to 2 weeks in the freezer. To prevent ice crystals and freezer burn, press a layer of plastic wrap directly on the surface before sealing the container. For best taste and texture, consume within the first week.
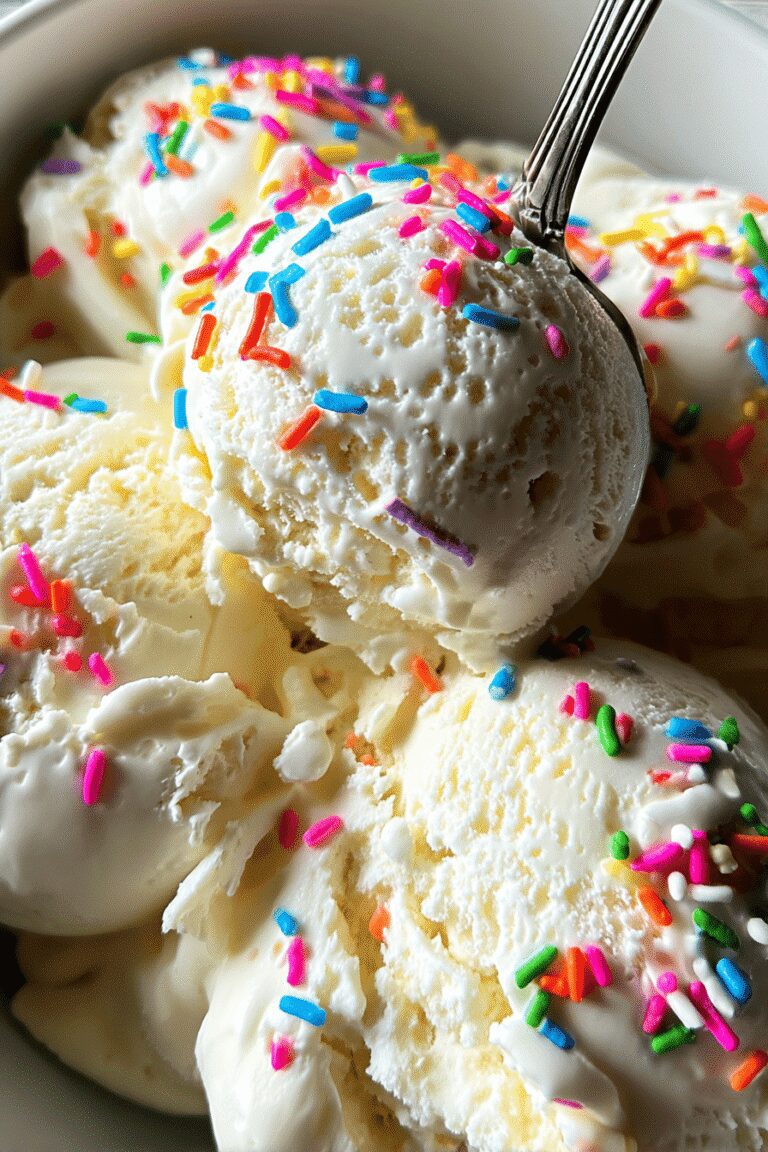
Birthday Cake Ice Cream
🎂 Homemade Birthday Cake Ice Cream Simple and Delicious Recipe combines creamy vanilla ice cream with festive cake pieces and colorful sprinkles, making it a perfect dessert for celebrations.
🍦 This easy-to-make recipe delivers indulgent flavor and fun textures that everyone will love at any party or special occasion.
- Total Time: 25-30 minutes (excluding freezing)
- Yield: About 1 quart
Ingredients
– 1 1/2 cups heavy cream
– 1 1/2 cups half and half
– 1 cup granulated sugar
– 1 teaspoon pure vanilla extract
– 1 teaspoon pure almond extract
– 1/2 cup rainbow sprinkle jimmies
– 2 bakery cupcakes with vanilla frosting (crumbled)
Instructions
1-First, in a large bowl, whisk together the 1 1/2 cups heavy cream, 1 1/2 cups half and half, and 1 cup granulated sugar until the sugar fully dissolves this creates a smooth base for your ice cream.
2-Next, stir in the 1 teaspoon pure vanilla extract and 1 teaspoon pure almond extract to add that irresistible birthday cake flavor.
3-Now, pour the mixture into your ice cream maker and let it churn for 20-25 minutes until it starts to thicken.
4-While that’s happening, crumble the 2 bakery cupcakes with vanilla frosting into small pieces and set them aside remember, semi-freezing these crumbles first helps keep them from breaking down too much.
5-As the ice cream thickens in the maker, add the crumbled cupcakes and 1/2 cup rainbow sprinkle jimmies, then continue churning for another 2 minutes to mix everything evenly.
6-Once your mixture is ready, transfer it to a freezer-safe container and pop it in the freezer for at least 4 hours to set properly this step ensures a creamy texture that’s oh-so-scoopable.
7-Before serving, let it sit at room temperature for about 5 minutes to make scooping easier, and feel free to garnish with extra sprinkles or cake pieces for that extra wow factor.
Notes
🌈 Use sprinkle jimmies that do not bleed color to keep your ice cream vibrant.
🍰 Prepare cake pieces by baking a simple vanilla cake with buttercream or use store-bought cupcakes with frosting.
❄️ Semi-freezing cake crumbles before adding prevents them from breaking down too much during churning.
- Prep Time: 5 minutes
- Churn time: 20-25 minutes
- Category: Dessert, Frozen Treats
- Method: Churning
Nutrition
- Calories: 391
- Sugar: 41g
- Sodium: 36mg
- Fat: 22g
- Saturated Fat: 11g
- Carbohydrates: 49g
- Protein: 2.4g
- Cholesterol: 63mg


I tried this for my son’s birthday and he loved the swirl of frosting flavor!
I added a pinch of vanilla extract to the base and it really brightened the taste 😊