
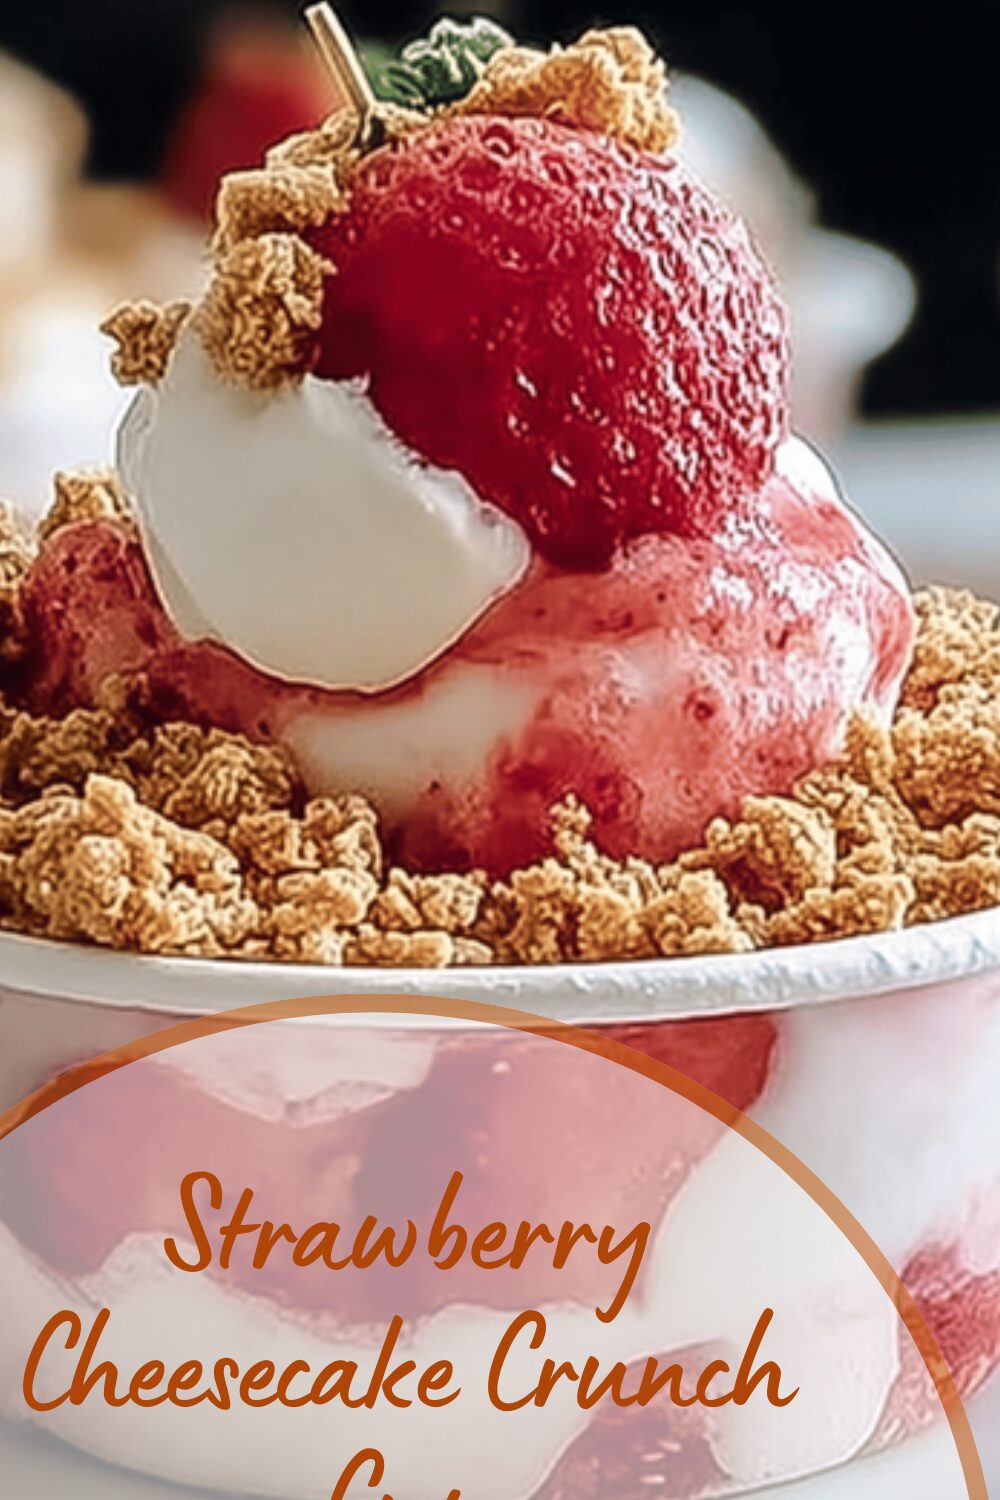
Why You’ll Love This Strawberry Cheesecake Crunch Cup
Imagine ending your day with a delightful treat that’s simple yet full of flavor, and that’s exactly what a Strawberry Cheesecake Crunch Cup brings to your table. This recipe stands out for its straightforward preparation, perfect for anyone new to baking or short on time. You’ll enjoy a burst of fresh strawberry goodness combined with creamy layers and a satisfying crunch that makes every bite exciting.
One of the best parts is how this dessert supports your wellness goals while tasting amazing. With ingredients like fresh strawberries that pack antioxidants, you get a sweet treat that also boosts your daily nutrients. Whether you’re a busy parent looking for quick family desserts or a student wanting something yummy after studying, these cups adapt easily to fit your lifestyle.
For food enthusiasts, the versatility means you can tweak it to suit dietary preferences, like going vegan or gluten-free without losing that signature taste. Dive into this recipe and see how it creates memorable moments, just like sharing stories over dessert with loved ones. For more ideas on creamy desserts, check out our guide to carrot cake cheesecake bars that pair perfectly with fruit flavors.
Key Features of the Recipe
- Quick and easy to prepare, ready in about 45 minutes.
- No baking required, ideal for hot days or busy schedules.
- Uses fresh ingredients for a natural, vibrant taste.
- Adapts to various diets, making it inclusive for everyone.
This Strawberry Cheesecake Crunch Cup is more than just a dessert; it’s a fun way to explore new flavors while keeping things light and healthy.
Jump To
- 1. Why You’ll Love This Strawberry Cheesecake Crunch Cup
- 2. Essential Ingredients for Strawberry Cheesecake Crunch Cup
- 3. How to Prepare the Perfect Strawberry Cheesecake Crunch Cup: Step-by-Step Guide
- 4. Dietary Substitutions to Customize Your Strawberry Cheesecake Crunch Cup
- 5. Mastering Strawberry Cheesecake Crunch Cup: Advanced Tips and Variations
- 6. How to Store Strawberry Cheesecake Crunch Cup: Best Practices
- 7. FAQs: Frequently Asked Questions About Strawberry Cheesecake Crunch Cup
- 8. Strawberry Cheesecake Crunch Cup
Essential Ingredients for Strawberry Cheesecake Crunch Cup
Gathering the right ingredients is the first step to creating these tasty cups, and you’ll love how simple they are. Start with fresh, high-quality items to ensure the best flavor and texture in your Strawberry Cheesecake Crunch Cup. This section breaks down everything you need, organized for easy shopping and prep.
Strawberry Crunch Crust & Topping Ingredients
- Vanilla sandwich cookie crumbs (used without removing cream filling)
- Freeze-dried strawberries, ground into a fine powder
- Unsalted melted butter (salted butter is optional)
Vanilla Cheesecake Filling Ingredients
- Cream cheese (room temperature)
- Granulated sugar
- Vanilla extract
- Heavy cream or heavy whipping cream
Garnish Ingredients
- Fresh sliced strawberries
- Additional strawberry crunch crumbs
Note that exact measurements aren’t specified in the original recipe, so adjust based on your needs for 28 cups. This structured list keeps things clear and helps you measure out each part accurately for the perfect Strawberry Cheesecake Crunch Cup.
How to Prepare the Perfect Strawberry Cheesecake Crunch Cup: Step-by-Step Guide
Getting started with your Strawberry Cheesecake Crunch Cup is a breeze, and this guide walks you through each part. Begin by pulling together your ingredients to make the process smooth and enjoyable. Follow these steps to create a dessert that’s as fun to make as it is to eat.
Step 1: Make the Crust
Mix the vanilla sandwich cookie crumbs, freeze-dried strawberry powder, and melted butter in a bowl until everything holds together well. This base gives your cups that signature crunch we all love in a Strawberry Cheesecake Crunch Cup.
Step 2: Portion the Crust
Divide the mixture into 28 small 2-ounce plastic cups, pressing it down firmly at the bottom. Save some crumbs for later to top off your cups and add extra texture.
Step 3: Make the Filling
In a mixing bowl, beat the cream cheese, granulated sugar, and vanilla extract until smooth and creamy. Then, add the heavy cream and whip on medium-high speed until the mixture thickens and becomes fluffy, creating the heart of your Strawberry Cheesecake Crunch Cup.
Step 4: Fill the Cups
Transfer the filling to a piping bag and pipe it into each cup, filling about three-quarters full. This layer brings the creamy goodness that balances the crunch.
Step 5: Top and Garnish
Sprinkle the reserved crumbs over the filling and add a slice of fresh strawberry on top for a pop of color and flavor.
Step 6: Chill and Serve
Seal the cups with lids and pop them in the fridge to set. They’re ready to serve chilled, either right away or stored for 2 to 3 days. For more tips on chilling desserts, you might enjoy our recipe for pumpkin cheesecake that uses similar techniques.
| Step | Time Needed | Tips |
|---|---|---|
| Make Crust | 10 minutes | Mix thoroughly for even texture |
| Portion Crust | 5 minutes | Press firmly for a solid base |
| Make and Whip Filling | 15 minutes | Whip until fluffy for best results |
| Assemble and Chill | 15 minutes plus chilling | Chill for at least 1 hour |

Dietary Substitutions to Customize Your Strawberry Cheesecake Crunch Cup
Making your Strawberry Cheesecake Crunch Cup fit your diet is simple with a few swaps. This section covers options to keep the fun going for everyone. Start by thinking about your main ingredients and how to adjust them.
- Replace cream cheese with a plant-based version for vegan diets.
- Use gluten-free vanilla sandwich cookies to make it safe for those with gluten sensitivities.
- Swap granulated sugar with a low-calorie sweetener if you’re watching your intake.
These changes help maintain the creamy layers and crisp topping you love. Experiment and find what works best for you in your Strawberry Cheesecake Crunch Cup adventure.
Mastering Strawberry Cheesecake Crunch Cup: Advanced Tips and Variations
Taking your Strawberry Cheesecake Crunch Cup to the next level means adding some expert touches. Here are ways to refine your technique and play with flavors. Focus on preparation to get that perfect balance of creaminess and crunch.
Pro Tips for Better Results
- Use chilled ingredients to keep the filling thick and prevent sogginess.
- Pulse cookies for coarse crumbs that add great texture.
- If freeze-dried strawberries aren’t handy, try 3 tablespoons of strawberry gelatin powder as a substitute.
Flavor Ideas and Variations
Add citrus zest for a bright twist or mix in dark chocolate chips for a richer treat. These variations keep your Strawberry Cheesecake Crunch Cup fresh and exciting. Presentation matters too, so serve in clear cups to show off those layers.
When you experiment with these tips, you’ll create desserts that impress and delight every time.
How to Store Strawberry Cheesecake Crunch Cup: Best Practices
Keeping your Strawberry Cheesecake Crunch Cup fresh is key to enjoying it later. Proper storage helps maintain that creamy texture and crisp topping. Let’s go over the basics to keep things simple and effective.
- Refrigerate in airtight containers for up to 3 days.
- Avoid freezing to prevent texture changes.
- Add crunchy toppings just before serving to keep them fresh.
This approach ensures your Strawberry Cheesecake Crunch Cup stays delicious and ready for whenever you need a quick treat.
FAQs: Frequently Asked Questions About Strawberry Cheesecake Crunch Cup
What ingredients do I need to make a Strawberry Cheesecake Crunch Cup?
To make a Strawberry Cheesecake Crunch Cup, you’ll need fresh strawberries, cream cheese, granulated sugar, vanilla extract, whipped cream, and crunchy mix-ins like crushed graham crackers or granola. Some recipes also call for sour cream or lemon juice to add tanginess. These ingredients combine to create a creamy cheesecake layer topped with a sweet strawberry topping and a satisfying crunchy texture for contrast.
How do I make Strawberry Cheesecake Crunch Cups without baking?
You can make no-bake Strawberry Cheesecake Crunch Cups by mixing softened cream cheese with sugar and vanilla extract, then folding in whipped cream for a light texture. Layer this mixture with chopped strawberries and crushed graham crackers or cookies in serving cups. Chill the cups in the refrigerator for at least 2 hours to set before serving. This method is quick and perfect for warm weather or when you want a simple dessert.
Can I prepare Strawberry Cheesecake Crunch Cups ahead of time?
Yes, Strawberry Cheesecake Crunch Cups can be made several hours or even a day ahead. After assembling the layers, cover the cups tightly and refrigerate. The chilled dessert allows the flavors to meld and the texture to firm up. Add any crunchy toppings right before serving to keep them crisp. This makes them a convenient option for parties or meal prep.
What are some variations for Strawberry Cheesecake Crunch Cups?
Variations include adding a layer of strawberry jam or fresh fruit puree for extra flavor, substituting graham crackers with crushed cookies or nuts for crunch, or mixing in citrus zest to the cream cheese layer for brightness. You can also use flavored cream cheese variants or add a drizzle of chocolate or caramel for a richer dessert. These adjustments let you customize the cups to your taste.
How should I store leftover Strawberry Cheesecake Crunch Cups?
Store leftover Strawberry Cheesecake Crunch Cups in an airtight container in the refrigerator for up to 3 days. To prevent the crunchy topping from becoming soggy, store any extra crunchy components separately and add them just before serving. Avoid freezing, as it can alter the texture of the cream cheese and whipped cream layers. Always keep them chilled to maintain freshness and flavor.
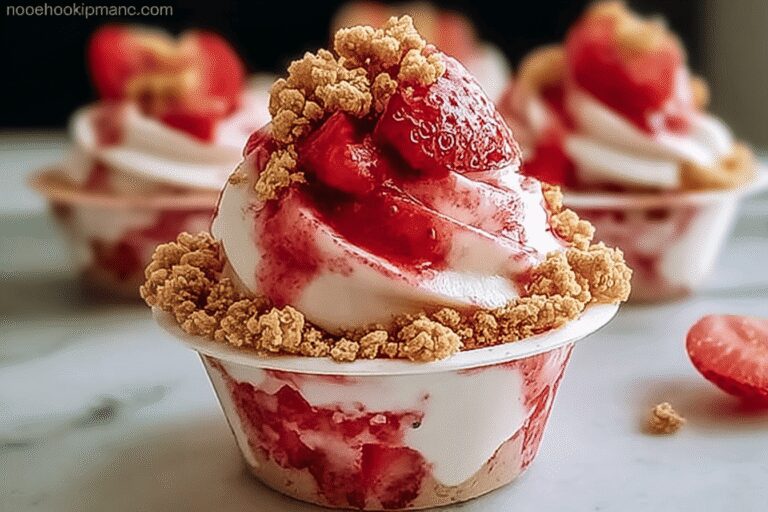
Strawberry Cheesecake Crunch Cup
🍓 Enjoy the delightful combination of creamy cheesecake filling and crisp strawberry crunch topping in these easy-to-make dessert cups.
🍰 Perfect for parties or a sweet treat, these cups provide individual servings with vibrant strawberry flavor and a satisfying crunch.
- Total Time: 55 minutes
- Yield: 28 cups
Ingredients
Vanilla sandwich cookie crumbs (used without removing cream filling)
Freeze-dried strawberries, ground into a fine powder
Unsalted melted butter (salted butter is optional)
Cream cheese (room temperature)
Granulated sugar
Vanilla extract
Heavy cream or heavy whipping cream
Fresh sliced strawberries
Additional strawberry crunch crumbs
Instructions
1-Step 1: Make the Crust Mix the vanilla sandwich cookie crumbs, freeze-dried strawberry powder, and melted butter in a bowl until everything holds together well. This base gives your cups that signature crunch we all love in a Strawberry Cheesecake Crunch Cup.
2-Step 2: Portion the Crust Divide the mixture into 28 small 2-ounce plastic cups, pressing it down firmly at the bottom. Save some crumbs for later to top off your cups and add extra texture.
3-Step 3: Make the Filling In a mixing bowl, beat the cream cheese, granulated sugar, and vanilla extract until smooth and creamy. Then, add the heavy cream and whip on medium-high speed until the mixture thickens and becomes fluffy, creating the heart of your Strawberry Cheesecake Crunch Cup.
4-Step 4: Fill the Cups Transfer the filling to a piping bag and pipe it into each cup, filling about three-quarters full. This layer brings the creamy goodness that balances the crunch.
5-Step 5: Top and Garnish Sprinkle the reserved crumbs over the filling and add a slice of fresh strawberry on top for a pop of color and flavor.
6-Step 6: Chill and Serve Seal the cups with lids and pop them in the fridge to set. They’re ready to serve chilled, either right away or stored for 2 to 3 days. For more tips on chilling desserts, you might enjoy our recipe for pumpkin cheesecake that uses similar techniques.
Notes
🥄 Use 2-ounce plastic cups with lids or cupcake liners as alternatives.
🍓 Substitute freeze-dried strawberries with 3 tablespoons strawberry gelatin powder if unavailable.
❄️ Store refrigerated for up to 3 days; avoid leaving at room temperature for more than 30 minutes.
- Prep Time: 45 minutes
- Assembly Time: 10 minutes
- Category: Dessert
- Method: No-bake
- Cuisine: American
Nutrition
- Serving Size: 1 cup


