
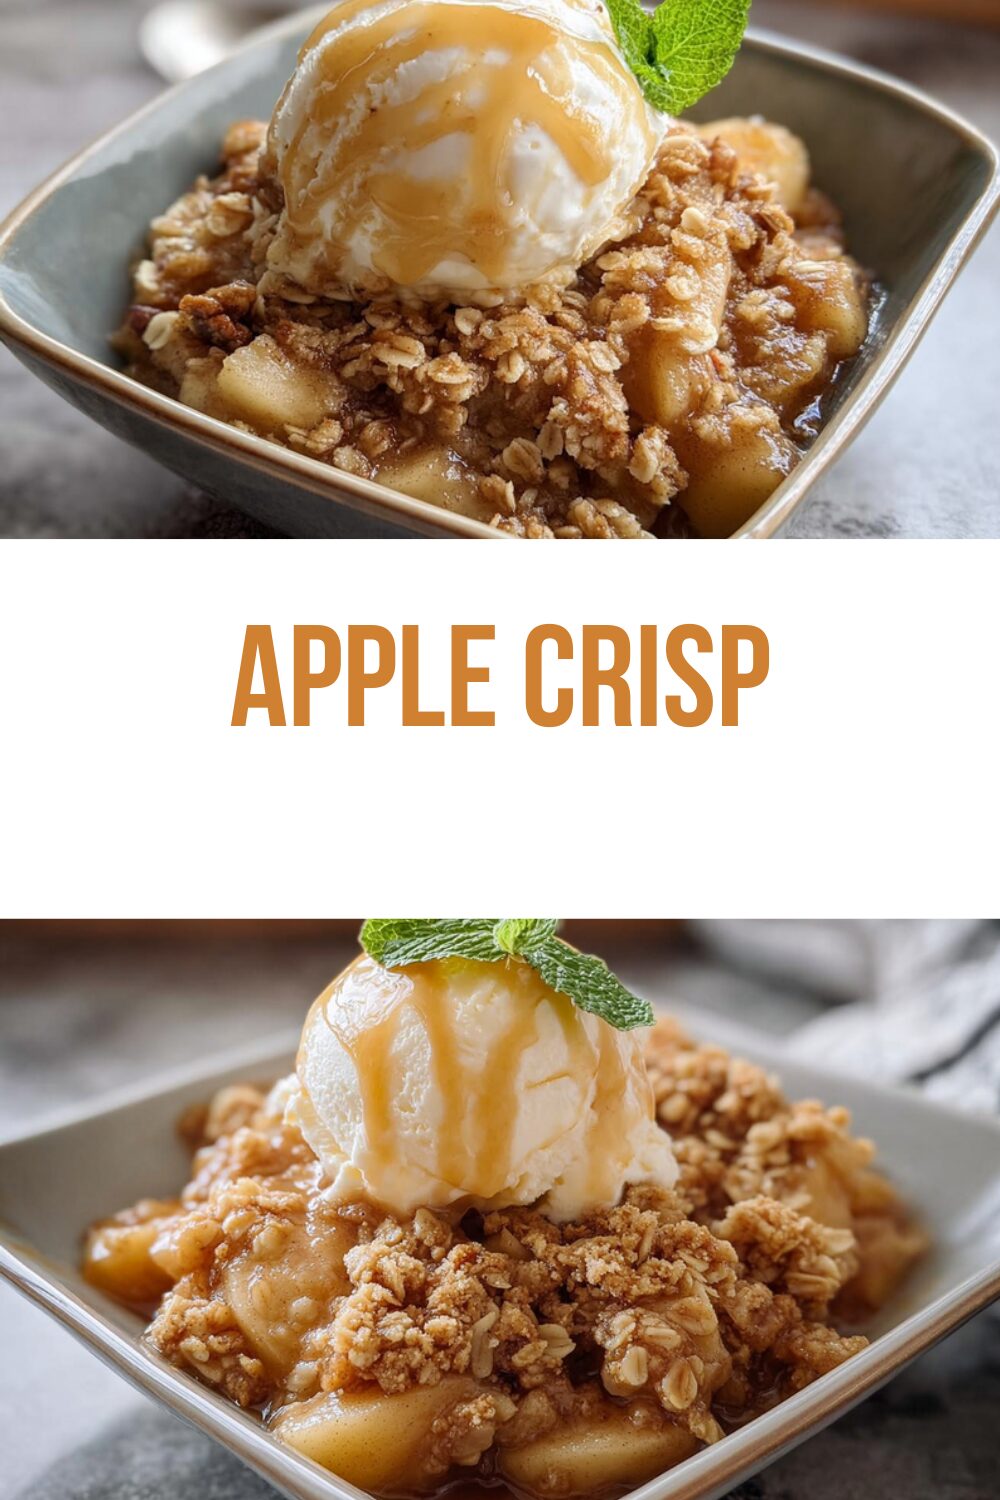
Why You’ll Love This Apple Crisp
Picture this: a warm, cinnamon-kissed dessert that fills your kitchen with the scent of fall, ready in just about an hour. This apple crisp recipe is a go-to for busy families because it’s straightforward and delivers that comforting crunch everyone craves. If you’re a home cook looking for something simple yet satisfying, this dish stands out for its ease and delicious flavors that pair perfectly with everyday life.
First off, the simplicity of preparation makes this apple crisp a winner. With just 15 minutes of prep and 45 minutes in the oven, you can whip it up even on a hectic weeknight. It uses basic ingredients like fresh apples and oats, so you won’t need to hunt down anything fancy from the store. This means more time enjoying the meal with your loved ones rather than stressing in the kitchen.
Another highlight is the health angle, as it packs in nutrients from the apples themselves. Apples bring fiber and vitamins that support digestion and overall wellness, making this a smarter choice for dessert. Plus, with around 301 calories per serving for six people, it’s a lighter option that fits into various eating plans without sacrificing taste. You can even tweak it for dietary needs, like using whole grains for extra fiber.
- Ease of preparation: This recipe shines because it’s quick and uses everyday items, taking only 15 minutes to get started before baking. You’ll appreciate how straightforward the steps are, perfect for busy parents or students who want a homemade treat without the fuss that saves time for family fun.
- Health benefits: Loaded with fresh apples, which are full of fiber and antioxidants, this apple crisp supports your daily fruit intake while keeping calories around 301 per serving. For more on how apples boost your health, check out this resource on apple health benefits. It’s a delightful way to enjoy a classic apple crisp that feels good for your body.
- Versatility: Adapt this apple crisp easily for different diets, such as gluten-free swaps or vegan options, making it ideal for everyone from students to seniors. Whether you’re mixing apple varieties or adjusting sweetness, it fits various tastes and needs without losing its charm.
- Distinctive flavor: The blend of cinnamon and lemon juice creates a unique, tangy-sweet profile that sets this apple crisp apart, turning simple ingredients into a standout fall favorite. It’s that perfect mix of crunchy topping and tender apples that keeps you coming back for more.
As you can see, this apple crisp isn’t just a recipe it’s a simple joy that brings people together. Whether you’re serving it to baking enthusiasts or working professionals, its appeal lies in how effortlessly it combines taste and ease. Give it a try, and you’ll see why it quickly becomes a staple in your dessert lineup.
Jump To
- 1. Why You’ll Love This Apple Crisp
- 2. Essential Ingredients for Apple Crisp
- 3. How to Prepare the Perfect Apple Crisp: Step-by-Step Guide
- 4. Dietary Substitutions to Customize Your Apple Crisp
- 5. Mastering Apple Crisp: Advanced Tips and Variations
- 6. How to Store Apple Crisp: Best Practices
- 7. FAQs: Frequently Asked Questions About Apple Crisp
- 8. Apple Crisp
Essential Ingredients for Apple Crisp
When it comes to making a great apple crisp, the ingredients are key to that perfect balance of sweet, tart, and crunchy. This section breaks down everything you need for both the spiced apples and the crisp topping, with exact measurements and a quick explanation of why each one matters. Using the right amounts ensures your dish turns out just right every time.
Main Ingredients
- 6 apples, peeled and chopped (about 6-7 cups) – These form the base, providing natural sweetness and texture; other varieties like Granny Smith or Fuji work well for a mix of tart and sweet flavors.
- 2 tablespoons granulated sugar – Adds just the right sweetness to enhance the apples without overwhelming their natural taste.
- 3/4 teaspoon ground cinnamon – Infuses a warm, spicy note that complements the apples and makes the filling irresistible.
- 1 1/2 teaspoons lemon juice – Brightens the flavors and keeps the apples from browning, adding a fresh tang to the mix.
- 1 cup light brown sugar – This sweetens the topping and gives it a rich, caramel-like depth that pairs beautifully with the oats.
- 3/4 cup old fashioned oats – Creates that classic crunchy texture; quick oats can substitute for a softer feel if you’re short on time.
- 3/4 cup all-purpose flour – Binds the topping together and helps it crisp up in the oven for that satisfying bite.
- 1 teaspoon ground cinnamon – Adds extra warmth to the topping, tying the whole dish together with its cozy spice.
- A pinch of salt – Enhances all the flavors subtly, making the topping more balanced and delicious.
- 1/2 cup cold unsalted butter, diced into small cubes – Provides the crumbly texture when mixed in, ensuring the topping bakes to golden perfection.
Special Dietary Options
For those with specific needs, this apple crisp can be adjusted easily. Here’s how to make it fit various diets while keeping the charm intact.
- Vegan: Swap the unsalted butter for a plant-based alternative like coconut oil or vegan margarine to keep the topping crunchy and flavorful.
- Gluten-free: Use gluten-free all-purpose flour and certified gluten-free oats in place of regular ones, so everyone can enjoy this comforting treat.
- Low-calorie: Reduce the sugar amounts slightly or use a sugar substitute, and opt for lower-calorie apple varieties to cut back on calories while maintaining taste.
Selecting these ingredients means you’re set for a successful apple crisp that adapts to your lifestyle. For a related twist, try our apple salad recipe that uses fresh apples in a fresh way.
How to Prepare the Perfect Apple Crisp: Step-by-Step Guide
Gathering Your Ingredients
Before you dive in, make sure you have all the items ready. This step sets the stage for a smooth cooking process. Start by washing and prepping your apples, as they’ll need to be peeled and chopped. Having everything measured out makes the rest a breeze, especially if you’re new to baking.
Mixing the Spiced Apples
Now, let’s get to the fun part. In a large mixing bowl, combine your 6 chopped apples with 2 tablespoons of granulated sugar, 3/4 teaspoon of ground cinnamon, and 1 1/2 teaspoons of lemon juice. Stir everything together until the apples are evenly coated this helps bring out their natural flavors and adds that essential zing. Once mixed, transfer this to your greased 8×8 baking dish for the base of your apple crisp.
This step is crucial for creating a juicy filling. If you’re adapting for dietary preferences, like using gluten-free flour to thicken, mix it in here. It ensures the apples don’t release too much liquid, keeping your crisp from getting soggy.
Preparing the Crisp Topping
In another bowl, add 1 cup of light brown sugar, 3/4 cup of old fashioned oats, 3/4 cup of all-purpose flour, 1 teaspoon of ground cinnamon, and a pinch of salt. Then, incorporate 1/2 cup of cold unsalted butter diced into small cubes. Use a pastry cutter, two forks, or your hands to blend until you get pea-sized crumbs this might take a minute or two for the perfect texture. The cold butter is key here for that flaky, golden top.
For variations, if you’re watching calories, consider using less butter or a substitute. Spread this topping evenly over your apple mixture in the baking dish. This creates the signature crunch that makes apple crisp so appealing.
Baking and Serving
Preheat your oven to 350 degrees Fahrenheit and grease an 8×8 baking dish if you haven’t already. Once ready, pop your assembled dish in the oven and bake for 40 to 50 minutes. You’ll know it’s done when the top turns golden brown and the filling bubbles around the edges ovens vary, so keep an eye on it after 40 minutes.
The total time is about 1 hour, including prep, which fits perfectly into a busy schedule. For the final touch, serve it warm with vanilla ice cream or whipped cream to enhance the flavors. This step not only completes the recipe but also makes it a memorable dessert for family gatherings.
| Step | Time Estimate | Tips for Adaptation |
|---|---|---|
| Gathering Ingredients | 5 minutes | Use sliced apples for quicker prep if you’re in a rush. |
| Mixing Apples | 5 minutes | Add flour to thicken if making it gluten-free. |
| Preparing Topping | 5 minutes | Try vegan butter for plant-based versions. |
| Baking | 40-50 minutes | Adjust time based on your oven for even results. |
This guide walks you through creating a delicious apple crisp that’s adaptable and full of flavor. For more baking ideas, check out our oatmeal cookie recipe that pairs well with this one.

Dietary Substitutions to Customize Your Apple Crisp
Protein and Main Component Alternatives
If you want to tweak the main elements, start with the apples. For instance, if Granny Smith isn’t available, swap in Fuji for a sweeter profile, or mix varieties to add layers of taste. This keeps the core of the recipe intact while catering to what’s in your kitchen or dietary preferences.
Another option is to enhance with nuts for added protein, like adding chopped walnuts to the topping for a nutty crunch. These changes make the dish more filling and adaptable for different needs.
Vegetable, Sauce, and Seasoning Modifications
For added veggies, consider mixing in pears or even a bit of carrot for subtle sweetness and extra nutrients. When it comes to sauces, swap lemon juice with orange juice for a citrus twist that brightens the flavors. Seasonings can vary too try adding nutmeg alongside cinnamon for a deeper spice profile.
These modifications ensure your apple crisp fits seasonal ingredients or restrictions, like using low-sugar options for a lighter version. It’s all about making the recipe your own while keeping it simple and tasty.
Mastering Apple Crisp: Advanced Tips and Variations
Pro Cooking Techniques
To get the best results, focus on even mixing for the topping to avoid clumps. Using cold butter is a pro tip that helps create that ideal crumbly texture. For make-ahead options, prepare the topping in advance and chill it, so you’re ready to bake on busy days.
Flavor Variations
Experiment with adding ginger for a spicy kick or using different sugars for unique tastes. You can also incorporate dried fruits like cranberries to mix things up, making each batch feel fresh and exciting.
- Pro cooking techniques: Work the butter quickly to keep it cold, leading to a flakier topping.
- Flavor variations: Try adding nuts for extra crunch or seasonal spices for a new twist.
- Presentation tips: Serve in individual ramekins for a fun, personalized touch.
- Make-ahead options: Prep everything the night before to save time on mornings.
How to Store Apple Crisp: Best Practices
Proper storage keeps your apple crisp tasting fresh. For short-term, cover it tightly and pop it in the fridge. This way, it stays good for up to two days without losing its appeal. For freezing, let it cool first, then wrap in foil and store for up to a month reheat in the oven to maintain that crunch. Reheating is simple: warm at 350 degrees Fahrenheit for about 30 minutes to bring back the golden top. Meal prep ideas include making a big batch and portioning it out for easy grabs during the week.
FAQs: Frequently Asked Questions About Apple Crisp
What are the best apples to use for making apple crisp?
The best apples for apple crisp are those that balance sweetness and tartness and hold their shape when baked. Popular choices include Granny Smith for tartness, Fuji for sweetness, and Golden Delicious for a mild flavor. Mixing two or three varieties can add depth to the dish. Avoid apples that turn mushy quickly, as they can make the crisp soggy.
Should I peel the apples before making apple crisp?
Peeling apples for apple crisp is optional. Leaving the skins on adds texture and nutrients, and it helps the apple pieces hold together better during baking. Just make sure to wash the apples well if you keep the skins. If you prefer a smoother consistency or are serving to young children, peeling might be the better option.
How can I prevent the apple crisp from becoming watery?
To prevent your apple crisp from becoming watery, mix a tablespoon or two of all-purpose flour or cornstarch into the apple filling before baking. These thickeners absorb excess juice released during cooking, keeping the dish from pooling with liquid. Using apples that hold their shape, like Granny Smith, also helps reduce watery texture.
Can I prepare apple crisp in advance and still maintain its freshness?
Yes, apple crisp can be prepared in advance. Bake it as usual, then let it cool completely before covering and storing it in the refrigerator for up to 2 days. To serve, reheat in a 350°F oven for 20-30 minutes until warmed through and the topping is crisp again. Avoid microwaving as it may soften the topping.
What type of oats are best for the apple crisp topping?
Old-fashioned rolled oats are ideal for apple crisp topping because they provide a chewy, crunchy texture after baking. Quick oats can be used as a substitute but will result in a softer, less textured topping. For extra crunch, some recipes combine oats with chopped nuts like pecans or walnuts.
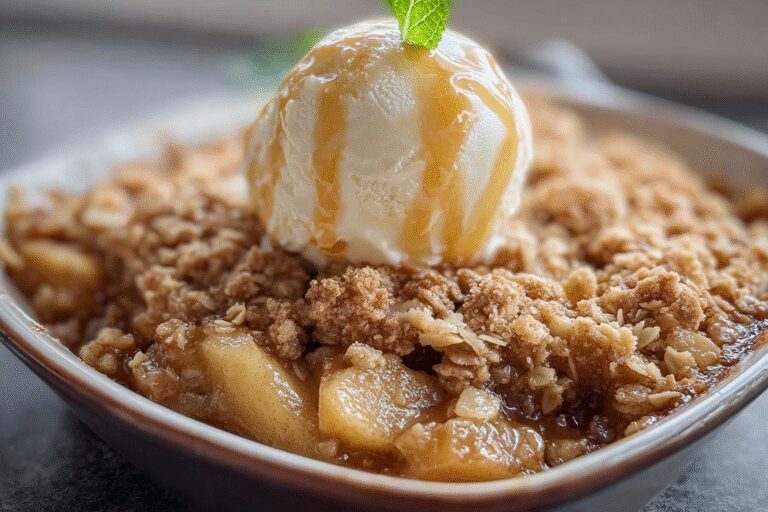
Apple Crisp
🍏 This Apple Crisp recipe offers a cozy, comforting dessert perfect for showcasing fresh, spiced apples with a crispy oat topping.
🍂 Easy to prepare with classic fall flavors, it’s ideal for warming up the season and delighting your family and guests.
- Total Time: 1 hour
- Yield: 6 servings 1x
Ingredients
6 apples peeled and chopped (about 6–7 cups) These form the base, providing natural sweetness and texture
2 tablespoons granulated sugar Adds just the right sweetness to enhance the apples without overwhelming their natural taste
3/4 teaspoon ground cinnamon Infuses a warm, spicy note that complements the apples and makes the filling irresistible
1 1/2 teaspoons lemon juice Brightens the flavors and keeps the apples from browning, adding a fresh tang to the mix
1 cup light brown sugar Sweetens the topping and gives it a rich, caramel-like depth that pairs beautifully with the oats
3/4 cup old fashioned oats Creates that classic crunchy texture; quick oats can substitute for a softer feel if you’re short on time
3/4 cup all-purpose flour Binds the topping together and helps it crisp up in the oven for that satisfying bite
1 teaspoon ground cinnamon Adds extra warmth to the topping, tying the whole dish together with its cozy spice
A pinch of salt Enhances all the flavors subtly, making the topping more balanced and delicious
1/2 cup cold unsalted butter diced into small cubes Provides the crumbly texture when mixed in, ensuring the topping bakes to golden perfection
Instructions
1-Gathering Your Ingredients: Before you dive in, make sure you have all the items ready. This step sets the stage for a smooth cooking process. Start by washing and prepping your apples, as they’ll need to be peeled and chopped. Having everything measured out makes the rest a breeze, especially if you’re new to baking.
2-Mixing the Spiced Apples: Now, let’s get to the fun part. In a large mixing bowl, combine your 6 chopped apples with 2 tablespoons of granulated sugar, 3/4 teaspoon of ground cinnamon, and 1 1/2 teaspoons of lemon juice. Stir everything together until the apples are evenly coated this helps bring out their natural flavors and adds that essential zing. Once mixed, transfer this to your greased 8×8 baking dish for the base of your apple crisp. This step is crucial for creating a juicy filling. If you’re adapting for dietary preferences, like using gluten-free flour to thicken, mix it in here. It ensures the apples don’t release too much liquid, keeping your crisp from getting soggy.
3-Preparing the Crisp Topping: In another bowl, add 1 cup of light brown sugar, 3/4 cup of old fashioned oats, 3/4 cup of all-purpose flour, 1 teaspoon of ground cinnamon, and a pinch of salt. Then, incorporate 1/2 cup of cold unsalted butter diced into small cubes. Use a pastry cutter, two forks, or your hands to blend until you get pea-sized crumbs this might take a minute or two for the perfect texture. The cold butter is key here for that flaky, golden top. For variations, if you’re watching calories, consider using less butter or a substitute. Spread this topping evenly over your apple mixture in the baking dish. This creates the signature crunch that makes apple crisp so appealing.
4-Baking and Serving: Preheat your oven to 350 degrees Fahrenheit and grease an 8×8 baking dish if you haven’t already. Once ready, pop your assembled dish in the oven and bake for 40 to 50 minutes. You’ll know it’s done when the top turns golden brown and the filling bubbles around the edges ovens vary, so keep an eye on it after 40 minutes. The total time is about 1 hour, including prep, which fits perfectly into a busy schedule. For the final touch, serve it warm with vanilla ice cream or whipped cream to enhance the flavors. This step not only completes the recipe but also makes it a memorable dessert for family gatherings.
Notes
🍏 Use about 6-7 cups of chopped apples for the best filling consistency.
⏲️ Adjust baking time as ovens vary and to achieve your preferred crispness.
🌿 Add a little flour to the apple mixture if you want to reduce excess liquid at the bottom of the dish.
- Prep Time: 15 minutes
- Cook Time: 45 minutes
- Category: Dessert
- Method: Baking
- Cuisine: American
- Diet: Vegetarian
Nutrition
- Serving Size: 1 serving
- Calories: 301


