

Why You’ll Love This Sourdough Starter
Starting your own sourdough starter can feel like a fun adventure that leads to delicious homemade bread. This simple process brings the warm, tangy flavor of sourdough bread right into your kitchen without needing fancy tools. You’ll enjoy how easy it is to blend basic ingredients and watch them come alive over a few days.
First, the ease of preparation stands out because it only takes a few minutes each day. With just a quick mix and wait, you can have a living starter ready for all sorts of bread making, making it perfect for busy folks like parents or students. This method uses straightforward steps that fit into everyday life, helping you create a reliable sourdough starter without any stress.
- Homegrown flavors: This sourdough starter lets you tap into fermentation, where wild yeast works its magic to give your homemade bread that sought-after tangy taste and soft texture. It’s a natural way to enhance bread making and enjoy the benefits of sourdough bread.
- Health perks: Sourdough starter promotes fermentation that breaks down gluten and makes nutrients easier to digest, offering a boost for diet-conscious individuals. Plus, it introduces wild yeast that can aid gut health, all while keeping things simple for beginners in fermentation.
- Flexibility for all: Whether you’re a baking enthusiast or just starting, this sourdough starter adapts to your needs, working well for various dietary choices and leading to tasty results in bread starter projects. It’s versatile enough for seniors or working professionals looking for quick yet rewarding kitchen tasks.
- Unique appeal: The distinctive flavor from a fresh sourdough starter sets your bread apart, giving it a depth that store-bought options can’t match. This makes it a go-to for food enthusiasts wanting to explore bread making with a personal touch.
By focusing on this beginner sourdough starter guide, you’ll see how it simplifies how to make sourdough starter while adding joy to your routine. It’s a gateway to maintaining sourdough starter for ongoing baking fun, blending ease with the excitement of wild yeast activity.
Jump To
- 1. Why You’ll Love This Sourdough Starter
- 2. Essential Ingredients for Sourdough Starter
- 3. How to Prepare the Perfect Sourdough Starter: Step-by-Step Guide
- 4. Dietary Substitutions to Customize Your Sourdough Starter
- 5. Mastering Sourdough Starter: Advanced Tips and Variations
- 6. How to Store Sourdough Starter: Best Practices
- 7. FAQs: Frequently Asked Questions About Sourdough Starter
- 8. Sourdough Starter
Essential Ingredients for Sourdough Starter
Gathering the right ingredients is key to building a strong sourdough starter for your bread making adventures. These simple items help kick off the fermentation process, creating a base for homemade bread that’s full of life and flavor. Let’s break down what you’ll need, with exact measurements to make it easy.
- For Day 1: 60 g (1/2 cup) whole wheat flour – This provides the nutrients needed to wake up the wild yeast and start fermentation quickly.
- For Day 1: 60 g (1/4 cup) water – Use filtered or room-temperature water to create the right mix for the flour, helping it form a thick base.
- For Days 3-7 (Daily Feeding): 60 g (1/2 cup) unbleached all-purpose flour – This keeps the starter going strong during fermentation, offering a steady food source for the wild yeast.
- For Days 3-7 (Daily Feeding): 60 g (1/4 cup) water – Added daily to maintain hydration and support the ongoing growth of your sourdough starter.
These ingredients form the heart of your sourdough starter recipe, ensuring everything stays balanced for best results. Remember, using unbleached flour helps avoid any chemicals that might slow down the process.
Special Dietary Options
Adapting your sourdough starter to different needs is straightforward, making it accessible for everyone from vegans to those watching their diet. Here’s how to tweak things:
- Vegan: This recipe is already vegan-friendly since it only uses flour and water, so no changes are needed for plant-based diets.
- Gluten-free: For gluten-free options, swap whole wheat flour with a gluten-free alternative like rice flour on Day 1, and use gluten-free all-purpose flour for feedings; this keeps the fermentation going while meeting dietary restrictions.
- Low-calorie: Stick to the precise measurements to control portions, as this method uses minimal ingredients, making it a light choice for low-calorie bread making routines.
How to Prepare the Perfect Sourdough Starter: Step-by-Step Guide
Creating your own sourdough starter is a rewarding process that fits into a beginner sourdough starter guide for anyone eager to try bread making at home. Start by setting up your space with a clean glass jar and a kitchen scale to ensure accuracy in your sourdough starter recipe. This step helps you measure everything just right, setting the stage for successful fermentation.
First Step: On Day 1, combine 60 g of whole wheat flour and 60 g of water in a clean jar. Mix them together until you get a thick, pasty consistency, which is perfect for feeding the wild yeast right from the start. Place the jar in a warm spot, ideally at 70-75°F, and cover it loosely to let air in while it rests for 24 hours.
Second Step: On Day 2, check the mixture for any surface bubbles, a sign that fermentation is beginning. If you don’t see bubbles yet, that’s okay just let it rest for another 24 hours in that same warm spot at 70-75°F. This patience allows the wild yeast to activate gradually, building a strong base for your sourdough starter.
Third Step: For Days 3 through 7, start each day by discarding half of the existing starter to keep things fresh and prevent overgrowth. Then, add 60 g of unbleached all-purpose flour or bread flour along with 60 g of water, mixing it all until it looks smooth, like thick pancake batter. Cover loosely and let it rest at 70-75°F for 24 hours, promoting steady wild yeast activity.
Daily Maintenance Tips
To keep your sourdough starter thriving, maintain a consistent temperature around 70-75°F using methods like an oven light for warmth. If you notice a dark liquid on top, pour it off before feeding, as this means your starter is hungry and needs attention. Remember, growth might slow down around Days 3-4, which is normal when switching flours, so don’t worry if things seem quiet.
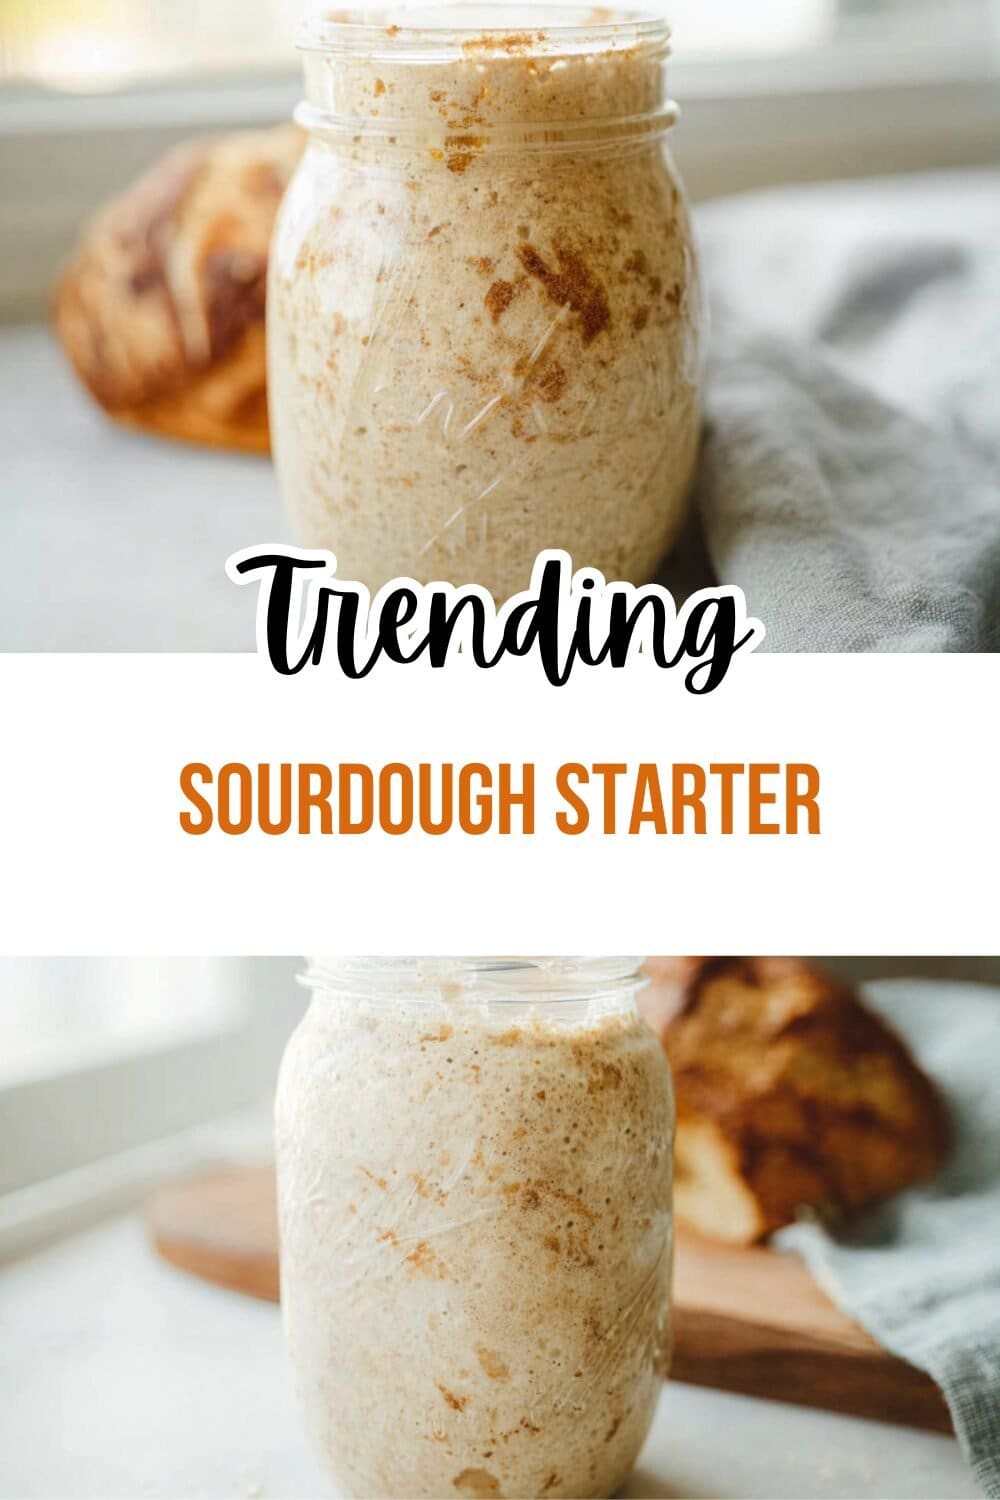
Fourth Step: By Day 8, your sourdough starter should have doubled in size, filled with bubbles, and feel spongy and fluffy with a pleasant smell, indicating it’s active and ready for baking your homemade bread. If it hasn’t reached this point, continue the daily feeding process of discarding half and adding 60 g flour and 60 g water for another week or so. For those with dietary preferences, you can adapt by using gluten-free flours if needed, keeping the process straightforward.
Overall, the preparation takes a minimum of 7 days, but it could extend to 2 weeks based on your kitchen’s warmth and how active the starter becomes. Each day, you’ll only spend about 5 minutes on discarding and feeding, making this sourdough starter for beginners both simple and exciting as you watch your bread starter come to life.

Dietary Substitutions to Customize Your Sourdough Starter
Protein and Main Component Alternatives
Customizing your sourdough starter lets you adjust for different tastes or needs, especially in the main ingredients like flour. For instance, if whole wheat flour isn’t on hand, you can use rye flour as a substitute on Day 1 to still nourish the wild yeast effectively. This keeps your fermentation process going strong while accommodating ingredient swaps for maintaining sourdough starter.
Another option is to try spelt flour for a nuttier flavor, which works well in the early stages and supports those looking for alternatives in bread making. Always measure by weight for accuracy to ensure your starter remains consistent, no matter the substitution.
Vegetable, Sauce, and Seasoning Modifications
While sourdough starter mainly relies on flour and water, you can experiment with add-ins for flavor after the initial days. For example, add a bit of fruit juice instead of plain water in feedings to introduce a subtle sweetness, making it more versatile for various recipes. This adaptation is great for food enthusiasts wanting to tweak flavors without disrupting the core fermentation process.
For dietary restrictions, like low-sodium needs, skip any added salts in later uses of the starter. These changes help make your sourdough bread adaptable for different meals, enhancing its role in everyday bread making routines.
Mastering Sourdough Starter: Advanced Tips and Variations
Once you’re comfortable with the basics, dive deeper into advanced tips to elevate your sourdough starter for better results in homemade bread. One pro technique is to track the starter’s pH with simple tests, ensuring it’s at the optimal level for wild yeast growth during fermentation. This can lead to more consistent outcomes in your sourdough bread projects.
| Tips Category | Description |
|---|---|
| Pro Cooking Techniques | Use a proofing box for steady warmth, helping maintain the ideal 70-75°F for faster fermentation and stronger wild yeast activity. |
| Flavor Variations | Experiment with adding herbs like rosemary during feedings for a flavored twist, perfect for unique sourdough starter recipes. |
| Presentation Tips | Jar your starter in clear glass to show off the bubbles, making it a fun display for your kitchen counter during bread making. |
| Make-Ahead Options | Prepare extra starter and store it in the fridge for later, giving you flexibility for busy schedules in maintaining sourdough starter. |
Remember, like in this fluffy cheese chive biscuits recipe, small changes can make a big difference in your baking.
How to Store Sourdough Starter: Best Practices
Proper storage keeps your sourdough starter alive and ready for your next bread making session. For short-term needs, refrigeration works well to slow down fermentation. Keep it in an airtight jar in the fridge, feeding it once a week to maintain its wild yeast strength.
For long-term options, freezing is a great way to pause the process. Divide the starter into portions, freeze them in bags, and thaw as needed for homemade bread projects. When reheating, let it come to room temperature and feed it right away to ensure quality.
For meal prep, plan feedings around your schedule to make sourdough starter troubleshooting easier. This way, you can have fresh starter on hand without much effort, ideal for baking enthusiasts.
FAQs: Frequently Asked Questions About Sourdough Starter
Can I make a sourdough starter using only all-purpose flour?
Yes, you can create a sourdough starter using only all-purpose flour. It may take slightly longer to develop compared to starters using whole grain flours, since all-purpose flour has fewer nutrients to feed the wild yeast and bacteria. To maximize success, maintain consistent feeding schedules and keep your starter at a warm room temperature, around 70-75°F (21-24°C). Patience is key, and you’ll eventually see bubbles and growth indicating an active starter.
Why is whole wheat flour recommended at the beginning of making a sourdough starter?
Whole wheat flour is rich in nutrients and natural wild yeast, which helps jumpstart the fermentation process when creating a sourdough starter. Starting with whole wheat encourages early microbial activity and visible bubbling. After the initial stage, switching to all-purpose or bread flour for maintenance feedings is common because these flours are more affordable and produce a milder flavor while keeping your starter healthy.
How do I measure ingredients correctly when feeding my sourdough starter?
It’s best to measure sourdough starter feedings by weight, not volume, because flour and water densities differ. Using a kitchen scale, feed your starter equal weights of flour and water (for example, 60 grams of each). This accuracy ensures consistent hydration and reliable fermentation. Measuring cups can be misleading due to packing differences, so scales provide the most precise results for sourdough baking.
Is it safe to use bleached flour for my sourdough starter?
While bleached flour can be used for a sourdough starter, it is generally not recommended. The bleaching agents may interfere with the natural fermentation process, potentially slowing microbial growth or affecting flavor. Many bakers prefer unbleached or whole grain flours for stronger fermentation results. However, some people have successfully used bleached flour, so if that’s your only option, monitor your starter closely for activity.
Can I use sourdough discard from the first few days for recipes?
It’s best to avoid using sourdough discard from the first week of starter development, as it is often very sour, discolored, and less predictable. After your starter is established—usually after 7 days—discard becomes more stable and safe to use in recipes like pancakes, crackers, or muffins. Always check the smell and appearance before using discard; if it looks off or develops mold, discard it safely.

Sourdough Starter
🍞 This Beginner Sourdough Starter Guide introduces you to creating a lively starter that forms the foundation for delicious homemade bread.
🌱 Following these simple steps will give you an active, bubbly starter ensuring perfect sourdough every time.
- Total Time: 7-14 days
- Yield: 1 active sourdough starter
Ingredients
– 60 g (1/2 cup) whole wheat flour for providing nutrients
– 60 g (1/4 cup) water for creating the right mix
– 60 g (1/2 cup) unbleached all-purpose flour for keeping starter going
– 60 g (1/4 cup) water for maintaining hydration
– gluten-free alternative like rice flour for gluten-free option
– gluten-free all-purpose flour for gluten-free feedings
Instructions
1-First Step: On Day 1, combine 60 g of whole wheat flour and 60 g of water in a clean jar. Mix them together until you get a thick, pasty consistency, which is perfect for feeding the wild yeast right from the start. Place the jar in a warm spot, ideally at 70-75°F, and cover it loosely to let air in while it rests for 24 hours.
2-Second Step: On Day 2, check the mixture for any surface bubbles, a sign that fermentation is beginning. If you don’t see bubbles yet, that’s okay just let it rest for another 24 hours in that same warm spot at 70-75°F. This patience allows the wild yeast to activate gradually, building a strong base for your sourdough starter.
3-Third Step: For Days 3 through 7, start each day by discarding half of the existing starter to keep things fresh and prevent overgrowth. Then, add 60 g of unbleached all-purpose flour or bread flour along with 60 g of water, mixing it all until it looks smooth, like thick pancake batter. Cover loosely and let it rest at 70-75°F for 24 hours, promoting steady wild yeast activity.
4-Fourth Step: By Day 8, your sourdough starter should have doubled in size, filled with bubbles, and feel spongy and fluffy with a pleasant smell, indicating it’s active and ready for baking your homemade bread. If it hasn’t reached this point, continue the daily feeding process of discarding half and adding 60 g flour and 60 g water for another week or so. For those with dietary preferences, you can adapt by using gluten-free flours if needed, keeping the process straightforward.
Notes
🌡️ Keep starter in a consistent warm spot (70-75°F) like an oven with the light on or proofing box.
⚖️ Always feed by weight using a kitchen scale for accuracy.
🥄 If a dark liquid (hooch) forms on top, pour it off before feeding as it signals the starter is hungry.
- Prep Time: 5 minutes daily
- Overall Fermentation Time: 7-14 days
- Category: Baking
- Method: Fermentation
- Cuisine: International
- Diet: Vegan
Nutrition
- Serving Size: Varies