
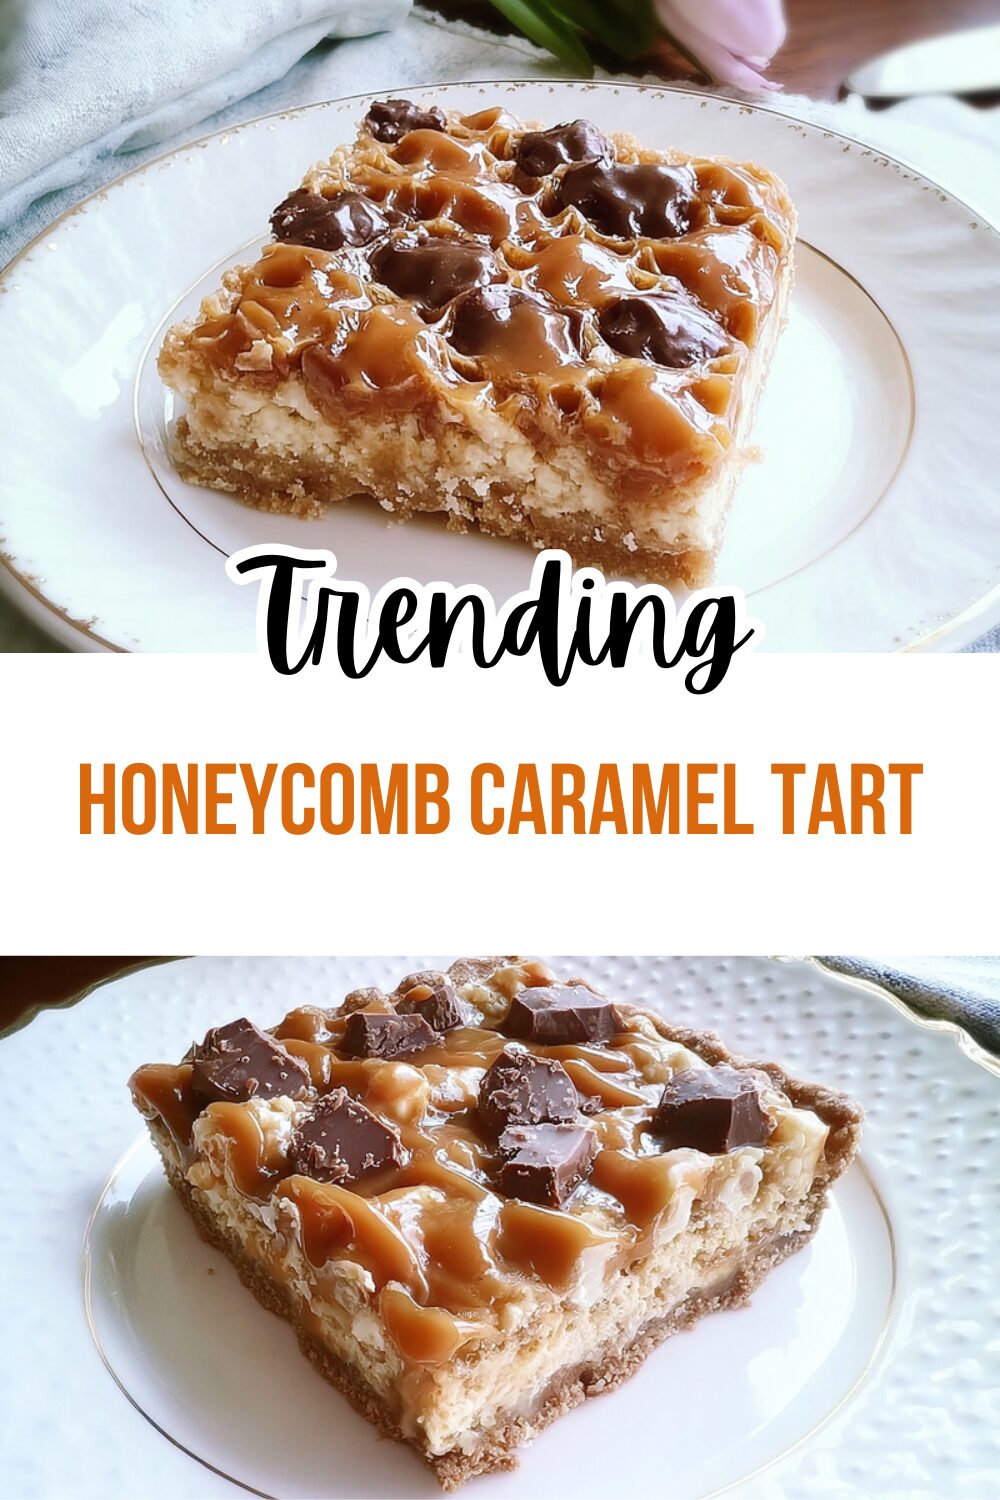
Why You’ll Love This Honeycomb Caramel Tart
This honeycomb caramel tart is a crowd-pleaser that brings together simple ingredients for a dessert that’s both fun and satisfying. Imagine layers of creamy caramel and crunchy bits that melt in your mouth, all without turning on the oven. It’s perfect for anyone who wants a treat that feels special yet easy to make, especially on busy days when you’re short on time.
One reason this recipe stands out is its ease of preparation. With straightforward steps and minimal cleanup, even beginners can whip it up in no time. Plus, it uses common items you might already have on hand, making it accessible for home cooks like busy parents or students looking for quick desserts.
Another draw is the balance of nutrients from quality ingredients, offering a mindful indulgence. For instance, the tart includes natural sweetness that helps keep calories in check while providing a boost of energy from carbs and a bit of protein. It’s also versatile, as you can tweak it for different diets without losing that delicious taste we all crave.
The unique blend of rich caramel and honeycomb gives it a standout flavor that keeps everyone coming back for more. Whether you’re sharing it with family or serving it at a gathering, this tart creates those memorable moments around the table that make cooking worthwhile. If you enjoy desserts with a twist, this one might become your go-to option for special occasions.
Health and Custom Options
Let’s talk about how this tart fits into various lifestyles. The recipe features ingredients like whipped cream and caramel that deliver a moderate calorie profile, with each serving clocking in at about 418 calories. This makes it a smart choice for those watching their intake, as it includes good amounts of calcium and vitamin D to support overall health.
You can easily adapt it for vegan, gluten-free, or low-calorie needs by swapping a few items. For example, using plant-based cream keeps the creaminess intact while catering to dietary preferences. It’s all about making the recipe work for you, so everyone can enjoy a slice without worry.
Jump To
- 1. Why You’ll Love This Honeycomb Caramel Tart
- 2. Essential Ingredients for Honeycomb Caramel Tart
- 3. How to Prepare the Perfect Honeycomb Caramel Tart: Step-by-Step Guide
- 4. Dietary Substitutions to Customize Your Honeycomb Caramel Tart
- 5. Mastering Honeycomb Caramel Tart: Advanced Tips and Variations
- 6. How to Store Honeycomb Caramel Tart: Best Practices
- 7. FAQs: Frequently Asked Questions About Honeycomb Caramel Tart
- 8. Honeycomb Caramel Tart
Essential Ingredients for Honeycomb Caramel Tart
Gathering the right ingredients is the first step to creating a delicious honeycomb caramel tart. This section breaks down everything you need, focusing on precise measurements to ensure your tart turns out just right. Let’s keep it simple and straightforward so you can shop with ease.
Remember, choosing quality items makes a big difference in flavor and texture. Fresh cream and good biscuits help build that perfect base, while honeycomb adds the fun crunch we love. Here’s the full list based on the recipe details:
- 397 grams caramel condensed milk (store-bought or made at home by simmering a can of regular condensed milk in water for about 3 hours, ensuring the can stays submerged and cools fully before opening)
- 200 grams biscuits (options include plain or flavored varieties to match your taste)
- 240 ml double, heavy, or whipping cream (whip this until stiff peaks form; note that single cream won’t work as it doesn’t thicken properly)
- 80 grams honeycomb chocolate bars, chopped (that’s two bars of 40 grams each for that signature texture)
Besides the main ingredients, you might want to consider special options for different diets. For a vegan version, swap in plant-based cream and biscuits. If you’re going gluten-free, look for gluten-free biscuit alternatives to keep things tasty yet accommodating.
How to Prepare the Perfect Honeycomb Caramel Tart: Step-by-Step Guide
Making this honeycomb caramel tart is as easy as it gets, with no baking required to keep things simple and stress-free. You’ll start by preparing the creamy filling and layering it with biscuits for a delightful texture. Follow these steps closely to get that perfect balance of soft and crunchy elements.
First, whip the cream in a bowl using an electric hand mixer or a balloon whisk until stiff peaks form, but be gentle to avoid overbeating it. This creates a light base that holds everything together nicely. Once that’s ready, gently fold in the caramel condensed milk until it’s all mixed smoothly.
Next, arrange a layer of biscuits at the bottom of a 22 cm by 18 cm dish to form a solid foundation. Then, spread half of the cream and caramel mixture evenly over the biscuits for an even layer. Scatter half of the chopped honeycomb chocolate on top to add that fun crunch.
Continue by adding another layer of biscuits, then spread the remaining cream and caramel mixture over it. For the finishing touch, crush any leftover biscuits, mix them with the rest of the chopped honeycomb, and scatter it on top. Finally, cover with plastic wrap and refrigerate for at least 2 hours so the tart sets and the biscuits soften up.
If you’re looking for similar no-bake treats, check out our silky lemon cream treat for another easy option. Here’s a quick table to summarize the steps for better reference:
| Step | Description |
|---|---|
| 1-2 | Whip cream and fold in caramel condensed milk |
| 3-5 | Layer biscuits, mixture, and honeycomb |
| 6-9 | Add final layer and refrigerate |

Dietary Substitutions to Customize Your Honeycomb Caramel Tart
Everyone has different needs, so customizing this honeycomb caramel tart is a great way to make it your own. Start with simple swaps for protein and main components, like using flax eggs instead of traditional ones if you’re going vegan. This keeps the texture smooth and the tart just as enjoyable.
For cream lovers with lactose issues, coconut cream works wonders as a substitute to maintain that creamy feel. On the vegetable and seasoning side, add a touch of cinnamon or sea salt to the caramel for a fresh twist that enhances the flavor. You can also use gluten-free biscuit bases or almond flour to keep things light and adaptable.
These changes help the recipe fit various lifestyles, whether you’re a busy professional or a baking enthusiast exploring new flavors. For more ideas on tweaks, our Biscoff millionaires traybake shows how small adjustments can lead to big results in desserts.
Mastering Honeycomb Caramel Tart: Advanced Tips and Variations
Once you’re comfortable with the basics, let’s dive into some advanced tips to elevate your honeycomb caramel tart game. Cooking the caramel slowly with constant stirring is key to getting that silky texture, so keep an eye on it to avoid any mishaps. Using a thermometer can help you hit the right temperature for the best results.
Flavor variations are where things get exciting; try adding orange zest or vanilla for a unique spin that surprises your taste buds. When it comes to presentation, top your tart with extra honeycomb pieces and a light sprinkle of powdered sugar to make it look as good as it tastes. Pair it with whipped cream or ice cream for an extra treat that impresses guests.
Make-ahead options are a lifesaver for busy schedules. You can prepare the base and caramel a day ahead, then store it in the fridge for freshness. Don’t forget practical advice like avoiding overwhipping the cream, as this tart can be ready up to 3 days in advance. The choice of biscuit also plays a role in sweetness, so experiment to find your favorite.
More on Variations
For a thicker version, add a third layer with extra biscuits and honeycomb, dividing the mixture evenly. This is perfect if you’re feeding a crowd or just want more of that crunchy goodness. Remember, if you’re making homemade caramel condensed milk, let it cool completely to ensure safety and the best consistency.
How to Store Honeycomb Caramel Tart: Best Practices
Proper storage keeps your honeycomb caramel tart tasting fresh and delicious. Pop it in the fridge in an airtight container for up to 3 days to lock in that creamy texture. If you’re thinking about freezing, it’s not the best idea as it can make the layers soggy, so stick to chilling for the optimal experience.
When you’re ready to serve, let it sit at room temperature for a bit or warm it gently in the oven. For meal prep, make components ahead and assemble later to save time without losing quality. This approach works well for families or anyone juggling a full schedule.
FAQs: Frequently Asked Questions About Honeycomb Caramel Tart
Can I freeze a honeycomb caramel tart?
Freezing a honeycomb caramel tart is not recommended. The texture of the tart, especially the honeycomb and cream layers, can become soggy or separate after thawing. To keep the tart at its best, store it covered in the refrigerator and consume within 3 days for optimal freshness and taste.
How long can I prepare a honeycomb caramel tart in advance?
You can make a honeycomb caramel tart up to 3 days ahead. After assembling, cover it tightly with plastic wrap or place it in an airtight container and keep it refrigerated. This allows the flavors to meld while maintaining the tart’s texture.
How many layers are ideal for a honeycomb caramel tart?
Typically, two layers are used for this tart to balance texture and flavor. However, you can add a third layer by increasing the ingredient quantities. For three layers, use an extra packet of biscuits and additional caramel mix, dividing the cream and condensed milk mixture evenly among the layers.
What’s the best way to store leftover honeycomb caramel tart?
Leftover honeycomb caramel tart should be stored in the refrigerator, covered to prevent it from drying out or absorbing other flavors. Consume leftovers within 3 days to enjoy the best taste and texture.
Can I use different types of biscuits in a honeycomb caramel tart?
Yes, you can substitute the traditional digestive biscuits with graham crackers, shortbread, or other mild-flavored biscuits. Choose options that hold up well when soaked with the caramel mixture to maintain the tart’s structure without becoming too soft.
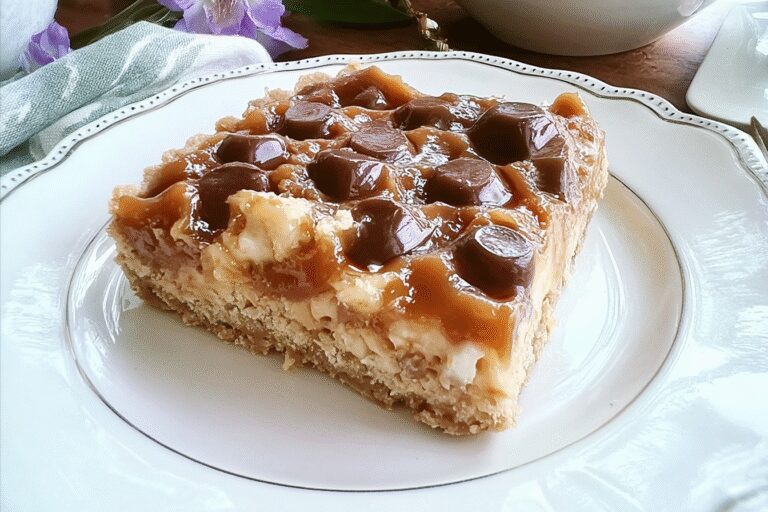
Honeycomb Caramel Tart
🍯 Indulge in a rich and creamy No Bake Honeycomb Caramel Tart that combines luscious caramel with sweet honeycomb chocolate.
🍪 Easy to prepare and perfect for any occasion, this tart offers a delightful mix of textures and flavors without requiring baking.
- Total Time: 2 hours 15 minutes
- Yield: 8 servings
Ingredients
– 397 grams caramel condensed milk (store-bought or made at home by simmering a can of regular condensed milk in water for about 3 hours, ensuring the can stays submerged and cools fully before opening)
– 200 grams biscuits (options include plain or flavored varieties to match your taste)
– 240 ml double, heavy, or whipping cream (whip this until stiff peaks form; note that single cream won’t work as it doesn’t thicken properly)
– 80 grams honeycomb chocolate bars, chopped (that’s two bars of 40 grams each for that signature texture)
Instructions
1-First, whip the cream in a bowl using an electric hand mixer or a balloon whisk until stiff peaks form, but be gentle to avoid overbeating it. This creates a light base that holds everything together nicely. Once that’s ready, gently fold in the caramel condensed milk until it’s all mixed smoothly.
2-Next, arrange a layer of biscuits at the bottom of a 22 cm by 18 cm dish to form a solid foundation. Then, spread half of the cream and caramel mixture evenly over the biscuits for an even layer. Scatter half of the chopped honeycomb chocolate on top to add that fun crunch.
3-Continue by adding another layer of biscuits, then spread the remaining cream and caramel mixture over it. For the finishing touch, crush any leftover biscuits, mix them with the rest of the chopped honeycomb, and scatter it on top. Finally, cover with plastic wrap and refrigerate for at least 2 hours so the tart sets and the biscuits soften up.
Notes
🍦 Avoid overwhipping the cream to prevent it from turning into butter.
❄️ Prepare the tart up to 3 days in advance and keep refrigerated.
🍪 Add a third biscuit and honeycomb layer for a thicker tart by dividing the cream and caramel mixture into thirds.
- Prep Time: 15 minutes
- Chilling Time: 2 hours
- Cook Time: 0 minutes
- Category: Dessert
- Method: No-Bake Assembly
- Cuisine: International
- Diet: Vegetarian
Nutrition
- Serving Size: 1 slice
- Calories: 418 kcal
- Sugar: 34.8 g
- Sodium: 88 mg
- Fat: 17.4 g
- Saturated Fat: 6.8 g
- Trans Fat: 0 g
- Carbohydrates: 59.1 g
- Fiber: 0.5 g
- Protein: 7.2 g
- Cholesterol: 45 mg


