
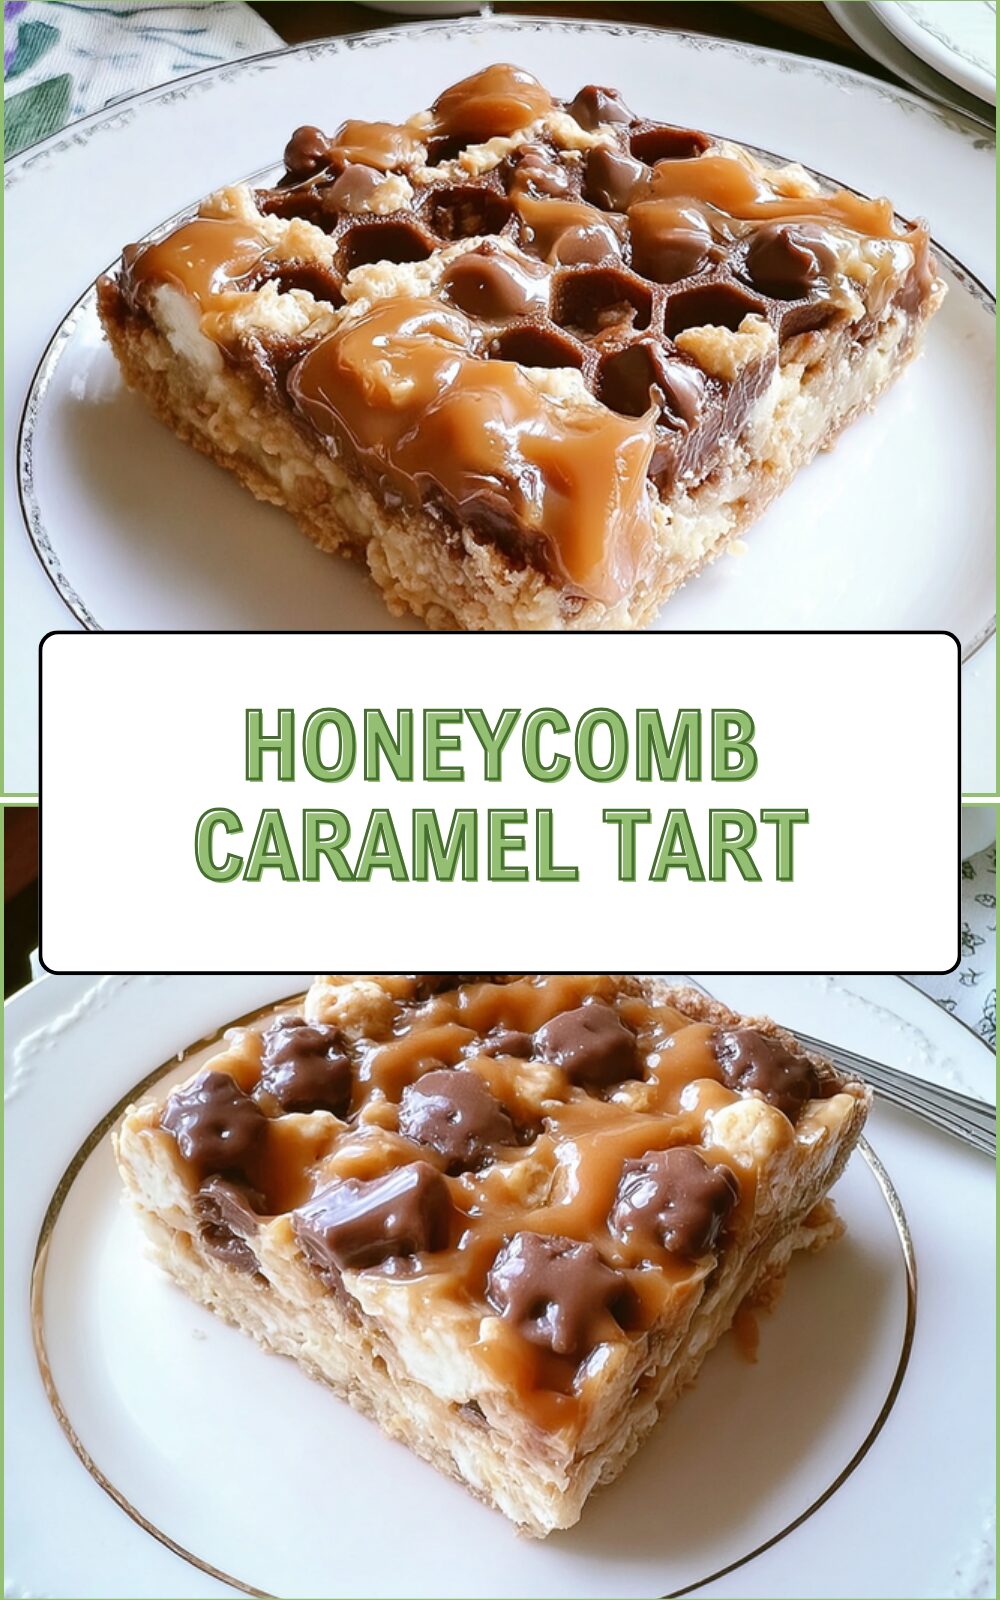
Why You’ll Love This Honeycomb Caramel Tart
This Honeycomb Caramel Tart is a standout dessert that combines simple ingredients with a burst of flavors to create something truly special. It’s perfect for anyone craving a treat that’s both easy to make and full of that irresistible crunch from the honeycomb. With its rich caramel layers and biscuit base, it’s no wonder this recipe has become a favorite for family gatherings and quick weeknight indulgences.
One of the best parts about this Honeycomb Caramel Tart is how straightforward it is to prepare, making it ideal for busy days when you want something sweet without much fuss. The recipe uses everyday items you might already have in your kitchen, helping you whip up a delicious dessert in no time. Plus, the crunchy texture from the honeycomb adds a fun element that keeps everyone coming back for more.
Beyond its taste, this tart offers a bit of flexibility for different tastes and needs, letting you tweak it just how you like. Whether you’re sharing it with friends or enjoying a quiet evening, this dessert brings a smile with every bite. It’s all about making cooking feel fun and approachable, just like the recipes on our blog.
To dive deeper into similar creamy desserts, check out our silky lemon cream treat for another easy option that pairs well with tea or coffee.
Key Features That Make It Special
- It’s super simple to put together, taking only a few steps and no baking required, which means less time waiting and more time enjoying.
- The natural sweetness from the honeycomb gives it a wholesome feel, making it a smarter choice for those watching their sugar intake.
- You can easily swap ingredients to fit various diets, like using different biscuits for a gluten-free version.
- That unique mix of caramel and crunch creates a flavor you’ll remember, turning a basic tart into something exciting.
This tart serves about 8 people, so it’s great for sharing at potlucks or family dinners. For more ideas on quick desserts, explore treats like our lemon tart that brings a fresh twist to your table.
Jump To
- 1. Why You’ll Love This Honeycomb Caramel Tart
- 2. Essential Ingredients for Honeycomb Caramel Tart
- 3. How to Prepare the Perfect Honeycomb Caramel Tart: Step-by-Step Guide
- 4. Dietary Substitutions to Customize Your Honeycomb Caramel Tart
- 5. Mastering Honeycomb Caramel Tart: Advanced Tips and Variations
- 6. How to Store Honeycomb Caramel Tart: Best Practices
- 7. FAQs: Frequently Asked Questions About Honeycomb Caramel Tart
- 8. Honeycomb Caramel Tart
Essential Ingredients for Honeycomb Caramel Tart
Gathering the right ingredients is the first step to making this Honeycomb Caramel Tart, and you’ll love how easy they are to find. This recipe focuses on a few key items that come together to create a delightful dessert. Let’s break it down so you can get started without any confusion.
Remember, the beauty of this tart lies in its simple yet effective mix of flavors and textures. For health benefits of honey, check out this helpful resource that explains its role in recipes like this one.
Main Ingredients List
Here is the complete list of ingredients needed for this Honeycomb Caramel Tart recipe. We’ve formatted it clearly so you can easily follow along:- 397 grams canned caramel condensed milk
- 200 grams biscuits (alternatives include richer caramel biscuits, less sweet plain biscuits, or chocolate-flavored biscuits)
- 240 ml double or heavy whipping cream (to be whipped)
- 80 grams honeycomb chocolate bars (cut into pieces)
These ingredients ensure the tart has that perfect balance of creamy and crunchy elements. If you’re looking for ways to adapt, we cover that in the next sections.
Special Dietary Options
- For a vegan twist, swap the cream for coconut cream and use plant-based biscuits.
- If you’re gluten-free, choose biscuits made from almond or oat flour to keep the crunch.
- To make it lower in calories, reduce the amount of condensed milk and add more whipped cream for volume.
| Ingredient | Quantity | Role in Recipe |
|---|---|---|
| Canned caramel condensed milk | 397 grams | Provides the rich, sweet base |
| Biscuits | 200 grams | Forms the crunchy layers |
| Double or heavy whipping cream | 240 ml | Creates a light and airy texture when whipped |
| Honeycomb chocolate bars | 80 grams | Adds the signature crunch and sweetness |
Tip: You can make your own caramel condensed milk by simmering a sealed can of regular condensed milk in water for 3 hours, then letting it cool.
How to Prepare the Perfect Honeycomb Caramel Tart: Step-by-Step Guide
Now that you have your ingredients ready, let’s walk through making this Honeycomb Caramel Tart step by step. This no bake recipe keeps things simple and fun, so even if you’re new to the kitchen, you’ll feel confident. Follow along, and soon you’ll have a tasty treat to share.
Start by whipping the cream until it forms stiff peaks, but don’t go too far or it might turn into butter. Once that’s done, gently fold in the canned caramel condensed milk to create a smooth mixture. This base is what gives the tart its creamy heart.
Lay down a layer of biscuits in a 22 cm x 18 cm dish to form the foundation. Spread half of the caramel and cream mix over the biscuits, then scatter half of the chopped honeycomb chocolate on top for that crunch. Add another layer of biscuits, followed by the rest of the mixture and the remaining honeycomb.
- Whip the 240 ml of double or heavy whipping cream until stiff peaks form.
- Fold in the 397 grams of canned caramel condensed milk gently.
- Place a layer of 200 grams biscuits at the bottom of the dish.
- Spread half of the caramel and cream mixture over the biscuit layer.
- Scatter half of the 80 grams chopped honeycomb chocolate over this layer.
- Add another biscuit layer on top.
- Spread the remaining caramel and cream mixture over the biscuits.
- Crush the rest of the biscuits, mix with the remaining honeycomb pieces, and sprinkle over the final layer.
- Cover and refrigerate for at least 2 hours to set.
This process helps the biscuits absorb moisture and thicken the tart nicely. For more inspiration on layered desserts, a recipe like our silky lemon cream treat shows how simple steps lead to great results.

Dietary Substitutions to Customize Your Honeycomb Caramel Tart
Everyone has different needs, so tweaking this Honeycomb Caramel Tart recipe is a smart way to make it your own. Whether you’re cutting calories or avoiding certain ingredients, these changes keep the tart delicious. Let’s look at some easy swaps that work well.
For protein options, use plant-based butter instead of traditional ones to keep the richness. If gluten is a concern, swap biscuits for gluten-free versions that still hold their shape. Adding fruits or spices can bring in extra flavors without much effort.
- Replace biscuits with gluten-free alternatives for a safer choice.
- Use coconut cream instead of heavy cream for a vegan-friendly version.
- Try adding cinnamon to the mix for a warm, spicy note.
These adjustments make the tart versatile for all kinds of eaters. Remember, using a sharp knife helps with chopping the honeycomb chocolate bars to get even pieces.
Mastering Honeycomb Caramel Tart: Advanced Tips and Variations
Once you’re comfortable with the basic recipe, try out some advanced tips to take your Honeycomb Caramel Tart to the next level. Little changes can make a big difference in flavor and presentation, making your baking more exciting. Here are some ideas to experiment with.
Pro Techniques and Flavor Ideas
Heat the caramel gently to avoid burning, which keeps it smooth and perfect for layering. For added depth, mix in spices like cardamom to enhance the taste.
- Use a water bath when preparing caramel for even heating.
- Add chocolate drizzles or nuts for extra texture.
- Serve on pretty plates with fresh garnishes like mint.
If you want more dessert inspiration, check out a similar recipe with our lemon tart, which offers great variation ideas.
How to Store Honeycomb Caramel Tart: Best Practices
Proper storage keeps your Honeycomb Caramel Tart fresh and tasty, so let’s cover the basics. This tart is best enjoyed soon after making, but with the right methods, you can save some for later. Follow these steps to maintain that wonderful crunch.
- Keep it in the fridge in an airtight container for up to 3 days.
- Avoid freezing as it can make the texture soft.
- Serve it chilled for the best experience.
This recipe isn’t suited for long-term freezing, so plan accordingly. Leftovers should be eaten within 3 days to keep things fresh.
FAQs: Frequently Asked Questions About Honeycomb Caramel Tart
Can I freeze a honeycomb caramel tart to store it longer?
Freezing a honeycomb caramel tart is not recommended because the texture of the caramel and honeycomb can change, becoming soggy or crumbly when thawed. Instead, store the tart covered in the refrigerator for up to 3 days to keep it fresh and maintain its crunchy texture.
How far in advance can I prepare a honeycomb caramel tart?
You can prepare the honeycomb caramel tart up to 3 days before serving. Keep it covered in the refrigerator to preserve freshness and prevent the honeycomb from losing its crunch. This makes it a convenient dessert to prepare ahead for gatherings.
How many layers does a honeycomb caramel tart usually have?
This tart typically has two layers of biscuits and caramel, but you can add a third layer if you prefer. To keep the texture right when adding layers, divide the condensed milk and cream mixture evenly for each layer so the biscuits don’t become too soggy.
What type of biscuits work best for a honeycomb caramel tart?
Digestive biscuits or tea biscuits are ideal for honeycomb caramel tarts because they hold up well when soaked in the caramel mixture without becoming overly soft. Choose plain, sturdy biscuits to maintain texture and complement the sweetness of the caramel and honeycomb.
Can I adjust the sweetness level of a honeycomb caramel tart?
Yes, you can adjust the sweetness by controlling the amount of caramel and honeycomb used. For a less sweet tart, reduce the quantity of condensed milk or substitute part of the caramel with lightly whipped cream. Adding a pinch of salt to the caramel also balances the flavors nicely.
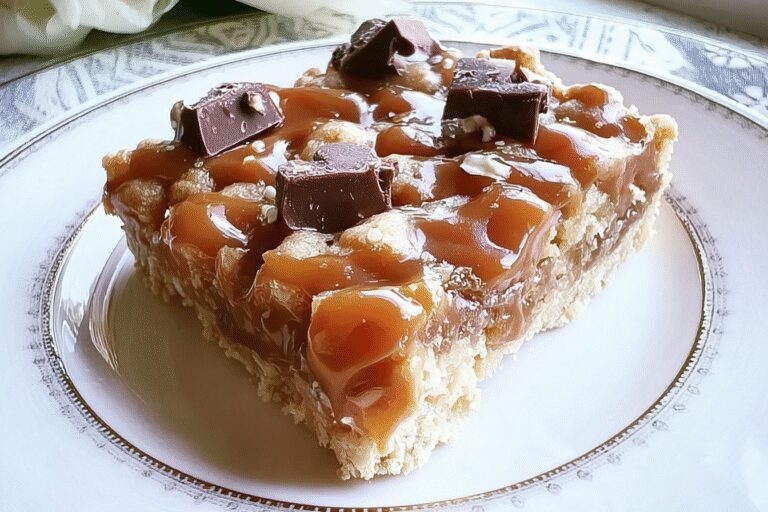
Honeycomb Caramel Tart
🍯 Indulge in a no-bake honeycomb caramel tart that offers a delightful crunch with every bite.
🍫 This recipe is simple to prepare and combines creamy caramel with crunchy biscuits and honeycomb chocolate for a perfect dessert.
- Total Time: 2 hours 10 minutes
- Yield: 8 servings
Ingredients
– 397 grams canned caramel condensed milk Provides the rich, sweet base
– 200 grams biscuits Forms the crunchy layers
– 240 ml double or heavy whipping cream Creates a light and airy texture when whipped
– 80 grams honeycomb chocolate bars Adds the signature crunch and sweetness
Instructions
1-Whip the 240 ml of double or heavy whipping cream until stiff peaks form.
2-Fold in the 397 grams of canned caramel condensed milk gently.
3-Place a layer of 200 grams biscuits at the bottom of the dish.
4-Spread half of the caramel and cream mixture over the biscuit layer.
5-Scatter half of the 80 grams chopped honeycomb chocolate over this layer.
6-Add another biscuit layer on top.
7-Spread the remaining caramel and cream mixture over the biscuits.
8-Crush the rest of the biscuits, mix with the remaining honeycomb pieces, and sprinkle over the final layer.
9-Cover and refrigerate for at least 2 hours to set.
Notes
🍳 Make your own caramel condensed milk by simmering a sealed can of regular condensed milk fully submerged in water for 3 hours.
❄️ Avoid overwhipping cream to prevent it from turning into butter.
⏳ Refrigerate the tart for a minimum of 2 hours for best texture as biscuits absorb moisture and thicken the tart.
- Prep Time: 10 minutes
- Chill Time: 2 hours
- Cook Time: 0 minutes
- Category: Dessert
- Method: No-Bake, Whipping, Layering
- Cuisine: International
- Diet: Vegetarian
Nutrition
- Serving Size: 1 slice
- Calories: 418 kcal
- Sugar: 34.8 g
- Sodium: 88 mg
- Fat: 17.4 g
- Saturated Fat: 6.8 g
- Trans Fat: 0 g
- Carbohydrates: 59.1 g
- Fiber: 0.5 g
- Protein: 7.2 g
- Cholesterol: 45 mg


