
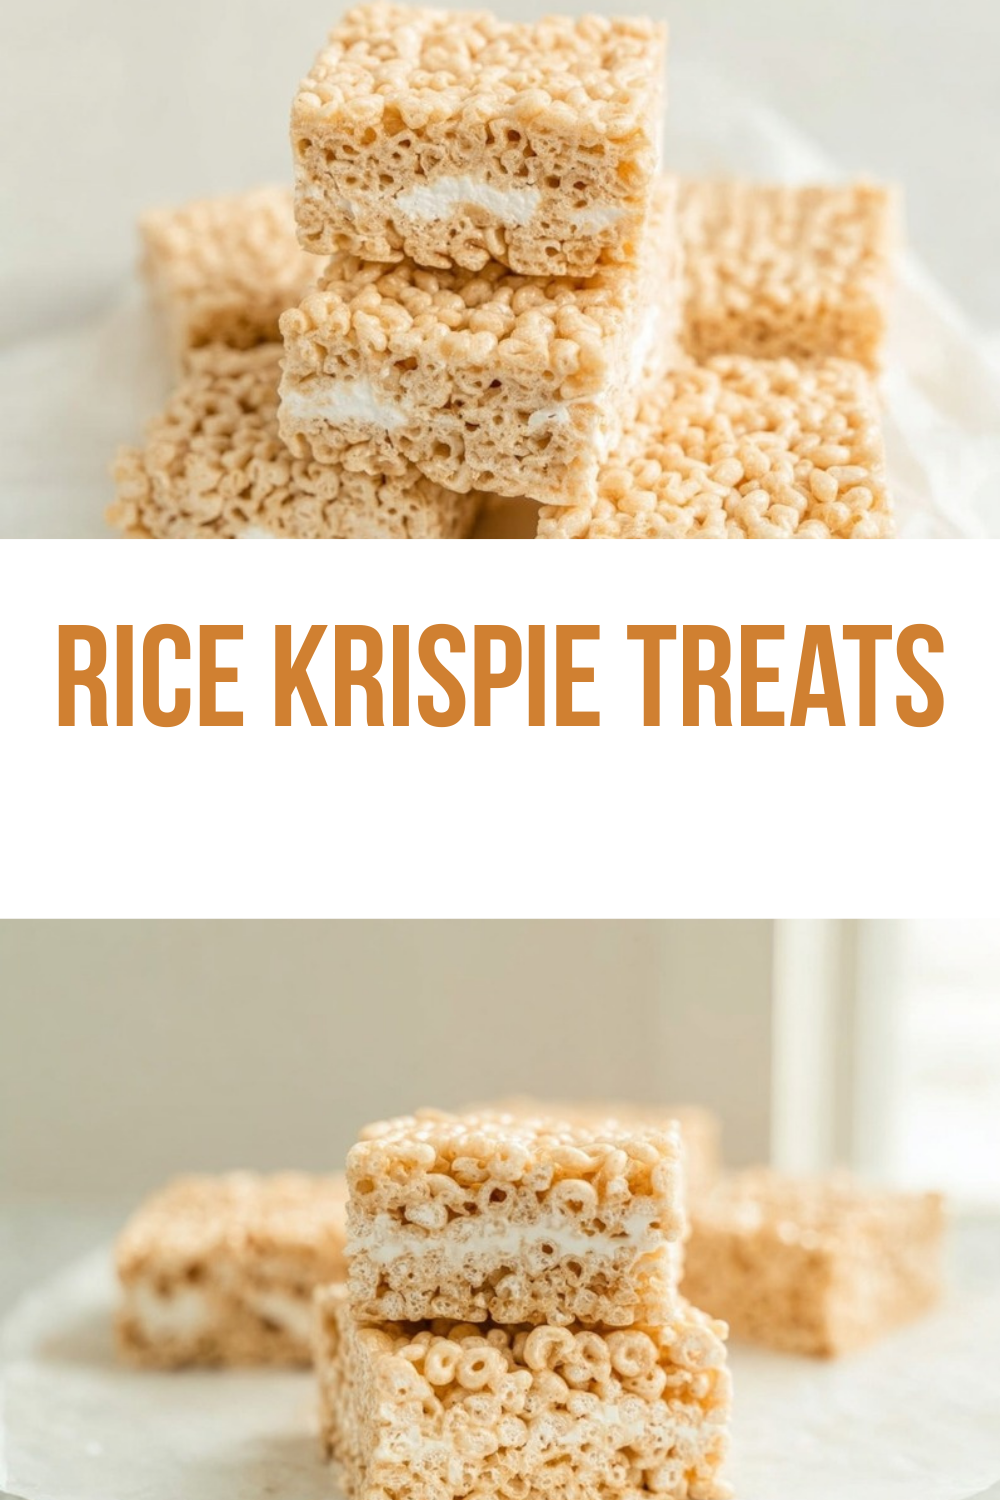
Why You’ll Love This Rice Krispie Treats
Rice Krispie Treats have been a beloved snack for generations, and it’s easy to see why they remain so popular today. These simple, gooey, and crispy squares bring back fond memories of childhood while satisfying sweet cravings for all ages. Whether you’re making them for a school bake sale, a family gathering, or simply as an afternoon snack, this classic treat never disappoints.
Ease of Preparation
One of the biggest advantages of this recipe is how incredibly simple it is to make. With just four basic ingredients and about 10 minutes of active preparation time, you can have a batch of homemade treats ready to enjoy. There’s no baking required, which means you won’t need to turn on your oven. The stovetop method is straightforward, making this an excellent recipe for beginner cooks or for making with children who want to help in the kitchen.
Health Benefits
While Rice Krispie Treats are certainly a sweet indulgence, they can fit into a balanced diet when enjoyed in moderation. The puffed rice cereal provides some carbohydrates for quick energy, and you can control the portion size by cutting smaller squares. Additionally, making them at home allows you to know exactly what goes into your treats, avoiding preservatives and artificial ingredients often found in store-bought versions. For those interested in healthier alternatives, you can learn more about rice cereal safety and nutrition from health experts.
Versatility
This recipe serves as an excellent base that you can customize in countless ways. Add chocolate chips, sprinkles, dried fruit, or nut butter to create your own signature version. You can also adapt the recipe for different dietary needs by using vegan marshmallows, dairy-free butter alternatives, or gluten-free rice cereal. The possibilities for creativity are nearly endless, making this a recipe you’ll return to again and again.
Distinctive Flavor
There’s something truly special about the combination of buttery, marshmallow-coated crispy rice cereal. The contrast between the crunch of the cereal and the soft, chewy marshmallow binding creates a texture that’s uniquely satisfying. The subtle butter flavor adds richness without being overwhelming, while the optional vanilla extract brings a warm, aromatic note that rounds out the taste experience.
Jump To
- 1. Why You’ll Love This Rice Krispie Treats
- 2. How to Prepare the Perfect Rice Krispie Treats: Step-by-Step Guide
- 3. Dietary Substitutions to Customize Your Rice Krispie Treats
- 4. Mastering Rice Krispie Treats: Advanced Tips and Variations
- 5. How to Store Rice Krispie Treats: Best Practices
- 6. FAQs: Frequently Asked Questions About Rice Krispie Treats
- 7. Rice Krispie Treats
How to Prepare the Perfect Rice Krispie Treats: Step-by-Step Guide
Creating the perfect Rice Krispie Treats requires attention to a few key details. Follow these step-by-step instructions to achieve that ideal balance of crispy and chewy every single time.
Ingredients You’ll Need
Before you begin, gather all your ingredients and measure them precisely for the best results:
- 85 g (3 tablespoons) butter
- 250 g (10 oz or about 40 regular-sized) marshmallows or 500 ml (4 cups) miniature marshmallows
- 170 g (6 cups) puffed rice cereal
- 5 ml (1 teaspoon) vanilla extract (optional)
First Step: Prepare Your Pan and Workspace
Start by preparing your pan before you begin cooking. A 9×13 inch pan works well for standard-sized squares. You can either grease the pan with a little butter or cooking spray, or line it with parchment paper for easy removal. Lining with parchment paper is often the better choice because it allows you to lift the entire block of treats out of the pan for easier cutting. Set your prepared pan aside and measure out all your ingredients so they’re ready to go.
Second Step: Melt the Butter
Place a large pot on the stove and turn the heat to low. Add your butter and allow it to melt slowly. Using low heat is important because it prevents the butter from browning or burning. You want the butter to melt gently and evenly. Once the butter has completely melted, you’re ready for the next step. The pot needs to be large enough to hold all the cereal and allow room for stirring, so choose accordingly.
Third Step: Add and Melt the Marshmallows
Add your marshmallows to the melted butter. If you’re using regular-sized marshmallows, you may want to cut them in half first to help them melt more quickly. Stir continuously as the marshmallows begin to melt. Keep the heat on low and be patient, as rushing this step can cause the marshmallows to scorch. Continue stirring until the mixture is completely smooth with no lumps remaining. This usually takes about 3-5 minutes depending on the size of your marshmallows. According to expert bakers at Sugar Spun Run, the key to perfect treats lies in not overcooking the marshmallow mixture.
Fourth Step: Add Vanilla Extract
Once your marshmallows have melted into a smooth, glossy mixture with the butter, remove the pot from the heat. This is the time to stir in your vanilla extract if you’re using it. Adding the vanilla off the heat helps preserve its delicate flavor, as high heat can cause some of the aromatic compounds to evaporate. Stir the vanilla in thoroughly so it’s evenly distributed throughout the marshmallow mixture.
Fifth Step: Incorporate the Rice Cereal
Now it’s time to add your puffed rice cereal to the marshmallow mixture. Pour all six cups of cereal into the pot at once. Using a large wooden spoon or heat-resistant spatula, begin folding the cereal into the marshmallow mixture. Work gently but efficiently to coat all the cereal pieces evenly. You want every piece of cereal to be coated with the marshmallow mixture, but you don’t want to crush the cereal by pressing too hard. Continue stirring until no dry cereal remains visible and everything is well combined.
Sixth Step: Press into the Prepared Pan
Transfer the cereal mixture to your prepared pan. This is where many people struggle because the mixture is sticky and hot. There are several techniques you can use to make this easier. One option is to lightly grease your hands with a little butter or cooking spray and press the mixture down with your palms. Another option is to use a piece of parchment paper or wax paper to press down on the mixture without it sticking to your hands. Press the mixture evenly into the corners and across the entire pan to create a uniform thickness throughout.
Seventh Step: Cool and Cut into Squares
Allow your Rice Krispie Treats to cool completely before cutting. This typically takes about 30-60 minutes at room temperature. Trying to cut them while they’re still warm will result in messy, misshapen squares. Once cooled, lift the entire block out of the pan if you used parchment paper, or cut directly in the pan. Use a sharp knife to cut into 24 squares, wiping the knife clean between cuts for the neatest results.
Nutritional Information
Understanding the nutritional content of your homemade treats helps you make informed decisions about portion sizes. Here’s a general overview of what each serving contains:
| Nutrient | Approximate Amount Per Square |
|---|---|
| Calories | 90-100 calories |
| Total Fat | 3-4 grams |
| Carbohydrates | 17-19 grams |
| Sugar | 8-10 grams |
| Protein | 1 gram |
Keep in mind that these values can vary based on the specific brands of ingredients you use and how large you cut your squares.

Dietary Substitutions to Customize Your Rice Krispie Treats
One of the wonderful things about Rice Krispie Treats is how easily you can adapt them to suit various dietary needs and preferences. Whether you’re cooking for someone with allergies, dietary restrictions, or simply wanting a healthier version, there are plenty of options available.
Protein and Main Component Alternatives
For those looking to add more protein to their treats, consider incorporating protein powder into the marshmallow mixture. Simply add 1-2 scoops of unflavored or vanilla protein powder when you add the vanilla extract. This modification works particularly well if you’re using the treats as a post-workout snack. You can also stir in a quarter cup of peanut butter or almond butter for added protein and a delicious nutty flavor.
If you need a vegan version, substitute the butter with coconut oil or vegan butter, and use vegan marshmallows which are widely available at health food stores and many supermarkets. The texture will be slightly different but still delicious. For those avoiding rice products, you can substitute the puffed rice cereal with puffed quinoa, corn flakes, or even a mixture of your favorite cereals. Each alternative brings its own unique flavor and texture profile.
Vegetable, Sauce, and Seasoning Modifications
While vegetables might seem out of place in a sweet treat, you can actually incorporate some surprising ingredients. A quarter cup of pureed pumpkin added to the marshmallow mixture creates a subtle fall flavor and adds moisture. You can also add warming spices like cinnamon, nutmeg, or pumpkin pie spice to create seasonal variations that taste wonderful.
For chocolate lovers, there are several ways to add richness. Stir in a half cup of chocolate chips after you’ve mixed in the cereal, or drizzle melted chocolate over the top before cutting. You could also replace some of the marshmallows with chocolate-flavored ones for a double-chocolate version. If you enjoy our chocolate covered strawberries, you might love adding freeze-dried strawberries to your treats for a chocolate-covered strawberry inspired variation.
Salt is another seasoning that can transform your treats. Adding a pinch of sea salt to the marshmallow mixture enhances the sweetness and creates a more complex flavor profile. Some bakers even sprinkle flaky sea salt on top for a sophisticated salted-caramel-style treat.
Mastering Rice Krispie Treats: Advanced Tips and Variations
Once you’ve mastered the basic recipe, there are numerous ways to take your Rice Krispie Treats to the next level. These tips and variations will help you create treats that look and taste like they came from a professional bakery.
Pro Cooking Techniques
The temperature of your marshmallow mixture is crucial for achieving the perfect texture. Overheating causes the marshmallows to break down too much, resulting in hard, dense treats instead of soft, chewy ones. Always keep your heat on low and remove the pot from the heat source as soon as the marshmallows are fully melted. If you notice the mixture starting to brown or smell caramelized, it has cooked too long.
Using fresh marshmallows is one of the most important tips for achieving the best texture. Stale marshmallows won’t melt properly and can lead to tough, rubbery treats that no one enjoys eating.
Another professional technique is to work quickly once you add the cereal. The marshmallow mixture begins to set as it cools, so you want to get everything mixed and pressed into the pan before this happens. Having all your tools and ingredients ready before you start is essential for success.
Flavor Variations
The possibilities for flavor variations are nearly endless. Here are some popular options to try:
- Cookies and Cream: Add crushed chocolate sandwich cookies and extra chocolate chips to the mixture for a decadent cookies and cream version.
- Peanut Butter Cup: Swirl peanut butter into the marshmallow mixture and top with chocolate ganache for a peanut butter cup inspired treat.
- S’mores: Add graham cracker pieces and chocolate chips, then toast the top with a kitchen torch for that authentic s’mores flavor.
- Birthday Cake: Use cake-flavored cereal or add rainbow sprinkles and a splash of almond extract for a festive birthday cake variation.
- Salted Caramel: Add caramel sauce to the marshmallow mixture and finish with a sprinkle of sea salt. This pairs wonderfully with our salted caramel popcorn recipe if you’re creating a dessert spread.
Presentation Tips
How you present your Rice Krispie Treats can make them look as impressive as they taste. Consider cutting them with cookie cutters instead of a knife for fun shapes that are perfect for holidays and special occasions. You can also dip individual squares in melted chocolate and decorate with sprinkles, crushed candy, or drizzled contrasting chocolate.
For a more elegant presentation, cut your squares larger and insert a popsicle stick into each one before they fully set. These Rice Krispie pops can then be decorated and displayed standing up in a decorative container. This presentation style works beautifully for parties and special events.
Make-Ahead Options
Rice Krispie Treats are excellent for making ahead of time because they store so well. You can prepare a batch up to three days before you need them and store them in an airtight container at room temperature. For longer storage, they can be frozen for up to six weeks. Wrap individual squares in plastic wrap, then place them in a freezer-safe bag. Thaw at room temperature for about an hour before serving.
How to Store Rice Krispie Treats: Best Practices
Proper storage is essential for maintaining the quality and freshness of your homemade Rice Krispie Treats. Follow these guidelines to keep your treats tasting their best for as long as possible.
Refrigeration
While refrigeration isn’t necessary for Rice Krispie Treats, it can help them last longer, especially in warm weather. If you choose to refrigerate your treats, place them in an airtight container first. The cold temperature can cause them to become slightly firmer, so let them come to room temperature before serving for the best texture. Refrigerated treats typically stay fresh for about one week.
Freezing
For longer storage, freezing is an excellent option. Wrap your cut squares individually in plastic wrap or wax paper, then place them in a freezer-safe container or bag. Remove as much air as possible from the container to prevent freezer burn. Properly stored frozen treats can last up to six weeks. Label your container with the date so you know when to use them by.
Reheating
If your treats have become too firm from storage, you can soften them slightly by microwaving for just a few seconds. Be careful not to overheat them, as this can cause the marshmallows to melt and change the texture. A quick 5-10 seconds in the microwave should be enough to bring back some softness without compromising the treats’ integrity.
Meal Prep Considerations
Rice Krispie Treats are perfect for meal prep because they require no refrigeration and travel well. Make a batch on the weekend and portion them into individual containers for lunch boxes throughout the week. They’re sturdy enough to hold up in a lunch bag and don’t require any special handling. For busy parents and working professionals, having these pre-portioned treats ready to grab makes snack time much easier.
FAQs: Frequently Asked Questions About Rice Krispie Treats
Print
Rice Krispie Treats
🍬 Relive childhood nostalgia with gooey, crispy original Rice Krispies treats – no-bake magic ready in minutes for instant sweet satisfaction.
📦 Simple pantry-staple recipe that’s endlessly customizable, perfect for parties, snacks, or anytime treat without oven hassle.
- Total Time: 40 minutes
- Yield: 24 squares
Ingredients
Instructions
1-First Step: Prepare Your Pan and Workspace. Start by preparing your pan before you begin cooking. A 9×13 inch pan works well for standard-sized squares. You can either grease the pan with a little butter or cooking spray, or line it with parchment paper for easy removal. Lining with parchment paper is often the better choice because it allows you to lift the entire block of treats out of the pan for easier cutting. Set your prepared pan aside and measure out all your ingredients so they’re ready to go.
2-Second Step: Melt the Butter. Place a large pot on the stove and turn the heat to low. Add your butter and allow it to melt slowly. Using low heat is important because it prevents the butter from browning or burning. You want the butter to melt gently and evenly. Once the butter has completely melted, you’re ready for the next step. The pot needs to be large enough to hold all the cereal and allow room for stirring, so choose accordingly.
3-Third Step: Add and Melt the Marshmallows. Add your marshmallows to the melted butter. If you’re using regular-sized marshmallows, you may want to cut them in half first to help them melt more quickly. Stir continuously as the marshmallows begin to melt. Keep the heat on low and be patient, as rushing this step can cause the marshmallows to scorch. Continue stirring until the mixture is completely smooth with no lumps remaining. This usually takes about 3-5 minutes depending on the size of your marshmallows. According to expert bakers at Sugar Spun Run, the key to perfect treats lies in not overcooking the marshmallow mixture.
4-Fourth Step: Add Vanilla Extract. Once your marshmallows have melted into a smooth, glossy mixture with the butter, remove the pot from the heat. This is the time to stir in your vanilla extract if you’re using it. Adding the vanilla off the heat helps preserve its delicate flavor, as high heat can cause some of the aromatic compounds to evaporate. Stir the vanilla in thoroughly so it’s evenly distributed throughout the marshmallow mixture.
5-Fifth Step: Incorporate the Rice Cereal. Now it’s time to add your puffed rice cereal to the marshmallow mixture. Pour all six cups of cereal into the pot at once. Using a large wooden spoon or heat-resistant spatula, begin folding the cereal into the marshmallow mixture. Work gently but efficiently to coat all the cereal pieces evenly. You want every piece of cereal to be coated with the marshmallow mixture, but you don’t want to crush the cereal by pressing too hard. Continue stirring until no dry cereal remains visible and everything is well combined.
6-Sixth Step: Press into the Prepared Pan. Transfer the cereal mixture to your prepared pan. This is where many people struggle because the mixture is sticky and hot. There are several techniques you can use to make this easier. One option is to lightly grease your hands with a little butter or cooking spray and press the mixture down with your palms. Another option is to use a piece of parchment paper or wax paper to press down on the mixture without it sticking to your hands. Press the mixture evenly into the corners and across the entire pan to create a uniform thickness throughout.
7-Seventh Step: Cool and Cut into Squares. Allow your Rice Krispie Treats to cool completely before cutting. This typically takes about 30-60 minutes at room temperature. Trying to cut them while they’re still warm will result in messy, misshapen squares. Once cooled, lift the entire block out of the pan if you used parchment paper, or cut directly in the pan. Use a sharp knife to cut into 24 squares, wiping the knife clean between cuts for the neatest results.
Notes
🫐 Use fresh marshmallows for the best melt and gooey texture.
🤲 Lightly grease hands or spatula to press mixture without sticking.
🫙 Store in airtight container at room temp up to 2 days for freshness.
- Prep Time: 10 minutes
- Cooling: 30 minutes
- Category: Dessert
- Method: No-Bake
- Cuisine: American
- Diet: Vegetarian
Nutrition
- Serving Size: 1 square
- Calories: 80 kcal
- Sugar: 9g
- Sodium: 80mg
- Fat: 2g
- Saturated Fat: 1g
- Unsaturated Fat: 1g
- Trans Fat: 0g
- Carbohydrates: 17g
- Fiber: 0g
- Protein: 1g
- Cholesterol: 5mg


