
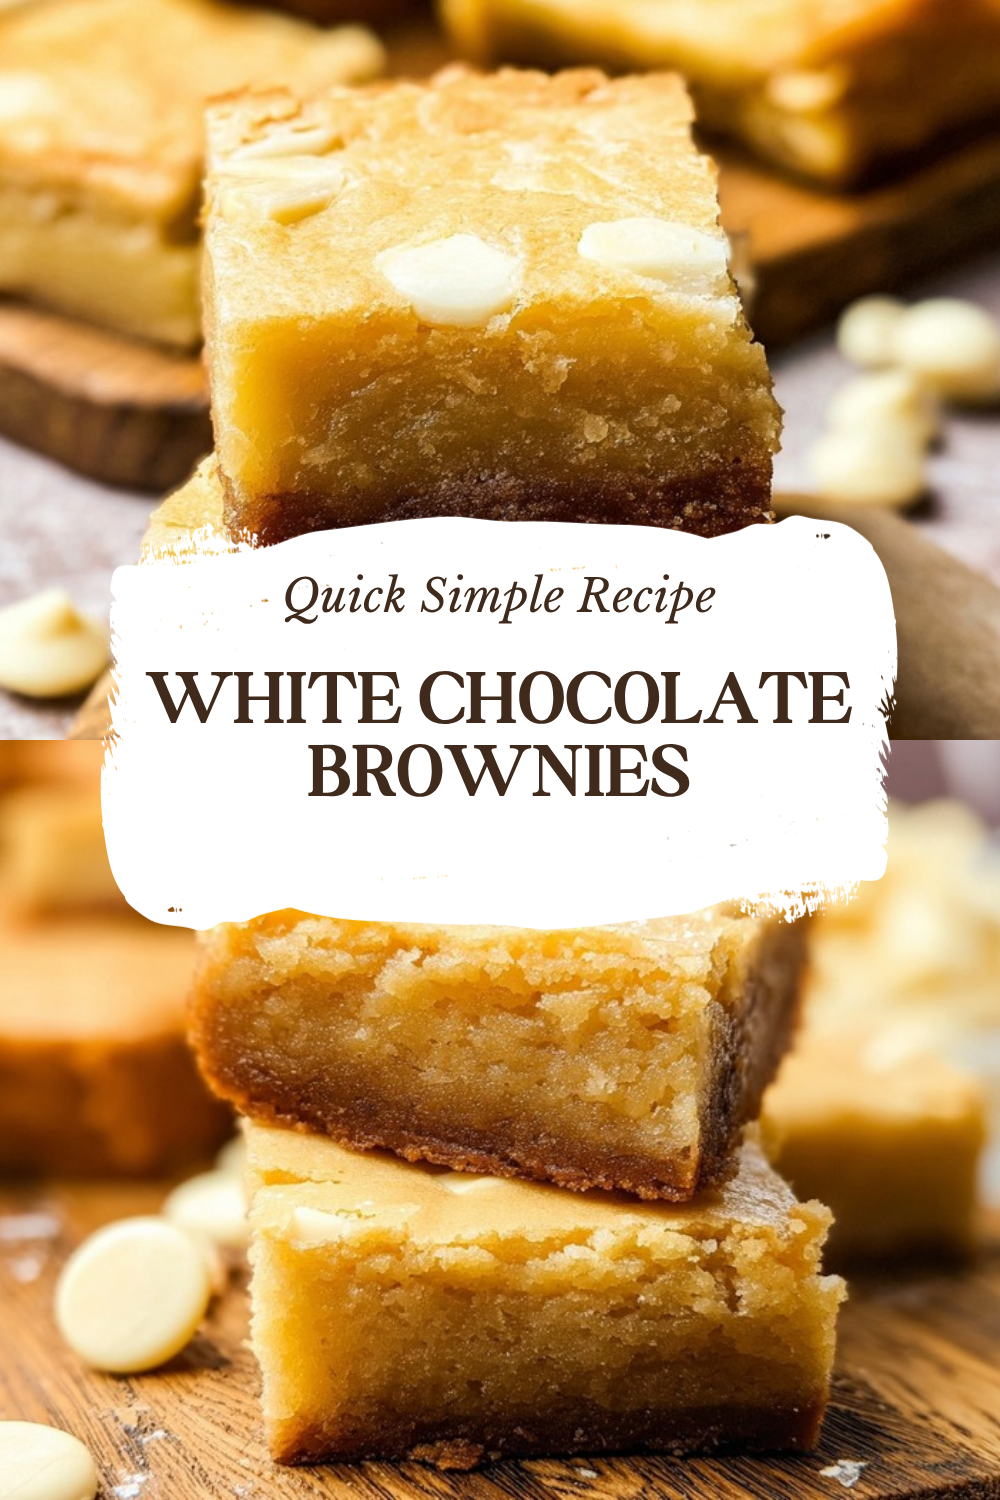
Why You’ll Love This White Chocolate Brownies
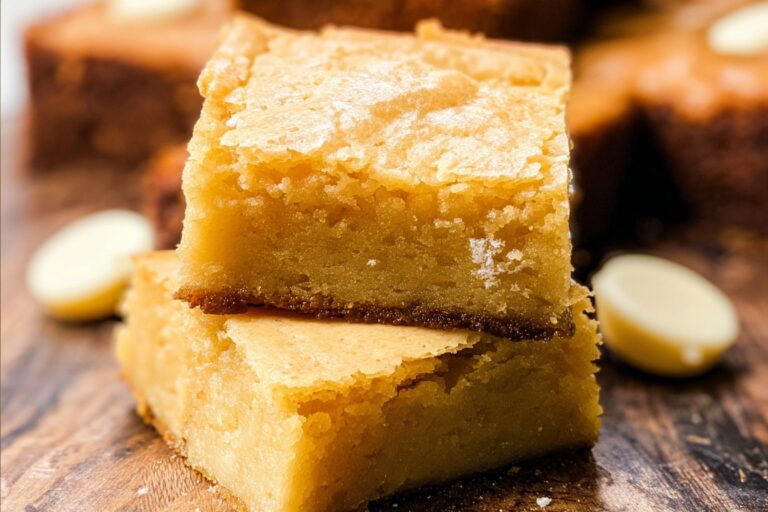
If you love rich, fudgy bars with a creamy, sweet twist, these White Chocolate Brownies are a treat you will come back to again and again. This white chocolate brownies recipe is approachable for bakers of all levels and delivers a glossy, crackly top with a tender, dense center. It makes 16 servings and takes just 55 minutes total (15 minutes prep and 40 minutes baking), so you can have a crowd-pleasing dessert without a long day in the kitchen.
- Ease of preparation: The white chocolate brownies recipe uses simple pantry staples and a straightforward method: melt, whisk, fold, and bake. With just a 9×9-inch pan and basic tools you probably already own, the whole batter comes together in about 15 minutes, making it a perfect last-minute dessert for busy parents, students, or working professionals.
- Health benefits: While these are an indulgent treat, each serving is moderate in calories (299 calories per serving) and provides small amounts of protein and calcium. Using quality ingredients and portioning into 16 pieces makes it easier to enjoy a sweet bite without overindulging ideal for diet-conscious individuals who want balance and flavor.
- Versatility: This white chocolate brownies recipe adapts well to swaps and additions. Add chopped walnuts for crunch, use white chocolate chips if you don’t have a bar, or try gluten-free flour to suit dietary needs. Because the base is neutral and creamy, it pairs beautifully with berries, coffee, or a scoop of vanilla ice cream.
- Distinctive flavor: The melted white chocolate creates a silky, vanilla-forward richness that sets these bars apart from traditional cocoa brownies or simple blondies. The result is a fudgy, slightly golden bar with pockets of melted white chocolate chips that give a luxurious mouthfeel and subtle sweetness.
Jump To
- 1. Why You’ll Love This White Chocolate Brownies
- 2. Essential Ingredients for White Chocolate Brownies
- 3. How to Prepare the Perfect White Chocolate Brownies: Step-by-Step Guide
- 4. Dietary Substitutions to Customize Your White Chocolate Brownies
- 5. Mastering White Chocolate Brownies: Advanced Tips and Variations
- 6. How to Store White Chocolate Brownies: Best Practices
- 7. Nutrition Facts
- 8. FAQs: Frequently Asked Questions About White Chocolate Brownies
- 9. White Chocolate Brownies
Essential Ingredients for White Chocolate Brownies
Below is a clear, structured list of every ingredient needed for this white chocolate brownies recipe. Each item is shown with the exact measurement so you can gather everything before you start.
- 10 tablespoons unsalted butter (cut into pieces) – provides fat for fudgy texture and helps melt white chocolate smoothly
- 6 ounces white chocolate bar (chopped) – the main flavor driver; real white chocolate gives creamy structure and depth
- 1 1/4 cups granulated sugar – sweetens and helps create a shiny, crackly top when whisked with eggs
- 2 large eggs plus 1 egg yolk – contribute structure and richness while keeping the center tender
- 1/2 teaspoon vanilla extract – adds warm aromatic notes that complement the white chocolate
- 1 3/4 cups all-purpose flour – provides structure; measure carefully to avoid a dry crumb
- 1 teaspoon salt – balances sweetness and brings out flavor
- 1/4 teaspoon baking powder – a touch of lift so the bars are dense but not rock-solid
- 1 cup white chocolate chips – optional for extra pockets of melted white chocolate; fold in for texture
Special Dietary Options
- Vegan: Replace butter with an equal amount of vegan butter and swap eggs with flax eggs (3 tablespoons ground flaxseed mixed with 9 tablespoons water, chilled) and use a high-quality vegan white chocolate alternative. Note that texture may differ and bake time may vary.
- Gluten-free: Substitute the all-purpose flour with a 1:1 gluten-free baking blend that contains xanthan gum. Measure by weight for best results and check for doneness with a toothpick.
- Low-calorie: Reduce sugar slightly (try 1 cup plus 2 tablespoons) and use a light butter alternative; however, expect differences in texture and sweetness. Serving smaller portions also helps manage calories while keeping the indulgent flavor.
How to Prepare the Perfect White Chocolate Brownies: Step-by-Step Guide
This step-by-step section walks you through the full method. Follow the timing and temperature guidance, and read the adaptions in each step if you need to tweak the recipe for dietary needs or ingredient availability. The recipe yields 16 servings and the total time is 55 minutes (15 minutes prep and 40 minutes baking), though I note baking times can vary slightly by oven and pan.
First Step: Gather and prep (Mise en place)
- Preheat your oven to 325°F and line a 9×9-inch baking pan with parchment paper so you can lift the bars out easily for slicing. Lightly grease the pan if the parchment does not fully cover the sides.
- Chop the 6 ounces white chocolate bar into small, even pieces so it melts evenly. Cut 10 tablespoons unsalted butter into pieces for quicker melting.
- Measure 1 1/4 cups granulated sugar, 1 3/4 cups all-purpose flour, 1 teaspoon salt, and 1/4 teaspoon baking powder into separate bowls for quick mixing.
Second Step: Melt butter and white chocolate
- Place the butter pieces and the chopped white chocolate bar in a microwave-safe bowl. Melt in the microwave in 20-second increments at medium power, stirring between each burst until smooth. Use short bursts to prevent graininess or seizing. If the mixture thickens, stir gently until glossy. Alternatively, use a double boiler over simmering water and stir constantly until melted.
- Let the melted mixture cool slightly while you prepare the eggs and sugar.
Third Step: Whisk sugar and eggs
- In a clean bowl, vigorously whisk the 1 1/4 cups granulated sugar with 2 large eggs plus 1 egg yolk until the mixture is pale yellow and slightly thickened. This step helps create shiny, crackly tops and adds structure to the bars.
- Stir in 1/2 teaspoon vanilla extract, then pour the slightly cooled melted white chocolate and butter into the egg-sugar mixture. Stir gently to combine until uniform.
Fourth Step: Combine dry and wet ingredients
- Whisk together 1 3/4 cups all-purpose flour, 1 teaspoon salt, and 1/4 teaspoon baking powder in a medium bowl. Sift if you prefer a smoother batter, but gentle whisking is fine.
- Fold the dry ingredients into the wet mixture with a spatula. Mix until just combined avoid overmixing to keep the bars tender.
- Fold in 1 cup white chocolate chips for extra pockets of melty goodness. If adding 1 cup chopped walnuts for texture, fold them in now as an optional step.
Fifth Step: Bake
- Spread the batter evenly into the prepared 9×9-inch pan using a spatula to smooth the top. Tap the pan gently on the counter to release any large air bubbles.
- Bake at 325°F. The recipe’s summary lists 40 minutes baking time, and many bakers find that 40 minutes is a good guideline. The directions also note baking for 42 minutes; check around 40 minutes and plan for 40 to 42 minutes total. Insert a toothpick near the center: it should come out clean or with moist crumbs (not wet batter) when done.
- Oven temperatures and metal vs glass pans affect time: metal pans conduct heat more evenly than glass, which may change the bake time by a few minutes. If using a glass pan, check a few minutes earlier to prevent over-browning.
Final Step: Cool and serve
- Allow the white chocolate brownies to cool completely in the pan before slicing. Full cooling prevents gooey centers and helps you get clean slices. For quickest clean removal, lift the parchment paper out of the pan and slice on a cutting board.
- Store finished bars in an airtight container at room temperature for up to 5 days, or follow the storage methods in the storage section below for longer keeping.
Notes on adaptation: For vegan or gluten-free versions, see the Dietary Substitutions section. If you substitute white chocolate chips for the chopped bar, note that the flavor and texture might be slightly different, but chips can be used in a pinch. The vigorous whisking step is important for the shiny top, so give the eggs and sugar a good beat.

Dietary Substitutions to Customize Your White Chocolate Brownies
The basic white chocolate brownies recipe is flexible. Below are practical swaps and options grouped by type so you can adjust the bars to match dietary needs or taste preferences.
Protein and Main Component Alternatives
If you need to replace eggs or dairy, these swaps keep texture close to the original without losing the fudgy appeal:
- Egg replacement: For a vegan version, use flax eggs (1 tablespoon ground flaxseed + 3 tablespoons water per egg, chilled) or store-bought egg replacer following package instructions. Note that rise and crumb may vary; flax eggs add density.
- Butter alternatives: Use vegan butter one-to-one to keep the fat content similar. Coconut oil can be used but will add a subtle coconut note and might slightly change the texture.
- White chocolate substitute: Choose a reliable high-quality vegan white chocolate if avoiding dairy. Avoid confectionery coating products that lack cocoa butter, as they behave differently when melted.
Vegetable, Sauce, and Seasoning Modifications
You can play with small additions to shift flavor profiles without losing the heart of the recipe:
- Salt and flavor: A pinch more salt (up to 1/8 teaspoon extra) can brighten flavors if your white chocolate is especially sweet. You can also stir in 1/4 teaspoon almond extract in place of vanilla for a different aromatic note.
- Mix-ins: Swap walnuts for pecans or pistachios for textural variation. Toast nuts at 350°F for 5-7 minutes first to bring out their oils and prevent sogginess in the bars.
- Fruit additions: Fresh or frozen raspberries and tart fruits pair beautifully with the creamy white chocolate; fold gently so berries don’t over-release juices into the batter.
Mastering White Chocolate Brownies: Advanced Tips and Variations
Once you know the basic method, these techniques and twists help you take the white chocolate brownies to the next level better texture, bolder flavors, and prettier presentation.
Pro cooking techniques
- Temper your melted white chocolate by letting it cool slightly before adding it to the eggs. If it is too hot, the eggs can cook or scramble when mixed. Aim for the melted chocolate to feel warm, not hot.
- Whisk eggs and sugar until pale and thick. This step traps air, which creates the glossy top. Use a hand mixer for a faster lift if you prefer.
- Fold dry ingredients until just combined. Overmixing develops gluten and will make the bars cakier rather than fudgy.
Flavor variations
- Salted white chocolate brownies: sprinkle flaky sea salt on top right after baking for a salted-sweet contrast.
- Lemon-vanilla twist: add 1 teaspoon lemon zest to the batter for a bright citrus note that pairs well with white chocolate.
- Nutty crunch: fold in 1 cup toasted walnuts or pecans to add texture and balance the sweetness.
Presentation tips
- Dust lightly with powdered sugar or a small sprinkle of cocoa powder around the plate edge for contrast.
- Top with fresh raspberries or a scoop of vanilla ice cream for a dessert that feels special but is easy to assemble.
Make-ahead options
- Prepare the batter and keep it in the refrigerator for up to 24 hours before baking; bring to room temperature briefly and stir before baking.
- Bake the bars, cool completely, then wrap and freeze portions for up to 3 months (see the storage section for freeze/thaw tips). Thaw overnight in the fridge before serving.
Tip: Use a high-quality white chocolate bar for the best flavor and texture. Cheap coatings may not melt smoothly and can affect both taste and mouthfeel.
How to Store White Chocolate Brownies: Best Practices
Proper storage preserves texture and flavor. These methods will help you keep your white chocolate brownies fresh whether you plan to eat them over the next few days or save them for weeks.
Refrigeration
For short-term storage, place cooled brownies in an airtight container lined with parchment paper. At room temperature they stay fresh for 3 to 4 days. If you prefer refrigeration, store sealed for up to 1 week; allow the brownies to come to room temperature before eating to restore chewiness.
Freezing
For longer storage, wrap individual brownies tightly in plastic wrap and then in foil or place them in a freezer bag. Freeze for up to 3 months. Thaw overnight in the refrigerator or on the counter for a few hours before serving. Avoid stacking without parchment between pieces to prevent sticking.
Reheating
To bring back the fresh-baked gooeyness, warm slices briefly in a 300°F oven for 5 minutes or microwave single servings for 10 to 15 seconds. Warming helps melt any chip pockets and softens the center for an experience close to freshly baked.
Meal prep considerations
Because this recipe yields 16 servings, it’s ideal for batch baking. Portion into individual containers for grab-and-go snacks, or freeze extras and rotate through the freezer for unexpected guests or quick desserts.
Nutrition Facts
| Per Serving (1 of 16) | Amount |
|---|---|
| Calories | 299 |
| Carbohydrates | 39g |
| Protein | 3g |
| Fat (total) | 15g |
| Saturated fat | 9g |
| Cholesterol | 44mg |
| Sodium | 179mg |
| Sugar | 29g |
| Calcium | 56mg |
FAQs: Frequently Asked Questions About White Chocolate Brownies
What’s the difference between blondies and white chocolate brownies?
Blondies are butterscotch-like bar cookies made without any chocolate, relying on brown sugar for their chewy, caramel flavor and golden color. White chocolate brownies, often called “blondies” interchangeably but distinct, incorporate melted white chocolate into the batter, giving them a richer, fudgier texture similar to traditional brownies despite the lack of cocoa or dark chocolate. This white chocolate addition creates a smoother, creamier mouthfeel and subtle vanilla notes. To make authentic white chocolate brownies at home, melt 8 ounces of white chocolate with butter, mix into a batter with eggs, sugar, flour, and chips, then bake at 350°F for 25-30 minutes. The result is denser and more indulgent than plain blondies, perfect for white chocolate lovers. (98 words)
How sweet are white chocolate brownies?
White chocolate brownies strike a balanced sweetness—sweet enough to satisfy cravings but not cloyingly sugary, thanks to careful recipe ratios that temper the natural sugar in white chocolate. Unlike pure blondies dominated by brown sugar, the melted white chocolate adds creamy richness without overwhelming the palate, making them enjoyable in generous portions. For home bakers, use high-quality white chocolate (at least 30% cocoa butter) and avoid over-sweetening; a standard recipe calls for 1 cup granulated sugar and 1/2 cup brown sugar for 16 brownies. Taste the batter and adjust with a pinch of salt if needed. Pair with tart berries or coffee to cut sweetness further. They’re a crowd-pleaser for parties without causing sugar overload. (112 words)
Can I add walnuts to white chocolate brownies?
Yes, adding walnuts to white chocolate brownies is a great way to introduce crunch and nutty flavor that complements the creamy sweetness. Stir in 1 cup of chopped walnuts (or pecans for a richer taste) right after mixing the wet and dry ingredients, along with 1 cup white chocolate chips for extra pockets of meltiness. Toast the nuts lightly in a 350°F oven for 5-7 minutes first to enhance their flavor and prevent sogginess. This addition keeps the fudgy texture intact while adding contrast—bake as usual for 25-30 minutes. It’s a simple customization for texture lovers; store extras in an airtight container to maintain freshness. Walnuts boost nutrition with healthy fats and protein too. (108 words)
How do you store white chocolate brownies?
Store white chocolate brownies properly to keep their fudgy texture and prevent drying out. At room temperature, place them in an airtight container lined with parchment paper; they’ll stay fresh for 3-4 days. For longer storage, refrigerate in a sealed container for up to 1 week—let them come to room temp before eating to restore chewiness. To freeze, wrap individual brownies in plastic wrap and foil, then store in a freezer bag for up to 3 months; thaw overnight in the fridge. Avoid stacking without paper to prevent sticking due to their soft centers. Pro tip: Warm slices briefly in a 300°F oven for 5 minutes to mimic fresh-baked gooeyness. This method preserves flavor and extends enjoyment. (114 words)
How do you melt white chocolate for brownies without seizing?
Melting white chocolate for brownies requires gentle heat to avoid seizing or scorching, as it’s finicky due to its high sugar and low cocoa butter content. Use a double boiler: simmer water in a pot, place a heatproof bowl with 8-12 ounces chopped white chocolate (or chips) over it, stirring constantly until smooth at 100-110°F. Microwave alternative: heat in 20-second bursts at 50% power, stirring between each. Add 2 tablespoons neutral oil or butter per 8 ounces if it thickens. Once melted, cool slightly before folding into batter with eggs and flour. This ensures even distribution for fudgy results. Always use real white chocolate, not coating, for best texture in your brownies. (109 words)
White Chocolate Brownies
🍫 These white chocolate brownies deliver rich, buttery flavor with a perfectly fudgy texture and shiny crackly tops that make them irresistible
🍔 Perfect for white chocolate lovers, these brownies are easy to make and stay moist for days, making them ideal for gatherings or everyday treats
- Total Time: 55 minutes
- Yield: 16 servings 1x
Ingredients
10 tablespoons unsalted butter (cut into pieces) provides fat for fudgy texture and helps melt white chocolate smoothly
6 ounces white chocolate bar (chopped) the main flavor driver; real white chocolate gives creamy structure and depth
1 1/4 cups granulated sugar sweetens and helps create a shiny, crackly top when whisked with eggs
2 large eggs plus 1 egg yolk contribute structure and richness while keeping the center tender
1/2 teaspoon vanilla extract adds warm aromatic notes that complement the white chocolate
1 3/4 cups all-purpose flour provides structure; measure carefully to avoid a dry crumb
1 teaspoon salt balances sweetness and brings out flavor
1/4 teaspoon baking powder a touch of lift so the bars are dense but not rock-solid
1 cup white chocolate chips optional for extra pockets of melted white chocolate; fold in for texture
Instructions
1-First Step: Gather and prep (Mise en place) * Preheat your oven to 325°F and line a 9×9-inch baking pan with parchment paper so you can lift the bars out easily for slicing. Lightly grease the pan if the parchment does not fully cover the sides. * Chop the 6 ounces white chocolate bar into small, even pieces so it melts evenly. Cut 10 tablespoons unsalted butter into pieces for quicker melting. * Measure 1 1/4 cups granulated sugar, 1 3/4 cups all-purpose flour, 1 teaspoon salt, and 1/4 teaspoon baking powder into separate bowls for quick mixing.
2-Second Step: Melt butter and white chocolate * Place the butter pieces and the chopped white chocolate bar in a microwave-safe bowl. Melt in the microwave in 20-second increments at medium power, stirring between each burst until smooth. Use short bursts to prevent graininess or seizing. If the mixture thickens, stir gently until glossy. Alternatively, use a double boiler over simmering water and stir constantly until melted. * Let the melted mixture cool slightly while you prepare the eggs and sugar.
3-Third Step: Whisk sugar and eggs * In a clean bowl, vigorously whisk the 1 1/4 cups granulated sugar with 2 large eggs plus 1 egg yolk until the mixture is pale yellow and slightly thickened. This step helps create shiny, crackly tops and adds structure to the bars. * Stir in 1/2 teaspoon vanilla extract, then pour the slightly cooled melted white chocolate and butter into the egg-sugar mixture. Stir gently to combine until uniform.
4-Fourth Step: Combine dry and wet ingredients * Whisk together 1 3/4 cups all-purpose flour, 1 teaspoon salt, and 1/4 teaspoon baking powder in a medium bowl. Sift if you prefer a smoother batter, but gentle whisking is fine. * Fold the dry ingredients into the wet mixture with a spatula. Mix until just combined avoid overmixing to keep the bars tender. * Fold in 1 cup white chocolate chips for extra pockets of melty goodness. If adding 1 cup chopped walnuts for texture, fold them in now as an optional step.
5-Fifth Step: Bake * Spread the batter evenly into the prepared 9×9-inch pan using a spatula to smooth the top. Tap the pan gently on the counter to release any large air bubbles. * Bake at 325°F. The recipe’s summary lists 40 minutes baking time, and many bakers find that 40 minutes is a good guideline. The directions also note baking for 42 minutes; check around 40 minutes and plan for 40 to 42 minutes total. Insert a toothpick near the center: it should come out clean or with moist crumbs (not wet batter) when done. * Oven temperatures and metal vs glass pans affect time: metal pans conduct heat more evenly than glass, which may change the bake time by a few minutes. If using a glass pan, check a few minutes earlier to prevent over-browning.
6-Final Step: Cool and serve * Allow the white chocolate brownies to cool completely in the pan before slicing. Full cooling prevents gooey centers and helps you get clean slices. For quickest clean removal, lift the parchment paper out of the pan and slice on a cutting board. * Store finished bars in an airtight container at room temperature for up to 5 days, or follow the storage methods in the storage section below for longer keeping.
Notes
🍫 Use high-quality white chocolate bar for best flavor and texture – the quality directly impacts the final taste
⏰ Lower baking temperature ensures fudgy centers without over-browning the delicate white chocolate
🌡️ Metal pans conduct heat more evenly than glass pans for better baking results and consistent texture
- Prep Time: 15 minutes
- Cooling Time: 1 hour
- Cook Time: 40 minutes
- Category: Dessert
- Method: Baking
- Cuisine: American
- Diet: Vegetarian
Nutrition
- Serving Size: 1 brownie
- Calories: 299
- Sugar: 29
- Sodium: 179
- Fat: 15
- Saturated Fat: 9
- Unsaturated Fat: 5
- Trans Fat: 0.3
- Carbohydrates: 39
- Fiber: 0.4
- Protein: 3
- Cholesterol: 44


