
Why You’ll Love This Peanut Butter Fudge
If you have been looking for a sweet treat that comes together fast and tastes like pure comfort, Peanut Butter Fudge is a wonderful choice. It uses only a few simple ingredients, but the final result feels special enough for holidays, gifts, or a cozy night at home. The texture is rich, creamy, and just a little crumbly in the best way.
- Easy to make: You only need a handful of ingredients and about 5 minutes of active prep time. Both the microwave and stovetop methods are beginner-friendly, so even new cooks can feel confident.
- Great for busy days: Since the fudge chills while you do other things, it fits neatly into busy schedules. It is a smart pick for parents, students, and working professionals who want a homemade dessert without a long kitchen session.
- Simple ingredients: Butter, creamy peanut butter, vanilla, and powdered sugar are pantry staples for many households. That makes this recipe easy to pull together without a special shopping trip.
- Classic flavor: The mix of salty peanut butter and sweet powdered sugar creates a nostalgic flavor that many people love. It pairs beautifully with cold milk, coffee, or tea.
This Peanut Butter Fudge is one of those recipes that feels old-fashioned in the best possible way. It is simple, comforting, and easy to share.
For readers who enjoy rich homemade sweets, you may also like these chocolate covered strawberries for another easy treat idea. If you are interested in more peanut butter desserts, try the peanut butter chocolate molten lava cake on the blog too.
Jump To
- 1. Why You’ll Love This Peanut Butter Fudge
- 2. Essential Ingredients for Peanut Butter Fudge
- 3. How to Prepare the Perfect Peanut Butter Fudge: Step-by-Step Guide
- 4. Dietary Substitutions to Customize Your Peanut Butter Fudge
- 5. Mastering Peanut Butter Fudge: Advanced Tips and Variations
- 6. How to Store Peanut Butter Fudge: Best Practices
- 7. FAQs: Frequently Asked Questions About Peanut Butter Fudge
- 8. Peanut Butter Fudge
Essential Ingredients for Peanut Butter Fudge
One of the best things about Peanut Butter Fudge is how short the ingredient list is. You do not need candy thermometers, tricky steps, or hard-to-find items. Just measure everything before you begin, and the process stays smooth from start to finish.
Main Ingredients
- 1 cup butter: Real butter gives the fudge its rich flavor and helps it set properly. It is the best choice for texture and consistency.
- 1 cup creamy peanut butter: Creamy peanut butter gives the fudge its smooth body and classic taste. Avoid natural peanut butter with separated oils if possible, since it can change the texture.
- 1 teaspoon vanilla: Vanilla adds warmth and rounds out the sweetness. Even a small amount makes the flavor taste fuller.
- 3 1/2 cups powdered sugar: Powdered sugar is what helps the fudge firm up. It also blends smoothly, so the final texture stays soft without feeling gritty.
Ingredients List for Quick Reference
- 1 cup butter
- 1 cup creamy peanut butter
- 1 teaspoon vanilla
- 3 1/2 cups powdered sugar
Special Dietary Options
- Vegan: Use plant-based butter and a vegan peanut butter that does not contain dairy. The texture may be slightly softer, so chill it well.
- Gluten-free: This recipe is naturally gluten-free when your peanut butter and vanilla are certified gluten-free.
- Low-calorie: You can reduce portion size and cut smaller squares. Some cooks also try a lighter peanut butter, but the fudge may not set as firmly.
For more creamy dessert inspiration, take a look at vanilla custard cream squares or the buttery, sweet brown butter oatmeal choc chip cookies.
How to Prepare the Perfect Peanut Butter Fudge: Step-by-Step Guide
This Peanut Butter Fudge can be made in the microwave or on the stovetop. Both versions give you the same sweet, creamy result, so you can pick the method that fits your kitchen best. If you are cooking with kids, the microwave version is especially handy because it is quick and easy to manage with adult supervision.
First Step: Gather and prepare your pan
Start by measuring out all four ingredients so they are ready to go. Grease an 8-inch or 9-inch pan, or line it with parchment paper for easy removal. An 8×8-inch pan works well for thicker pieces, while a 9-inch pan gives you slightly thinner squares.
Having the pan ready before you mix the fudge is important because the mixture thickens fast. Once the sugar goes in, you want to move quickly so the fudge presses evenly into the pan.
Second Step: Melt the base ingredients
Microwave method: Combine 1 cup butter, 1 cup creamy peanut butter, and 1 teaspoon vanilla in a glass microwave-safe bowl. Microwave on high for 90 seconds. Stir well until the mixture looks smooth and creamy. If needed, stir a little longer until there are no lumps left.
Stovetop method: Combine 1 cup butter, 1 cup creamy peanut butter, and 1 teaspoon vanilla in a medium saucepan over medium-low heat. Stir constantly until everything melts into a smooth mixture. This usually takes about 5 minutes. Keep the heat gentle so the mixture does not separate.
Third Step: Add the powdered sugar slowly
Once the base mixture is smooth, begin adding 3 1/2 cups powdered sugar a cup at a time. Stir thoroughly after each addition. This step is where the fudge gets its structure, so do not rush it.
The mixture should become thick, firm, and slightly crumbly as you stir. That texture is exactly what you want. If it still feels too soft or loose, keep mixing until the sugar is fully absorbed.
The fudge should look thick enough to press into the pan, not pour like batter.
Fourth Step: Press the mixture into the pan
Spoon the fudge mixture into your prepared 8-inch or 9-inch pan. Use the back of a spoon, a spatula, or even clean hands lightly greased with a little butter to press it down evenly. Try to smooth the top as much as possible so the finished squares look neat.
If the mixture sticks a bit, that is normal. The best texture is firm and slightly crumbly when pressed. That helps the pieces hold their shape after chilling.
Fifth Step: Chill until firm
Place the pan in the refrigerator and chill for at least 4 hours. If you have time, overnight chilling gives the cleanest slices and the best texture. Do not cut it too soon, or the squares may be too soft.
This resting time is what turns the warm mixture into proper fudge. It also makes the flavor settle in and gives the fudge that classic dense bite people love.
Final Step: Slice and serve
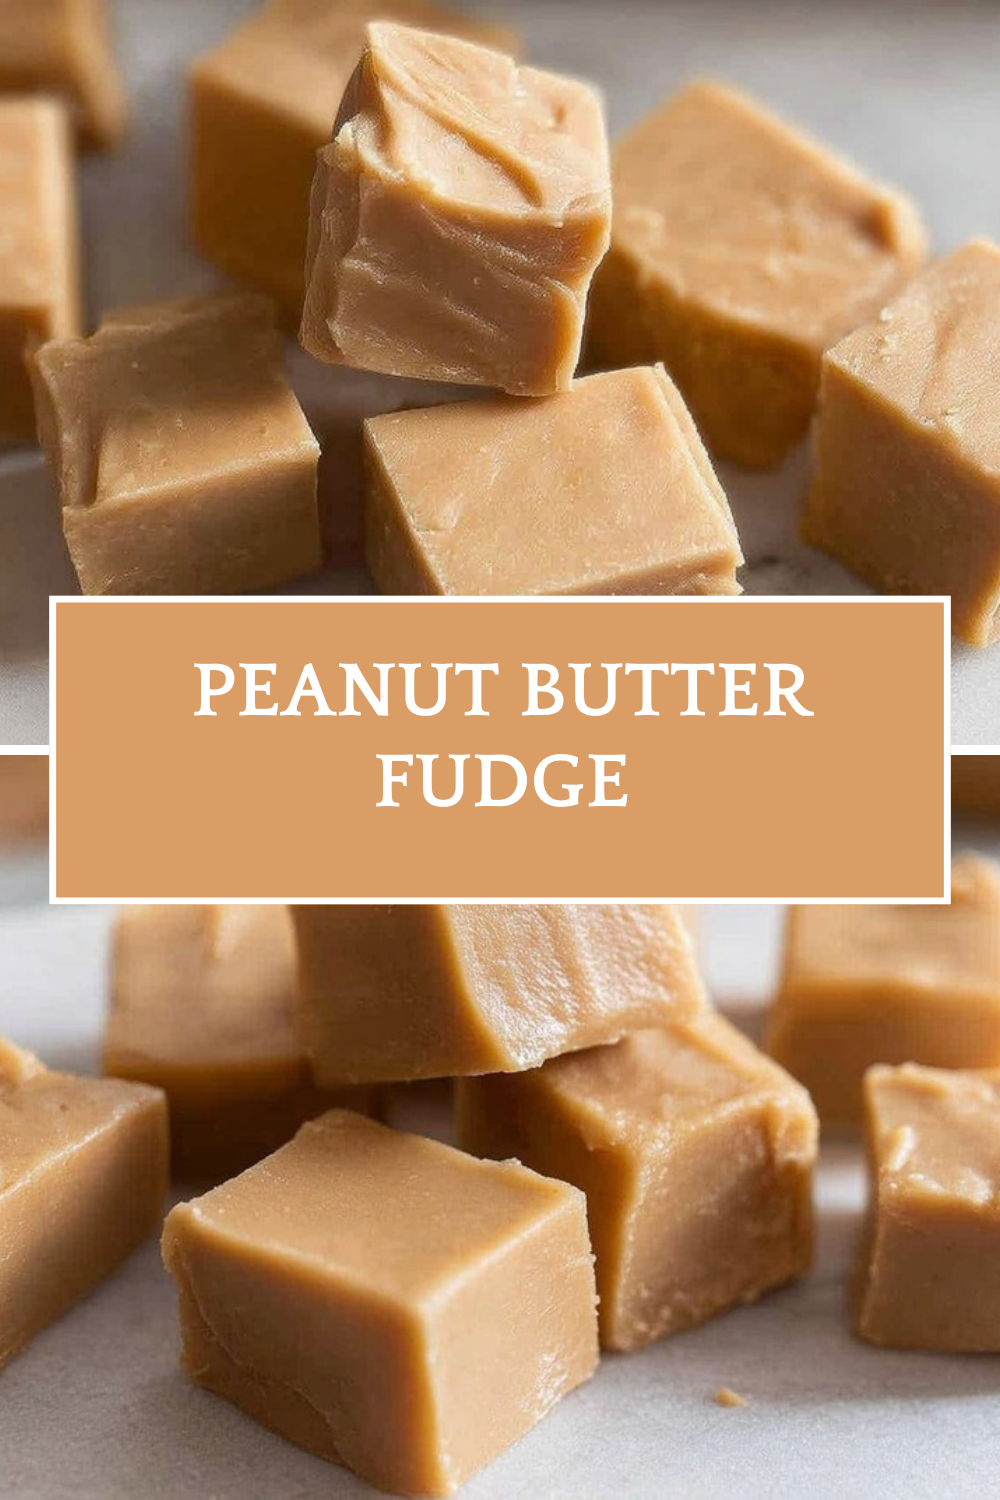
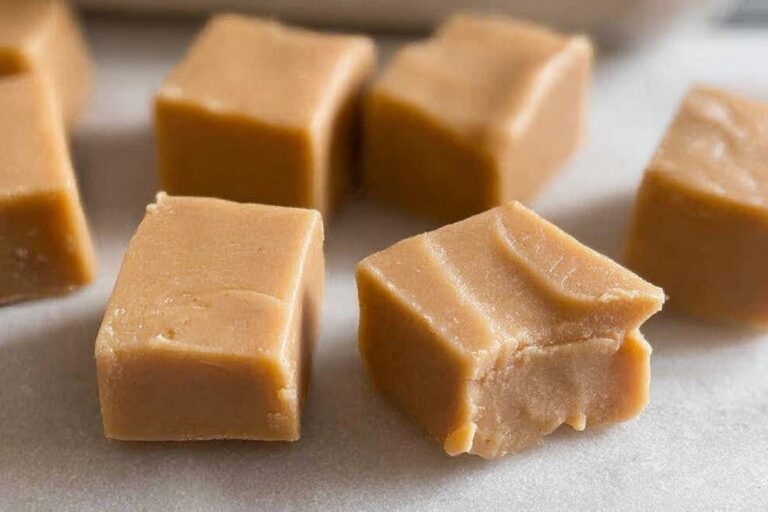
Once the fudge is firm, lift it from the pan if you used parchment paper. Cut it into 1-inch squares for easy sharing. A small sharp knife works best, especially if you wipe it clean between cuts.
Serve the pieces right away, or store them in an airtight container in the refrigerator. This recipe makes about 48 1-inch squares, which makes it great for parties, gift boxes, bake sales, or family snacking.
| Recipe Detail | Information |
|---|---|
| Prep time | 5 minutes |
| Cook time | 4 hours |
| Total time | 4 hours 5 minutes |
| Servings | 48 1-inch squares |
| Pan size | 8 to 9 inch pan |

Dietary Substitutions to Customize Your Peanut Butter Fudge
This recipe is simple, but there are still a few ways to adjust it if you need to work with what you have in the kitchen or fit a different eating style. Just keep in mind that fudge is a delicate recipe, so small changes usually work better than big ones.
Protein and Main Component Alternatives
If you want a different nut flavor, you can swap the creamy peanut butter for almond butter or cashew butter. The texture may be a little softer, but the fudge will still set after a good chill. Sunflower seed butter can also work for nut-free kitchens, though the flavor will be more earthy.
For the butter, real butter gives the best results. Margarine may seem like an easy swap, but it can affect how the fudge firms up. If you want a dairy-free version, choose a plant-based butter with a firm texture and mild flavor.
Vegetable, Sauce, and Seasoning Modifications
While this is not a savory dish, you can still change the flavor in fun ways. A pinch of salt can bring out the peanut butter taste, and a drizzle of melted chocolate adds a sweet topping. You can also press chopped peanuts, mini chocolate chips, or crushed cookies on top before chilling.
For a softer sweetness, try a little extra vanilla. For a stronger peanut flavor, use a peanut butter with a bold roasted taste. These small changes can make the fudge feel new without making the recipe difficult.
Mastering Peanut Butter Fudge: Advanced Tips and Variations
Once you have made Peanut Butter Fudge once, you will see how easy it is to make it your own. A few small tricks can help with texture, appearance, and flavor.
Pro cooking techniques
Powdered sugar dissolves smoothly, which is why it works so well here. Add it slowly and stir well after every addition so the fudge stays creamy instead of lumpy. If you are using the stovetop method, keep the heat low and steady. Too much heat can make the mixture separate.
The fudge should feel firm and slightly crumbly when pressed into the pan. That is the right sign that it will slice cleanly after chilling. If the mixture seems too soft, give it a little more stirring before pressing it in.
Flavor variations
You can keep it classic or dress it up with toppings. Try chopped peanuts, mini chocolate chips, sea salt, crushed pretzels, or a swirl of melted chocolate. A little cinnamon also adds warmth.
This fudge makes a lovely homemade gift, especially during holidays. Wrap the squares in parchment and place them in a small tin or box. It pairs nicely with cold milk, coffee, or tea, which makes it a welcome treat for guests.
Presentation tips
For neat pieces, line the pan with parchment paper so you can lift the fudge out in one block. Then cut it into tidy 1-inch squares. If you want a prettier finish, sprinkle the top with finely chopped peanuts before chilling.
Make-ahead options
This is a great recipe for planning ahead. Make it the day before you need it, chill it overnight, and cut it the next day. It also works well for busy weeks because it stores nicely in the refrigerator.
How to Store Peanut Butter Fudge: Best Practices
Because this fudge is rich and creamy, proper storage helps it stay fresh and tasty. The good news is that it keeps well, so you can make a batch ahead of time and enjoy it later.
Refrigeration
Store the cut pieces in an airtight container in the refrigerator. They will stay fresh for up to 2 weeks. If you stack the pieces, place parchment paper between the layers so they do not stick together.
Freezing
For longer storage, freeze the squares in a freezer-safe bag or container. They can last up to 3 months. Thaw them in the refrigerator before serving so the texture stays smooth and pleasant.
Reheating
Peanut Butter Fudge is usually served chilled, so reheating is not needed. If it gets too firm in the fridge, let it sit at room temperature for a few minutes before eating. That softens it just enough without losing shape.
Meal prep considerations
This recipe is ideal for batch cooking because it yields about 48 squares. Make a full pan, cut what you need, and freeze the rest for later. It is a helpful treat to have on hand for lunch boxes, gatherings, or a quick dessert after dinner.
FAQs: Frequently Asked Questions About Peanut Butter Fudge
What ingredients do I need for peanut butter fudge?
For a simple peanut butter fudge recipe, you’ll need 1 cup butter (use real butter for best results, not margarine), 1 cup creamy peanut butter, 1 teaspoon vanilla extract, and 3½ cups powdered sugar. These four ingredients create a no-bake treat that’s quick to mix. Real butter ensures the fudge sets properly without becoming greasy. Measure everything ahead to streamline the process. This yields about 36 pieces in an 8×8-inch pan. Avoid natural peanut butter with separated oils, as it can affect texture. Prep time is under 10 minutes, plus chilling. (72 words)
How do you make peanut butter fudge in the microwave?
In a large glass microwave-safe bowl, combine 1 cup butter, 1 cup creamy peanut butter, and 1 teaspoon vanilla. Microwave on high for 90 seconds until melted. Stir until smooth and creamy—no lumps. Gradually add 3½ cups powdered sugar, one cup at a time, stirring well after each addition until the mixture is firm and crumbly, not liquid. Grease an 8- or 9-inch pan or line with parchment. Press the mixture evenly into the pan. Chill in the fridge for at least 4 hours until firm. Cut into squares and store in an airtight container in the refrigerator. Perfect for no-cook ease. (112 words)
Can you make peanut butter fudge on the stovetop?
Yes, for stovetop peanut butter fudge, use a medium saucepan over medium-low heat. Add 1 cup butter, 1 cup creamy peanut butter, and 1 teaspoon vanilla. Stir constantly until fully melted and smooth, about 5 minutes—avoid high heat to prevent separation. Remove from heat, then slowly stir in 3½ cups powdered sugar, one cup at a time, until thick and crumbly. Transfer to a greased or parchment-lined 8- or 9-inch pan, press flat, and chill for at least 4 hours. Cut into pieces and refrigerate in an airtight container. A double boiler works too for gentler melting. (104 words)
How long does peanut butter fudge need to chill before cutting?
Chill peanut butter fudge in the refrigerator for at least 4 hours to set properly—overnight is ideal for the best texture. The mixture starts firm and crumbly after mixing but needs time to harden fully. Rushing it leads to soft, messy cuts. Once set, it holds its shape for clean squares. After cutting, store in an airtight container in the fridge where it lasts up to 2 weeks. For longer storage, freeze pieces in a freezer bag for up to 3 months; thaw in the fridge. Always use real butter and stir thoroughly for optimal firmness. (98 words)
Can you double or halve a peanut butter fudge recipe?
Yes, this peanut butter fudge recipe scales easily—halve for a small batch (½ cup each butter and peanut butter, 1¾ cups sugar) or double for more (2 cups each butter and peanut butter, 7 cups sugar). Adjust pan size: 8×8-inch for standard, smaller for halved, 9×13-inch for doubled. Melting time may vary slightly in microwave (check at 60-120 seconds) or stovetop (stir more for larger batches). Kids can help mix safely, especially microwave version—no boiling needed. Texture stays firm if mixed to crumbly stage. Pairs well with milk; links to chocolate peanut butter fudge variation for more ideas. (102 words)
Peanut Butter Fudge
🥜 Discover the irresistibly creamy peanut butter fudge that’s simple to make with just 4 ingredients for ultimate comfort!
🍬 Quick no-bake treat ready after chilling, perfect for gifting, parties, or satisfying sweet tooth cravings!
- Total Time: 4 hours 5 minutes
- Yield: 48 1-inch squares
Ingredients
– 1 cup butter
– 1 cup creamy peanut butter
– 1 teaspoon vanilla
– 3 1/2 cups powdered sugar
Instructions
1-First Step: Gather and prepare your pan Start by measuring out all four ingredients so they are ready to go. Grease an 8-inch or 9-inch pan, or line it with parchment paper for easy removal. An 8×8-inch pan works well for thicker pieces, while a 9-inch pan gives you slightly thinner squares. Having the pan ready before you mix the fudge is important because the mixture thickens fast. Once the sugar goes in, you want to move quickly so the fudge presses evenly into the pan.
2-Second Step: Melt the base ingredients Microwave method: Combine 1 cup butter, 1 cup creamy peanut butter, and 1 teaspoon vanilla in a glass microwave-safe bowl. Microwave on high for 90 seconds. Stir well until the mixture looks smooth and creamy. If needed, stir a little longer until there are no lumps left. Stovetop method: Combine 1 cup butter, 1 cup creamy peanut butter, and 1 teaspoon vanilla in a medium saucepan over medium-low heat. Stir constantly until everything melts into a smooth mixture. This usually takes about 5 minutes. Keep the heat gentle so the mixture does not separate.
3-Third Step: Add the powdered sugar slowly Once the base mixture is smooth, begin adding 3 1/2 cups powdered sugar a cup at a time. Stir thoroughly after each addition. This step is where the fudge gets its structure, so do not rush it. The mixture should become thick, firm, and slightly crumbly as you stir. That texture is exactly what you want. If it still feels too soft or loose, keep mixing until the sugar is fully absorbed. The fudge should look thick enough to press into the pan, not pour like batter.
4-Fourth Step: Press the mixture into the pan Spoon the fudge mixture into your prepared 8-inch or 9-inch pan. Use the back of a spoon, a spatula, or even clean hands lightly greased with a little butter to press it down evenly. Try to smooth the top as much as possible so the finished squares look neat. If the mixture sticks a bit, that is normal. The best texture is firm and slightly crumbly when pressed. That helps the pieces hold their shape after chilling.
5-Fifth Step: Chill until firm Place the pan in the refrigerator and chill for at least 4 hours. If you have time, overnight chilling gives the cleanest slices and the best texture. Do not cut it too soon, or the squares may be too soft. This resting time is what turns the warm mixture into proper fudge. It also makes the flavor settle in and gives the fudge that classic dense bite people love.
6-Final Step: Slice and serve Once the fudge is firm, lift it from the pan if you used parchment paper. Cut it into 1-inch squares for easy sharing. A small sharp knife works best, especially if you wipe it clean between cuts. Serve the pieces right away, or store them in an airtight container in the refrigerator. This recipe makes about 48 1-inch squares, which makes it great for parties, gift boxes, bake sales, or family snacking.
Notes
💡 Add powdered sugar gradually to ensure a smooth, non-gritty consistency.
👨🍳 This recipe is kid-friendly and safe using the microwave method.
🧈 Use real butter instead of margarine for the best texture and flavor.
- Prep Time: 5 minutes
- Chill Time: 4 hours
- Cook Time: 2 minutes
- Category: Desserts
- Method: No-Bake
- Cuisine: American
- Diet: Vegetarian
Nutrition
- Serving Size: 1-inch square
- Calories: 99 kcal
- Sugar: 9 g
- Sodium: 58 mg
- Fat: 6 g
- Saturated Fat: 2 g
- Unsaturated Fat: 4 g
- Trans Fat: 0 g
- Carbohydrates: 9 g
- Fiber: 0 g
- Protein: 1 g
- Cholesterol: 10 mg


