
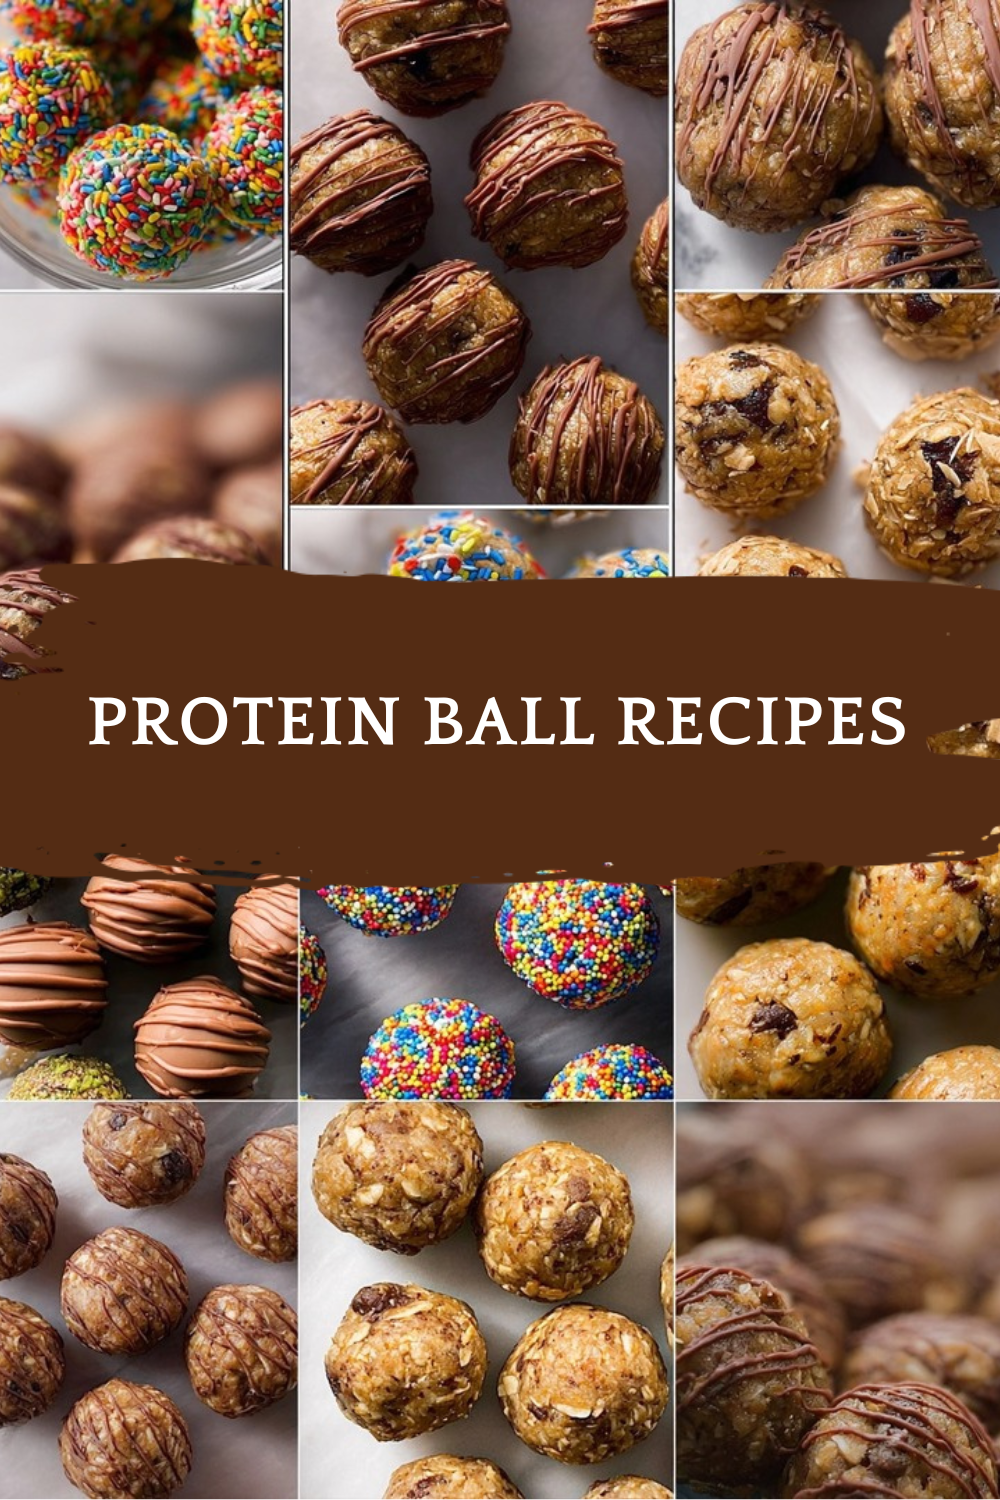
Why You Will Love These Protein Ball Recipes
If you are looking for Protein Ball Recipes that are quick, tasty, and easy to keep on hand, this one is a real winner. These no bake protein balls come together in just 10 minutes, then the fridge does the rest of the work. They are the kind of snack I like to make when I want something wholesome without turning on the oven.
- Easy to make: You only need one bowl, a spoon, and a cookie scoop. The mixture comes together fast, so this is a great recipe for busy mornings or after-school snack prep.
- Good for energy: With oats, peanut butter, flaxseed, and protein powder, each bite brings a nice mix of protein, fiber, and healthy fats. That makes these little bites satisfying and snack-friendly.
- Flexible for different diets: You can swap the nut butter, change the sweetener, or leave out the chocolate chips. That makes it easy to fit a range of eating styles.
- Sweet and satisfying flavor: Creamy peanut butter, vanilla, and mini chocolate chips give these Protein Ball Recipes a classic cookie-dough feel that both kids and adults enjoy.
These no bake snacks are one of my favorite make-ahead treats because they are simple, filling, and ready when you need something fast.
For readers who enjoy easy snack ideas, you might also like these brown butter oatmeal chocolate chip cookies for another cozy oat-based treat.
Jump To
- 1. Why You Will Love These Protein Ball Recipes
- 2. Essential Ingredients for Protein Ball Recipes
- 3. How to Prepare the Perfect Protein Ball Recipes: Step-by-Step Guide
- 4. Dietary Substitutions to Customize Your Protein Ball Recipes
- 5. Mastering Protein Ball Recipes: Advanced Tips and Variations
- 6. How to Store Protein Ball Recipes: Best Practices
- 7. Nutrition and Recipe Snapshot
- 8. FAQs: Frequently Asked Questions About Protein Ball Recipes
- 9. Protein Ball Recipes
Essential Ingredients for Protein Ball Recipes
This recipe uses simple pantry staples that work together to create a soft, chewy texture with just the right amount of sweetness. Be sure to measure everything carefully so the mixture holds together well.
Main Ingredients
- 1 1/2 cups whole rolled oats – These provide structure, chewiness, and a hearty base.
- 1 cup creamy natural peanut butter – This binds the mixture and gives rich flavor plus healthy fats.
- 1/4 cup ground flaxseed – Adds fiber, a little extra nutrition, and helps with texture.
- 1/4 cup honey – Sweetens the mixture and helps hold everything together.
- 2 scoops protein powder – Boosts the protein content and makes the bites more filling.
- 1 teaspoon vanilla extract – Brings warmth and rounds out the flavor.
- 6 tablespoons mini chocolate chips – Add little bursts of sweetness in every bite.
Special Dietary Options
- Vegan: Replace the honey with maple syrup for a fully plant-based version.
- Gluten-free: Use certified gluten-free rolled oats if you need a gluten-free snack.
- Low-calorie: Use a smaller amount of chocolate chips, or omit them and add cinnamon for flavor without extra sugar.
| Ingredient | Why It Matters |
|---|---|
| Rolled oats | Gives the balls body and a soft chew |
| Peanut butter | Binds the mixture and adds richness |
| Flaxseed | Adds fiber and a nutty taste |
| Protein powder | Raises the protein per serving |
How to Prepare the Perfect Protein Ball Recipes: Step-by-Step Guide
These Protein Ball Recipes are beginner-friendly, and the process is as simple as mixing, rolling, and chilling. If you can stir ingredients in a bowl, you can make these snack bites without any trouble.
First Step: Gather and measure everything
Start by setting out all of your ingredients: 1 1/2 cups whole rolled oats, 1 cup creamy natural peanut butter, 1/4 cup ground flaxseed, 1/4 cup honey, 2 scoops protein powder, 1 teaspoon vanilla extract, and 6 tablespoons mini chocolate chips. Having everything ready makes the process smooth and quick, especially if you are making snacks while juggling a busy day. Use a large mixing bowl so you have plenty of room to stir without spilling.
Second Step: Mix the base
Add the oats, peanut butter, flaxseed, honey, protein powder, vanilla, and chocolate chips to the bowl. Stir until the mixture looks evenly combined. At first, it may seem thick, but keep mixing so the peanut butter and honey spread through the oats. The dough should hold together when pressed between your fingers.
Third Step: Adjust the texture if needed
If the mixture feels too dry or too thick, add water 1 teaspoon at a time. Stir after each small addition so you do not add too much. You want a mixture that is firm enough to roll but soft enough to shape easily. If you prefer a slightly sweeter flavor, you can also add a small drizzle of extra honey, though the recipe works well as written.
Fourth Step: Portion the mixture
Use a 2-tablespoon cookie scoop to portion the mixture. This helps keep the Protein Ball Recipes even in size, which is useful for serving and storing. If you do not have a scoop, you can use a tablespoon measure or simply eyeball the portions. Even sizing also helps them chill at the same rate.
Fifth Step: Roll into balls
Once portioned, roll each scoop between your hands until it forms a smooth ball. If the mixture sticks to your hands, lightly dampen your palms with water. This small trick makes rolling much easier and keeps the texture neat. Place each ball on a plate or baking sheet lined with parchment paper.
Sixth Step: Chill until firm
Refrigerate the balls for 1 to 2 hours until firm. This step gives them the best texture and helps them hold their shape. The chilling time is important, so try not to rush it if you want the cleanest bite. Total time for this recipe is about 1 hour and 10 minutes, including 10 minutes of prep and 1 hour of chilling.
Seventh Step: Serve and enjoy
Once the protein balls are firm, they are ready to eat. Serve them chilled for the best texture, or pack them into lunch boxes, snack bags, or meal prep containers. They are great for breakfast on the go, a post-workout bite, or a quick afternoon snack. If you like easy make-ahead sweets, you may also enjoy the creamy treats in this silky lemon cream treat for a different kind of quick dessert.
The best part about this recipe is that there is no baking, no special equipment, and very little cleanup.

Dietary Substitutions to Customize Your Protein Ball Recipes
Protein and Main Component Alternatives
If you want to change the flavor or fit a different diet, this recipe gives you plenty of room to play around. Peanut butter can be swapped with almond butter, cashew butter, or sunflower seed butter. Each option changes the taste a little, but all of them work well as a binder.
You can also switch the honey with maple syrup if you need a vegan version. For the protein powder, choose a flavor that matches your taste, such as vanilla or chocolate. If you prefer a softer texture, use a slightly creamier nut butter and mix gently until the dough comes together.
Vegetable, Sauce, and Seasoning Modifications
Even though this is a sweet snack, you can still make smart flavor changes. Leave out the chocolate chips if you want a simpler bite, or replace them with dried cranberries or raisins for a fruity twist. A pinch of cinnamon can add warmth, while a little extra vanilla gives the mixture a bakery-style taste. If the dough feels dry, add water 1 teaspoon at a time until it rolls easily.
Mastering Protein Ball Recipes: Advanced Tips and Variations
Once you have made these Protein Ball Recipes a few times, you may find your own favorite way to mix and serve them. Small changes can make a big difference in taste and texture, and that is part of the fun.
Pro cooking techniques
- Mix the wet ingredients first if your peanut butter is stiff, then stir in the dry ingredients for easier blending.
- Chill the mixture for 10 to 15 minutes before rolling if it feels too soft.
- Use a cookie scoop for even sizing so each ball has a similar texture and appearance.
- Line your tray with parchment paper so nothing sticks while the balls firm up.
Flavor variations
Try chocolate protein powder for a more dessert-like flavor, or add chopped dried cranberries for a tart bite. You can also roll the finished balls in extra flaxseed, shredded coconut, or finely chopped nuts for a fun coating. If you want a richer flavor, use a natural peanut butter with a touch more salt.
Presentation tips
For serving, arrange the balls on a small plate or snack board with fruit, yogurt, or a few squares of dark chocolate. If you are packing them for guests or lunch, tuck them into small paper liners for a neat look. They also make a nice homemade gift when placed in a jar with a ribbon.
Make-ahead options
These are perfect for meal prep. Make a full batch on Sunday, chill until firm, and then portion into small containers for the week. If you want a sweet treat after dinner, you can pair them with something from these chocolate covered strawberries for a fun snack tray.
How to Store Protein Ball Recipes: Best Practices
Good storage keeps these Protein Ball Recipes fresh and tasty for days. Since they are no bake and contain nut butter, they hold up well when chilled or frozen.
Refrigeration
Store the balls in an airtight container in the refrigerator for up to a week. Keep parchment paper between layers if you are stacking them so they do not stick together. Chilling also helps maintain the firm texture.
Freezing
For longer storage, freeze the balls for up to 3 months. Place them on a tray until solid, then transfer them to a freezer-safe bag or container. This method makes it easy to grab one or two at a time whenever you want a quick snack.
Reheating
These do not need reheating, since they are meant to be eaten chilled or at room temperature. If frozen, let them sit at room temperature for 10 to 15 minutes before eating so they soften slightly.
Meal prep considerations
For lunches or snacks, divide the balls into small containers so they are ready to grab on busy mornings. They travel well for school, work, road trips, and weekend outings. A single batch can go a long way when you want a dependable snack ready in the fridge.
Nutrition and Recipe Snapshot
Here is a quick look at the recipe details for easy planning.
| Detail | Information |
|---|---|
| Prep time | 10 minutes |
| Chill time | 1 hour |
| Total time | 1 hour 10 minutes |
| Yield | About 1 ball per serving |
Per serving, 1 ball: 152 calories, 81 calories from fat, 9g fat, 2g saturated fat, 0.01g trans fat, 2g polyunsaturated fat, 4g monounsaturated fat, 3mg cholesterol, 62mg sodium, 118mg potassium, 14g carbohydrates, 2g fiber, 8g sugar, 5g protein, 14IU vitamin A, 0.1mg vitamin C, 25mg calcium, and 1mg iron.
This recipe gives you a snack with a nice balance of carbs, fat, and protein, making it a smart choice for busy days.
FAQs: Frequently Asked Questions About Protein Ball Recipes
Print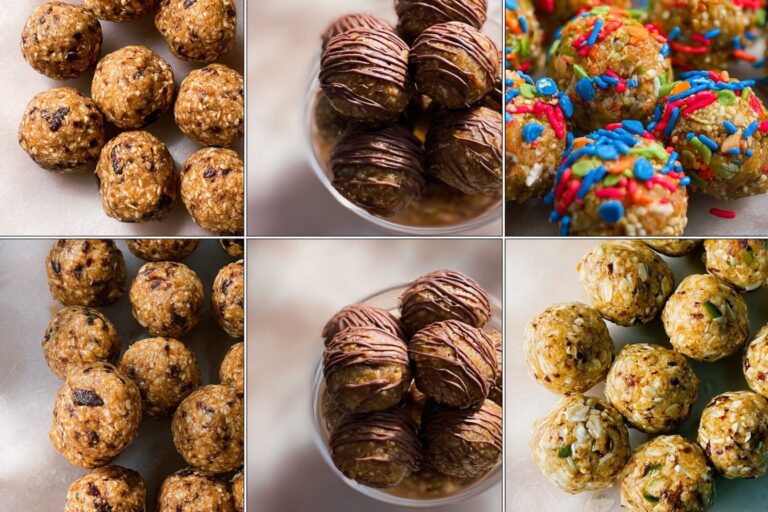
Protein Ball Recipes
🍪 No-bake protein balls deliver 5g protein per pop for sustained energy, curbing hunger with oats, PB, and chocolate bliss.
🥜 10-minute prep chills into 20 tasty, customizable snacks – fridge staple for workouts, kids, or anytime cravings.
- Total Time: 1 hour 10 minutes
- Yield: 20 balls
Ingredients
– 1 1/2 cups whole rolled oats for structure, chewiness, and a hearty base
– 1 cup creamy natural peanut butter for binding the mixture and rich flavor plus healthy fats
– 1/4 cup ground flaxseed for fiber, extra nutrition, and texture
– 1/4 cup honey for sweetening the mixture and holding everything together
– 2 scoops protein powder for boosting the protein content and making the bites more filling
– 1 teaspoon vanilla extract for warmth and rounding out the flavor
– 6 tablespoons mini chocolate chips for bursts of sweetness
Instructions
1-First Step: Gather and measure everything Start by setting out all of your ingredients: 1 1/2 cups whole rolled oats, 1 cup creamy natural peanut butter, 1/4 cup ground flaxseed, 1/4 cup honey, 2 scoops protein powder, 1 teaspoon vanilla extract, and 6 tablespoons mini chocolate chips. Having everything ready makes the process smooth and quick, especially if you are making snacks while juggling a busy day. Use a large mixing bowl so you have plenty of room to stir without spilling.
2-Second Step: Mix the base Add the oats, peanut butter, flaxseed, honey, protein powder, vanilla, and chocolate chips to the bowl. Stir until the mixture looks evenly combined. At first, it may seem thick, but keep mixing so the peanut butter and honey spread through the oats. The dough should hold together when pressed between your fingers.
3-Third Step: Adjust the texture if needed If the mixture feels too dry or too thick, add water 1 teaspoon at a time. Stir after each small addition so you do not add too much. You want a mixture that is firm enough to roll but soft enough to shape easily. If you prefer a slightly sweeter flavor, you can also add a small drizzle of extra honey, though the recipe works well as written.
4-Fourth Step: Portion the mixture Use a 2-tablespoon cookie scoop to portion the mixture. This helps keep the Protein Ball Recipes even in size, which is useful for serving and storing. If you do not have a scoop, you can use a tablespoon measure or simply eyeball the portions. Even sizing also helps them chill at the same rate.
5-Fifth Step: Roll into balls Once portioned, roll each scoop between your hands until it forms a smooth ball. If the mixture sticks to your hands, lightly dampen your palms with water. This small trick makes rolling much easier and keeps the texture neat. Place each ball on a plate or baking sheet lined with parchment paper.
6-Sixth Step: Chill until firm Refrigerate the balls for 1 to 2 hours until firm. This step gives them the best texture and helps them hold their shape. The chilling time is important, so try not to rush it if you want the cleanest bite. Total time for this recipe is about 1 hour and 10 minutes, including 10 minutes of prep and 1 hour of chilling.
7-Seventh Step: Serve and enjoy Once the protein balls are firm, they are ready to eat. Serve them chilled for the best texture, or pack them into lunch boxes, snack bags, or meal prep containers. They are great for breakfast on the go, a post-workout bite, or a quick afternoon snack. If you like easy make-ahead sweets, you may also enjoy the creamy treats in this silky lemon cream treat for a different kind of quick dessert.
Notes
💧 Mixture too crumbly? Add water 1 tsp at a time for perfect rollable texture.
🔄 Swap PB for almond/sunflower butter; honey for maple (vegan); chips for raisins.
❄️ Freeze extras; grab from freezer for portable post-gym fuel.
- Prep Time: 10 minutes
- Chill: 1 hour
- Category: Snack
- Method: No-Bake
- Cuisine: American
- Diet: High-Protein, Vegetarian
Nutrition
- Serving Size: 1 ball
- Calories: 152
- Sugar: 8g
- Sodium: 62mg
- Fat: 9g
- Saturated Fat: 2g
- Unsaturated Fat: 6g
- Trans Fat: 0g
- Carbohydrates: 14g
- Fiber: 2g
- Protein: 5g
- Cholesterol: 3mg


