

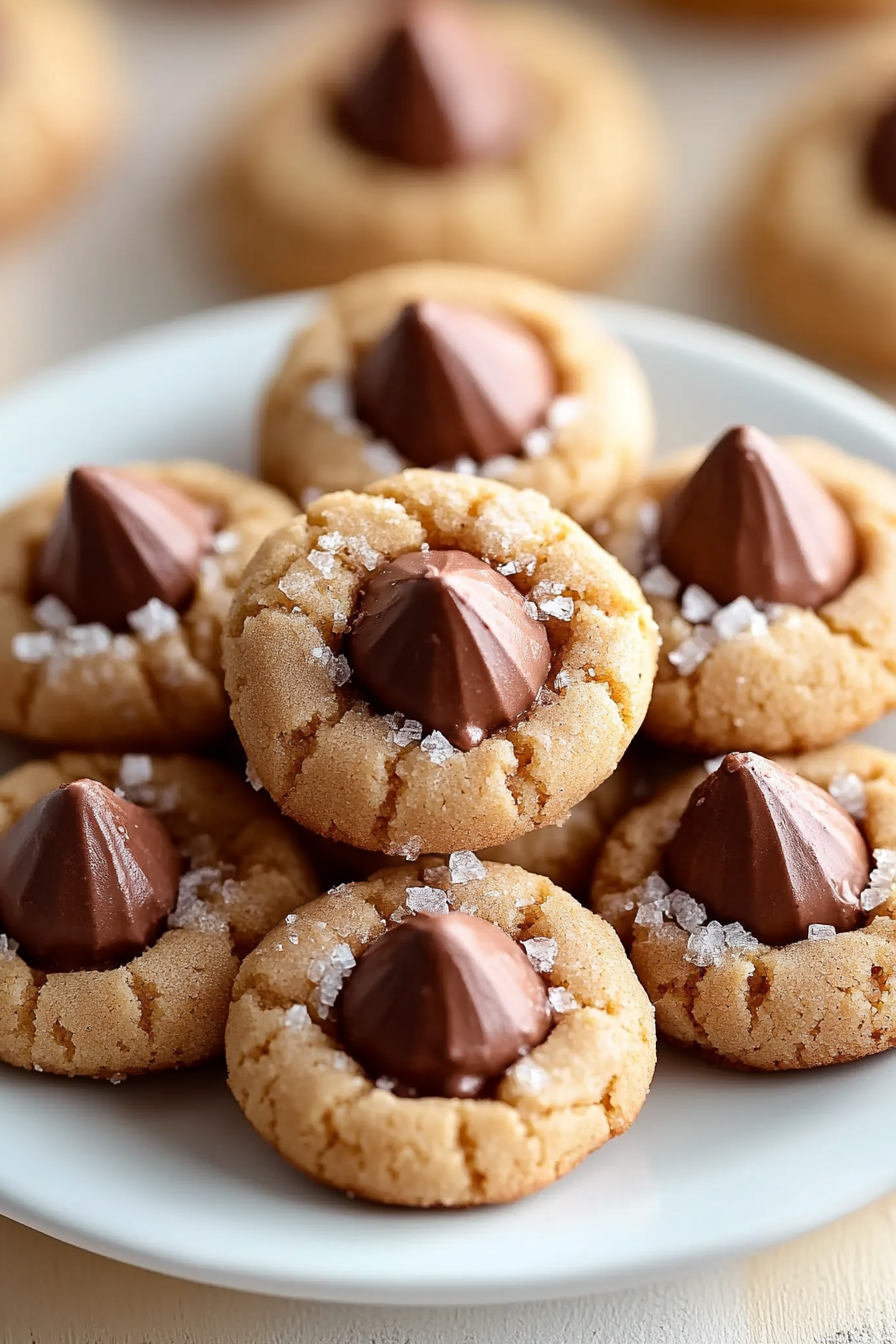
Introduction to Peanut Butter Kiss Cookies
Peanut butter kiss cookies, a cherished treat, harmonize the creamy flavor of peanut butter with the rich sweetness of chocolate. Originating from a bake-off contest in 1957, these classic cookies capture the nostalgic essence of holiday baking. Surprisingly simple to prepare, peanut butter kiss cookies require just a few ingredients like creamy peanut butter and Hershey’s Kisses, making them accessible to even the busiest of home cooks. Their soft, chewy texture paired with a delightful chocolate center makes them a timeless favorite for all ages. Discover the joy of baking these iconic cookies and create lasting memories with family and friends.
Benefits and Advantages of Peanut Butter Kiss Cookies
The benefits of peanut butter kiss cookies extend beyond their delightful taste. These cookies are a breeze to make, thanks to their straightforward ingredient list and simple preparation steps. Ideal for busy parents and students alike, they can be whipped up in a short amount of time. Additionally, they offer versatility for those who want to tailor recipes to their dietary preferences. Whether seeking to accommodate gluten-free or vegan options, these cookies provide flexibility without compromising flavor. The combination of convenience and deliciousness makes them standout in any cookie repertoire, perfect for festive occasions or everyday indulgence.
Ingredients Overview
Essential Ingredients for Peanut Butter Kiss Cookies
- Creamy Peanut Butter (1 cup): Provides the rich, nutty flavor that defines these cookies. Opt for conventional creamy peanut butter rather than natural varieties, which may separate during baking.
- Unsalted Butter (1/2 cup): Gives cookies a tender texture. For those wishing for a dairy-free option, substitute with vegan butter alternatives.
- Granulated Sugar (1/2 cup) and Brown Sugar (1/2 cup): The combination of sugars contributes to a balanced sweetness and slightly chewy texture.
- Large Egg (1): Binds the ingredients together, essential for the structure of your cookies.
- All-Purpose Flour (1 and 3/4 cups): Forms the base of the dough. Consider using gluten-free flour blends for a gluten-free alternative.
- Baking Soda (1 teaspoon): Provides leavening to give cookies a slight rise.
- Salt (1/4 teaspoon): Enhances all other flavors within the cookies.
- Hershey’s Kisses (Approx. 24-36 pieces): Tops each cookie with a burst of chocolate. Feel free to try this with other types of chocolate candies for variation.
- Granulated Sugar (for rolling): Optional but adds extra sweetness and a delightful crunch.
Dietary Substitutions to Customize Your Peanut Butter Kiss Cookies
Ensuring everyone can enjoy these cookies is easy with a few substitutions:
- Vegan Option: Replace the unsalted butter with a dairy-free vegan butter alternative and the egg with a flaxseed mix (1 tablespoon ground flaxseed mixed with 2.5 tablespoons water).
- Gluten-Free Solution: Substitute all-purpose flour with a high-quality gluten-free flour blend. Ensure the mixture contains xanthan gum for proper texture.
- Low-Calorie Variants: Use a sugar substitute suitable for baking to replace granulated and brown sugars while maintaining sweetness. For the peanut butter, opt for a reduced-fat version to lower the calorie count.
How to Prepare the Perfect Peanut Butter Kiss Cookies: Step-by-Step Guide
Creating delectable Peanut Butter Kiss Cookies involves following each step carefully to ensure optimal results. This guide provides a detailed approach, making sure anyone, whether a novice or seasoned baker, can achieve success.
-
First Step: Gather Your Ingredients
Begin by measuring out all your ingredients as per the recipe card. This preparation phase is crucial for a smooth baking process.
-
Second Step: Preheat the Oven
Set your oven to 375°F (190°C). Preheating ensures that your cookies bake uniformly, achieving the desired texture.
-
Third Step: Cream the Sugars and Butter
In a large mixing bowl, combine the unsalted butter, granulated sugar, and brown sugar. Use an electric mixer at medium speed until the mixture is creamy and light.
-
Fourth Step: Incorporate the Egg and Peanut Butter
Add the egg and peanut butter to the creamed mixture. Mix until fully combined, ensuring a smooth texture.
-
Fifth Step: Mix Dry Ingredients Separately
In a separate bowl, whisk together all-purpose flour, baking soda, and salt. This even distribution helps prevent lumps and ensures consistent results.
-
Sixth Step: Combine All Ingredients
Gradually add the dry ingredients to the creamed mixture. Mix on low speed to prevent a flour mess until all ingredients are incorporated into a dough.
-
Seventh Step: Form Dough Balls
Using a small cookie scoop, portion the dough into balls, roughly 1 inch in diameter. Roll each ball in additional granulated sugar if desired.
-
Eighth Step: Arrange on Baking Sheet
Place the sugar-covered dough balls onto a parchment-paper-lined baking sheet, giving enough space for spreading.
-
Ninth Step: Bake the Cookies
Bake in the preheated oven for 8-10 minutes. Look for a light golden color as an indicator of their doneness. Remember, adjustments may be necessary based on dietary substitutions.
-
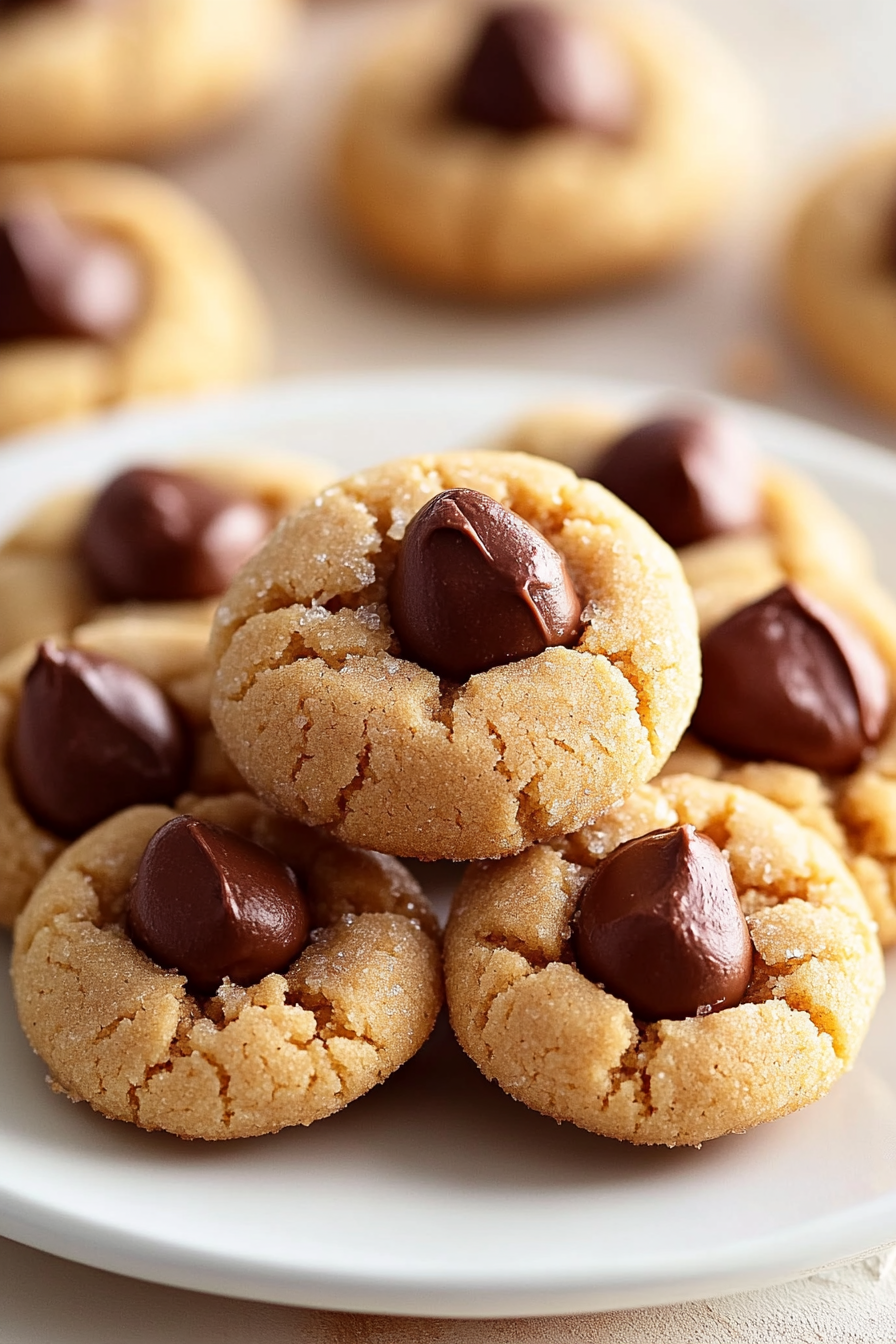
Tenth Step: Insert Chocolate Kisses
Once removed from the oven, immediately press a Hershey’s Kiss into the center of each cookie. Expect cracks to form, which is entirely typical and part of their charm.
-
Eleventh Step: Cooling and Serving
Let the cookies cool on the baking sheet for 5 minutes before transferring them to a wire rack. This helps set the structure before enjoying. Serving them after the chocolate sets is ideal.
Now you can savor these delightful cookies alone or with loved ones. For those interested in other delightful desserts, try our Chocolate Chip Pancakes or learn more about how Peanut Butter Kiss Cookies came from an inspiring beginning here.
Mastering Peanut Butter Kiss Cookies: Advanced Tips and Variations
Mastering the art of making Peanut Butter Kiss Cookies can bring your baking skills to a new level. By focusing on key elements such as technique and creativity, you can create cookies that are both visually appealing and delicious. Below, explore advanced techniques and exciting variations that will captivate your taste buds.
Advanced Baking Tips
- Chilling the Dough: For a thicker cookie that doesn’t spread too much during baking, chill the dough for at least 30 minutes before rolling it into balls. This step can enhance the flavor and texture.
- Using a Cookie Scoop: To ensure uniform size, use a cookie scoop for forming dough balls. This method ensures even cooking and a consistent look.
- Pressing the Chocolate: Placing the chocolate kiss immediately after removing the cookies from the oven is crucial. This step retains the shape of the chocolate without melting it completely.
Creative Cookie Variations
Adding variations to your classic recipe can create delightful surprises for your family and friends. Try these options to add excitement to your baking:
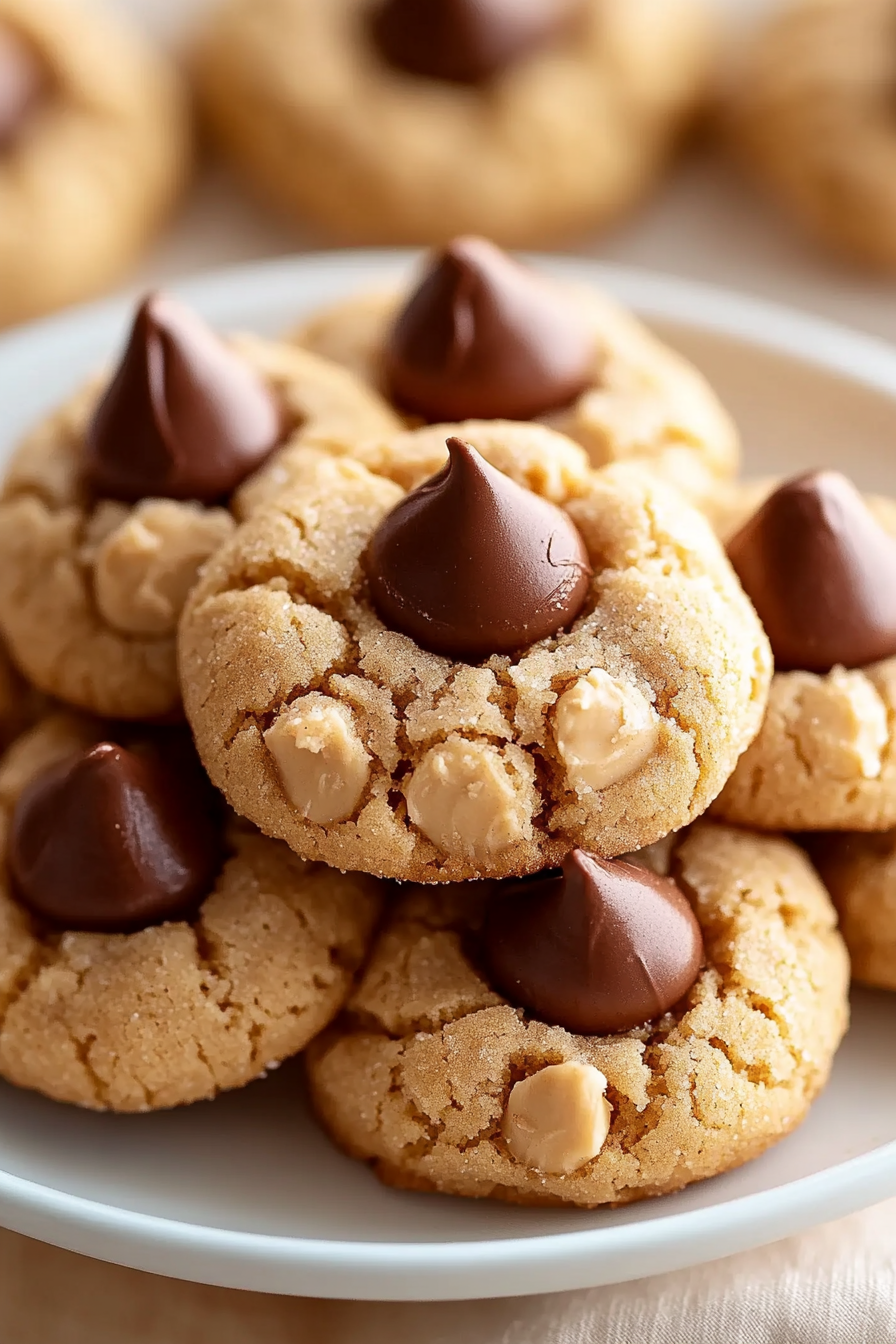
- Replace Hershey’s Kisses: Traditional Hershey’s Kisses can be swapped with peanut butter cups or dark chocolate pieces for a richer flavor.
- Spiced Variation: Add a pinch of cinnamon or nutmeg to your dough for a warming spice that pairs beautifully with the peanut butter.
- Gluten-Free Version: Substitute regular flour with gluten-free flour blends, taking care to adjust moisture levels if necessary.
With these advanced tips and variations, your Peanut Butter Kiss Cookies can become a signature treat. This adaptable recipe allows you to experiment and discover your favorite combinations, inspiring joy and creativity with each batch. As you become more comfortable with baking, consider sharing your unique creations with others, making these cookies a part of your treasured holiday traditions. For more baking inspiration, explore similar delightful treats such as Oreo Chocolate Chip Cookies that also blend chocolatey goodness into every bite.
How to Store Peanut Butter Kiss Cookies: Best Practices
Proper storage of Peanut Butter Kiss Cookies is essential to maintain their freshness and flavor. Here are practical guidelines to ensure your cookies stay delicious and enjoyable over time.
Room Temperature Storage
For immediate consumption within a week, store your cookies in an airtight container at room temperature. It’s important to use a container that prevents air from entering to retain the cookies’ soft texture and delightful flavor.
Refrigeration Guidelines
- Avoid Refrigeration: Unlike other baked goods, refrigerating these cookies is not recommended as it can lead to dryness and a loss of flavor.
Freezing Techniques
If you plan to enjoy your Peanut Butter Kiss Cookies over a longer period, freezing is an excellent option. Here’s how you can do it correctly:
- Freezing Dough: Roll the dough into balls and freeze them on a baking sheet. Once fully frozen, transfer them to a plastic freezer bag. This method allows you to bake fresh cookies on demand.
- Freezing Baked Cookies: Assemble the cookies with the chocolate kiss and allow them to cool completely. Then, layer them in a container, separating layers with parchment paper before sealing tightly. These cookies can be frozen for up to three months.
By following these storage methods, you can savor the irresistible taste of Peanut Butter Kiss Cookies whenever the craving strikes. For more sweet pleasures, consider trying recipes like Chocolate Cinnamon Rolls, which offer an indulgent twist similar to these cookies.
Nutritional Value of Peanut Butter Kiss Cookies
Understanding the nutritional value of peanut butter kiss cookies is essential for diet-conscious individuals. These delectable treats offer a balance of macronutrients that, when consumed in moderation, can fit into a well-rounded diet. Typically, one serving of peanut butter kiss cookies, which is usually one medium-sized cookie, provides the following nutritional profile:
- Calories: Approximately 95-110 calories per cookie.
- Carbohydrates: Around 10-12 grams, providing a quick source of energy.
- Protein: Each cookie contains about 2-3 grams of protein, primarily derived from the peanut butter.
- Fats: The cookies have approximately 5-6 grams of fat, including both saturated and unsaturated fats.
- Sugars: Each cookie contains around 7-9 grams of sugar.
- Fiber: They offer less than 1 gram of dietary fiber per serving.
While peanut butter kiss cookies are indeed a sugary treat, they also bring some nutritional benefits. The peanut butter contributes healthy fats and a small amount of protein, which are important for satiety and health. Moreover, using dark chocolate kisses can enhance the antioxidant value of the cookies. For those seeking healthier alternatives, opting for unsweetened peanut butter and dark chocolate options can reduce sugar content and improve nutritional quality.
In summary, while peanut butter kiss cookies should be enjoyed as a treat, their delightful combination of crunchy sweetness and chocolaty goodness makes them a beloved choice for many. They fit well into holiday gatherings and occasional indulgences, so enjoy them responsibly and savor each bite for the moments they create.
FAQs: Frequently Asked Questions About Peanut Butter Kiss Cookies
1. Can I freeze peanut butter kiss cookies, and if so, for how long?
Yes, you can freeze peanut butter kiss cookies. To do this, place them in an airtight container or freezer bag, separating the layers of cookies with parchment or wax paper. They can be successfully stored in the freezer for up to 3 months. When ready to enjoy, simply allow them to thaw at room temperature for a few hours.
2. What type of peanut butter is best to use for peanut butter kiss cookies?
For the best results, use traditional creamy peanut butter, as natural or freshly ground varieties can cause the cookies to spread more and potentially separate during baking. Creamy peanut butter ensures a consistent texture and flavor.
3. How should I store peanut butter kiss cookies to keep them fresh?
To keep peanut butter kiss cookies fresh, store them in an airtight container at room temperature. They will remain delicious for up to one week. For longer storage, consider freezing them as mentioned above.
4. Can I use different types of chocolate candies instead of Hershey’s Kisses?
Absolutely, you can experiment with different chocolates. Peanut butter cups, dark chocolate squares, or other chocolate candies can be fun alternatives that offer unique flavors. Just make sure the size of the candy complements the size of the cookie for the best results.
For additional insights on the origins and variations of this classic treat, check out this informative article [here](https://en.wikipedia.org/wiki/Peanut_butter_blossom_cookie) or explore more about recipe versatility [here](https://www.mashed.com/1637639/peanut-butter-blossom-cookies-origins/).
Print
Peanut Butter Kiss Cookies Classic Recipe
- Total Time: 25 minutes
Description
🍪 Indulge in the perfect balance of soft, chewy peanut butter cookies and rich, melty chocolate—an irresistible treat that’s guaranteed to bring holiday cheer! 🎄✨
🥜 Simple ingredients, easy steps, and a nostalgic flavor make these cookies a must-bake for any occasion—plus, they’re freezer-friendly for whenever cravings strike! 🍫💖
Ingredients
All-purpose flour
Baking soda
Salt
Unsalted butter, softened
Creamy peanut butter
Granulated sugar (plus extra for rolling)
Light brown sugar, packed
Egg
Vanilla extract
Milk
Hershey’s Kisses, unwrapped
Instructions
1. Preheat your oven to 375°F (190°C).
2. Line a baking sheet with parchment paper or lightly grease it.
3. In a large mixing bowl, cream together the butter, peanut butter, and sugar until light and fluffy.
4. Add the egg and mix until fully combined.
5. Gradually add the flour, mixing until a soft dough forms.
6. Roll the dough into 1-inch balls.
7. Coat each dough ball in granulated sugar.
8. Place the sugar-coated dough balls on the prepared baking sheet, spacing them about 2 inches apart.
9. Bake in the preheated oven for 8-10 minutes or until lightly golden.
10. While the cookies are baking, unwrap the Hershey’s Kisses.
11. Remove the cookies from the oven and immediately press a Hershey’s Kiss into the center of each cookie.
12. Allow the cookies to cool on the baking sheet for about 5 minutes before transferring them to a wire rack to cool completely.
13. Let the chocolate set for about 1 hour before serving.
14. Store cookies in an airtight container at room temperature for up to 1 week.
15. For longer storage, freeze baked cookies or freeze dough balls for later use.
Notes
Roll the cookie dough balls generously in sugar to create a delightful crunch and added sweetness in every bite.
Press the Hershey’s Kiss into the cookies immediately after baking to allow the chocolate to soften slightly without melting completely.
Let the cookies cool completely before serving to give the chocolate time to set and prevent any mess.
- Prep Time: 15
- Cook Time: 10
- Category: Dessert
- Method: Baking
- Cuisine: American