
Why You’ll Love This Artisan Bread
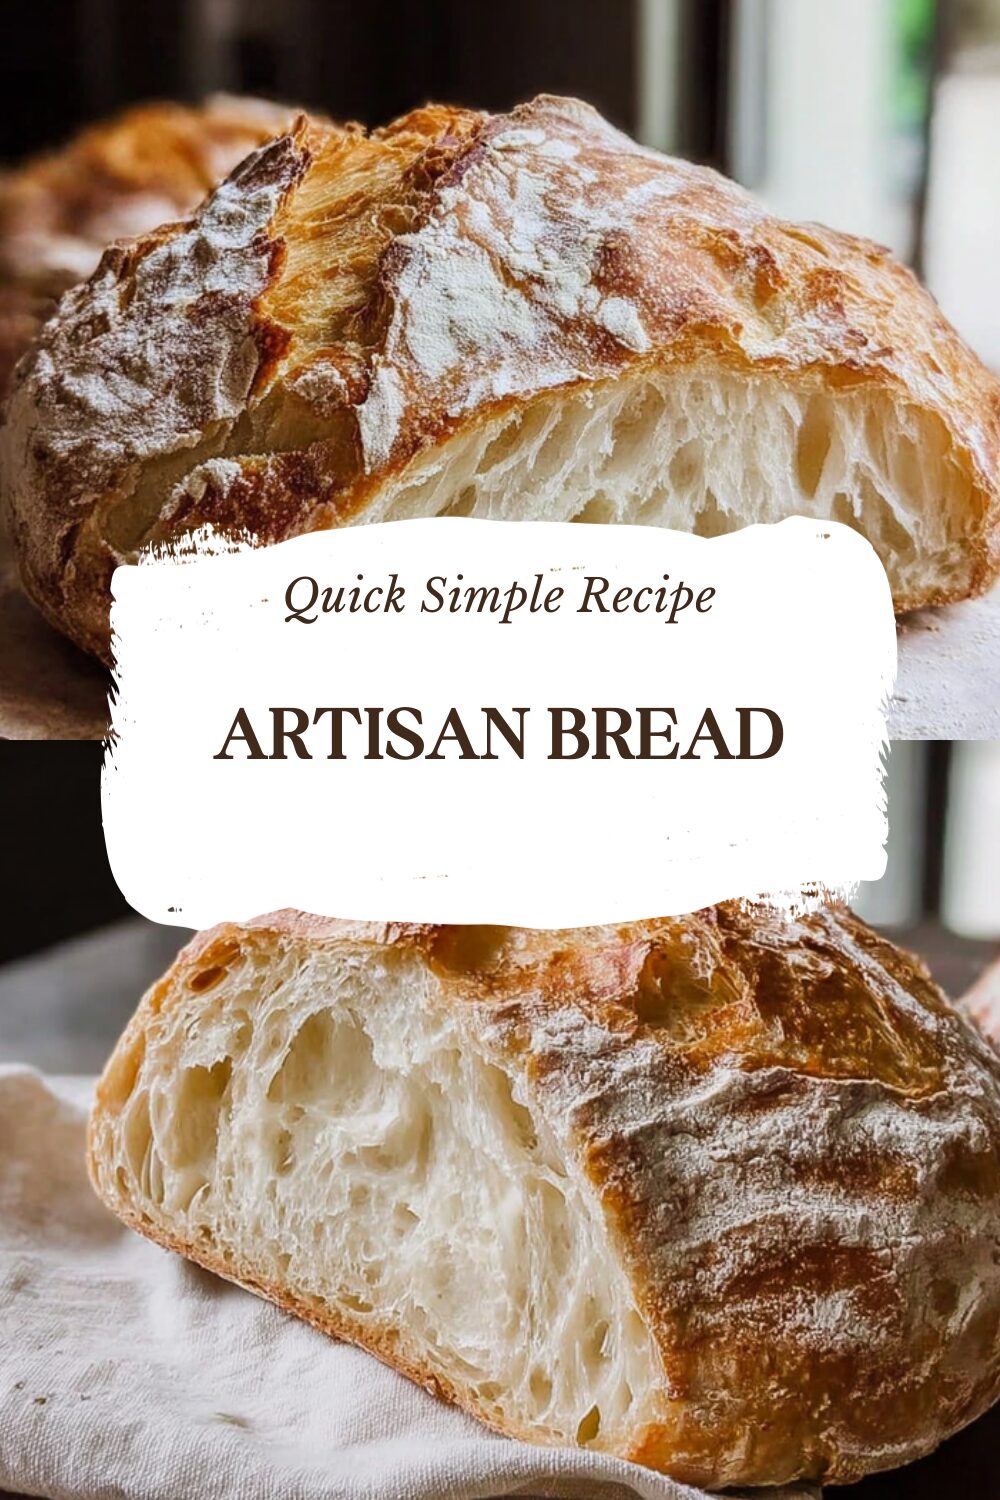
Homemade artisan bread brings a simple joy to your kitchen, and this recipe makes it easy for anyone to get started. With just a few basic ingredients, you’ll enjoy a fresh loaf that has a soft crust and rich flavor that beats anything from the store. It’s perfect for busy parents or baking enthusiasts who want something special without spending all day in the kitchen.
This bread offers health benefits from its wholesome ingredients, which provide fiber and nutrients to support your daily meals. You can adapt it for different dietary needs, making it a versatile choice for students, working professionals, or those watching their diet. Once you try it, the distinctive taste and texture will become a favorite for family gatherings or quick snacks.
- Ease of preparation: This artisan bread recipe is simple and quick, ideal for beginners and busy cooks, requiring minimal ingredients and steps for fresh bread in no time.
- Health benefits: Made with natural ingredients, it delivers nutritional value like fiber and avoids preservatives, helping with a balanced diet.
- Versatility: Easily adjust for vegan, gluten-free, or low-calorie options to fit various lifestyles while keeping the taste great.
- Distinctive flavor: Using traditional methods and quality ingredients, it creates a unique taste with a crispy crust and airy inside that makes every bite enjoyable.
For more ideas on easy baking, check out our no-knead cinnamon rolls recipe to add sweet treats to your routine.
Jump To
- 1. Why You’ll Love This Artisan Bread
- 2. Essential Ingredients for Artisan Bread
- 3. How to Prepare the Perfect Artisan Bread: Step-by-Step Guide
- 4. Dietary Substitutions to Customize Your Artisan Bread
- 5. Mastering Artisan Bread: Advanced Tips and Variations
- 6. How to Store Artisan Bread: Best Practices
- 7. FAQs: Frequently Asked Questions About Artisan Bread
- 8. Artisan Bread
Essential Ingredients for Artisan Bread
Gathering the right ingredients is key to making great artisan bread at home. This section lists everything you need, based on a reliable recipe that ensures success for home cooks and food enthusiasts alike.
Main Ingredients
- 3 ½ cups (437 g) bread flour, plus more if needed
- 2 ¼ teaspoons (7 g) instant yeast
- 1 tablespoon (12 g) granulated sugar (optional)
- 1 ½ teaspoons (10 g) salt
- 1 ½ cups (360 ml) warm water at 115°F (46°C)
These ingredients form the base of your bread, providing structure, rise, and flavor. Remember, the warm water helps activate the yeast, but don’t go over 115°F to keep things working smoothly.
Special Dietary Options include ways to tweak the recipe, like using plant-based swaps for vegan versions or gluten-free flour blends. For more on healthy eating, explore benefits of whole grains to understand how these choices support wellness.
How to Prepare the Perfect Artisan Bread: Step-by-Step Guide
Creating artisan bread at home is straightforward and fun, especially with these clear steps that work for busy parents or newlyweds starting out. Begin by mixing your ingredients to form the dough, then let it rise for the best results.
Gathering and Mixing Ingredients
First, combine the bread flour, instant yeast, sugar, and salt in a large bowl by whisking them together. Add the warm water at 115°F and stir until you get a sticky dough. Cover the bowl and let the dough rise at room temperature until it doubles in size, which takes about 2-3 hours, or refrigerate it overnight without letting it rise first.
Shaping and Baking the Dough
Next, transfer the dough onto a well-floured surface and shape it into a ball, adding more flour as needed to handle the stickiness. Perform four stretch and fold motions by folding the dough over itself from top to bottom and turning 90 degrees each time. After shaping it into a round ball, place the dough on parchment paper, cover with plastic wrap, and let it rest for 30 minutes while preheating the oven to 450°F (230°C) with a Dutch oven inside.
Carefully place the dough with the parchment paper into the hot Dutch oven, score the top, cover with the lid, and bake for 30 minutes. Remove the lid and bake for an additional 10 minutes until golden. Cool the bread in the Dutch oven for 10 minutes before moving it to a rack to cool completely before slicing.
This method ensures a soft crust and rich flavor, and you can adapt it for dietary needs as mentioned earlier. If you’re looking for more baking inspiration, try our fluffy cheese chive biscuits for a savory side.

Dietary Substitutions to Customize Your Artisan Bread
Making artisan bread your own is easy with simple swaps that suit everyone from diet-conscious individuals to seniors. Start by changing the flour or adding flavors to fit your needs.
- Protein and Main Component Alternatives: Substitute bread flour with almond or chickpea flour for more protein in gluten-free versions, or use ground flaxseeds mixed with water for vegan options.
- Vegetable, Sauce, and Seasoning Modifications: Add roasted garlic or sun-dried tomatoes for extra taste, sprinkle rosemary or thyme for variety, and use nutritional yeast flakes to boost flavor for vegan diets.
These changes keep the bread’s quality high while meeting allergy needs and taste preferences, making it a flexible recipe for any occasion.
Mastering Artisan Bread: Advanced Tips and Variations
Once you’re comfortable with the basics, try some advanced techniques to elevate your bread game for baking enthusiasts and food lovers. Using a baking stone helps distribute heat evenly and creates steam for a crisp crust, much like adding a tray of water in the oven.
Flavor and Presentation Ideas
Experiment with herbs like oregano or spices such as fennel seeds in the dough to create unique tastes that pair well with meals. For presentation, score fun patterns on the loaf before baking and top with seeds like sesame or poppy for a nice look.
Make-ahead options include preparing the dough ahead and refrigerating it overnight for better flavor and easy scheduling. Remember, sugar is optional but can help activate the yeast and add depth, and you can substitute instant yeast with active dry yeast if needed.
| Tips for Success | Why It Works |
|---|---|
| Use extra flour for sticky dough | Prevents mess and helps shape easily |
| Let bread cool fully before slicing | Avoids a gummy texture for better results |
| Freeze sliced bread for 3-6 months | Allows easy thawing and reheating |
For more on yeast, check out yeast nutrition to learn how it affects your bread.
How to Store Artisan Bread: Best Practices
Keeping your artisan bread fresh is simple with the right methods, helping busy professionals and travelers enjoy it longer. Store it at room temperature in an airtight container or wrapped in a cloth for up to 3 days to keep that soft crust intact.
- Refrigeration: Not ideal as it can make bread stale faster, so stick to room temperature storage.
- Freezing: Slice first and use vacuum-sealed bags for up to 3 months to preserve quality.
- Reheating: Warm slices in a toaster or oven at 180°C for 5-7 minutes to bring back crispness.
- Meal prep: Bake extra loaves and freeze portions for quick access on busy days.
This approach makes it easy to have fresh bread anytime, and you can reheat the loaf in the oven for the best taste.
FAQs: Frequently Asked Questions About Artisan Bread
Can I bake artisan bread in a regular loaf pan?
Yes, you can bake artisan bread in a 9×5-inch loaf pan if you don’t have a Dutch oven. For best results, use two pans so one can act as a lid to trap steam, or tent the bread with foil. Baking times may vary slightly, so keep an eye on the crust color. Alternatively, you can bake it on a cookie sheet, but expect a thinner crust.
How should I store artisan bread to keep it fresh?
Store artisan bread at room temperature in a paper bag or wrapped loosely in a clean kitchen towel to maintain its crust. Avoid plastic wrap if you want to keep the crust crisp. For longer storage, slice the bread and freeze it in an airtight container or freezer bag. Thaw slices at room temperature, toast, or warm in the oven to restore texture.
Is artisan bread better for health compared to store-bought bread?
Artisan bread often contains simple, natural ingredients without preservatives or additives common in commercial bread. This can make it a healthier choice as it avoids processed components. Additionally, the longer fermentation process used in making artisan bread may improve digestibility and nutrient availability.
Can I substitute all-purpose flour for bread flour when making artisan bread?
Yes, you can use all-purpose flour as a substitute, but bread flour is preferred because its higher protein content develops more gluten, resulting in a chewier texture and better rise. If using all-purpose flour, expect a slightly softer crumb and less volume in your bread.
What water temperature is best for activating yeast in artisan bread dough?
Use water around 110 to 115 degrees Fahrenheit to activate yeast without harming it. Water that’s too hot can kill the yeast, preventing fermentation, while water that’s too cold may slow down the rising process. Use a kitchen thermometer to check the temperature for the best results.

Artisan Bread
🍞 Create bakery-quality artisan bread at home with minimal effort and no special equipment
🥖 Enjoy the irresistible aroma and taste of freshly baked bread with a soft interior and perfectly crisp crust
- Total Time: 3 hours 15 minutes
- Yield: 1 loaf (12 slices)
Ingredients
– 3 ½ cups (437 g) bread flour, plus more if needed
– 2 ¼ teaspoons (7 g) instant yeast
– 1 tablespoon (12 g) granulated sugar (optional)
– 1 ½ teaspoons (10 g) salt
– 1 ½ cups (360 ml) warm water at 115°F (46°C)
Instructions
1-Creating artisan bread at home is straightforward and fun, especially with these clear steps that work for busy parents or newlyweds starting out. Begin by mixing your ingredients to form the dough, then let it rise for the best results.
2-First, combine the bread flour, instant yeast, sugar, and salt in a large bowl by whisking them together. Add the warm water at 115°F and stir until you get a sticky dough. Cover the bowl and let the dough rise at room temperature until it doubles in size, which takes about 2-3 hours, or refrigerate it overnight without letting it rise first.
3-Next, transfer the dough onto a well-floured surface and shape it into a ball, adding more flour as needed to handle the stickiness. Perform four stretch and fold motions by folding the dough over itself from top to bottom and turning 90 degrees each time. After shaping it into a round ball, place the dough on parchment paper, cover with plastic wrap, and let it rest for 30 minutes while preheating the oven to 450°F (230°C) with a Dutch oven inside.
4-Carefully place the dough with the parchment paper into the hot Dutch oven, score the top, cover with the lid, and bake for 30 minutes. Remove the lid and bake for an additional 10 minutes until golden. Cool the bread in the Dutch oven for 10 minutes before moving it to a rack to cool completely before slicing.
Notes
🌡️ Keep water temperature at 115°F or lower to protect yeast activity and ensure proper rising
👋 Don’t worry about sticky dough – use extra flour on hands and surfaces when handling
⏰ Allow bread to cool completely before slicing to prevent gummy texture and ensure perfect crumb structure
- Prep Time: 15 minutes
- Rising time: 2-3 hours
- Cook Time: 40 minutes
- Category: Bread
- Method: Baking
- Cuisine: Artisan
- Diet: Vegetarian
Nutrition
- Serving Size: 1 slice
- Calories: 143
- Sugar: 1.1
- Sodium: 294
- Fat: 0.8
- Saturated Fat: 0.1
- Unsaturated Fat: 0.7
- Trans Fat: 0
- Carbohydrates: 28.3
- Fiber: 1.5
- Protein: 5.3
- Cholesterol: 0


