
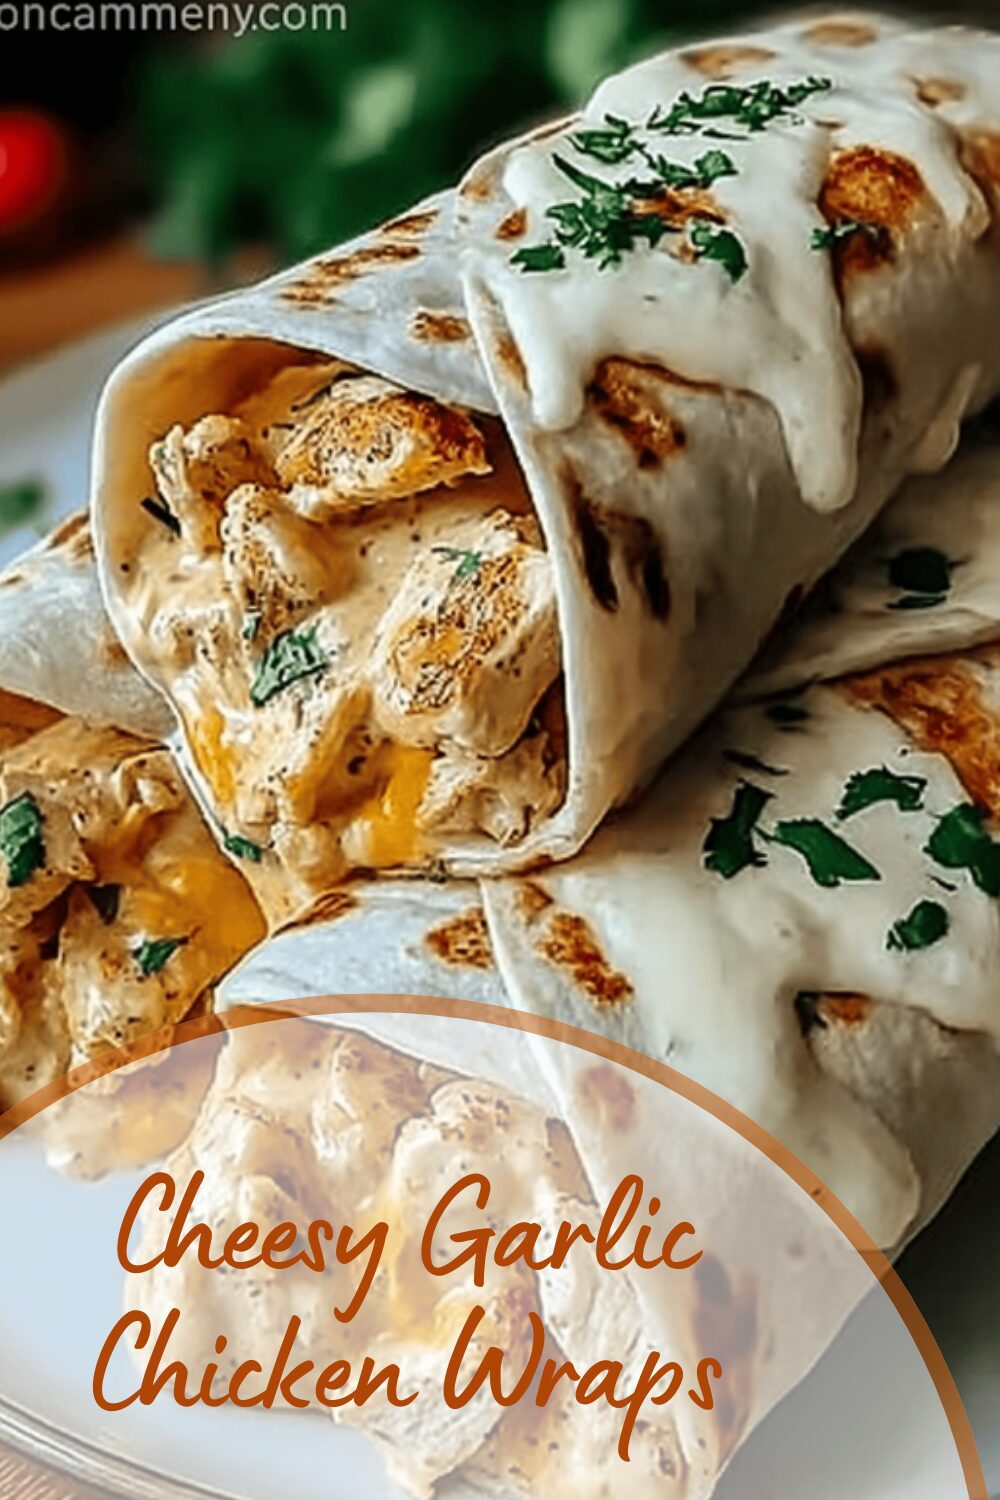
Why You’ll Love This Cheesy Garlic Chicken Wraps
Imagine wrapping up a quick, delicious meal that’s ready in under 30 minutes without much fuss. Cheesy garlic chicken wraps bring together simple ingredients like tender chicken, gooey cheese, and aromatic garlic for a satisfying bite every time. They’re perfect for busy days when you need something healthy yet comforting that the whole family can enjoy.
These cheesy chicken wraps stand out for their ease of preparation, making them ideal for home cooks and busy parents alike. Packed with lean protein from the chicken, they offer health benefits like antioxidants from garlic, helping support your daily wellness goals. Plus, their versatility means you can tweak them for various tastes, whether you’re going plant-based or keeping it gluten-free, all while delivering that irresistible savory flavor.
For food enthusiasts and students, these wraps are a go-to option that’s quick to assemble and full of rich, cheesy goodness. They make mealtime fun and customizable, turning ordinary ingredients into something special that brings people together around the table. Whether you’re a working professional grabbing lunch or a newlywed trying new recipes, these wraps fit right into your routine with minimal effort and maximum taste.
Jump To
- 1. Why You’ll Love This Cheesy Garlic Chicken Wraps
- 2. Essential Ingredients for Cheesy Garlic Chicken Wraps
- 3. How to Prepare the Perfect Cheesy Garlic Chicken Wraps: Step-by-Step Guide
- 4. Dietary Substitutions to Customize Your Cheesy Garlic Chicken Wraps
- 5. Mastering Cheesy Garlic Chicken Wraps: Advanced Tips and Variations
- 6. How to Store Cheesy Garlic Chicken Wraps: Best Practices
- 7. FAQs: Frequently Asked Questions About Cheesy Garlic Chicken Wraps
- 8. Cheesy Garlic Chicken Wraps
Essential Ingredients for Cheesy Garlic Chicken Wraps
Getting the right ingredients is key to making these cheesy garlic chicken wraps a hit in your kitchen. This recipe uses straightforward items that you likely have on hand or can easily find at the store. Below is a complete list of everything you’ll need, based on precise measurements to ensure your wraps turn out perfectly every time.
- 2 large tortillas (regular or low-carb/high-protein)
- 7 oz cooked chicken (about 200 grams, chopped)
- 2 garlic cloves minced or grated (adjust to taste)
- 2 tablespoons light mayonnaise
- 1 tablespoon light Greek yogurt or plain yogurt
- 2 teaspoons hot sauce
- ¼ teaspoon salt
- 3 oz grated cheese (about 90 grams, cheddar or cheddar blend for melting)
- 1 green onion chopped
- Olive oil spray
This structured list covers all the essentials, making it simple to measure and prepare. For those aiming for dietary tweaks, feel free to swap in alternatives later, but stick to these for the classic version. These ingredients come together to create a creamy, flavorful filling that’s both nutritious and delicious.
How to Prepare the Perfect Cheesy Garlic Chicken Wraps: Step-by-Step Guide
Whipping up these cheesy garlic chicken wraps is a breeze, and it starts with mixing the flavorful filling. Begin by combining the chopped chicken, minced garlic, light mayonnaise, Greek yogurt, hot sauce, and salt in a bowl until everything blends smoothly. This step takes just a few minutes and infuses the chicken with a creamy, zesty kick.
Next, lay out your tortilla and build the wrap by sprinkling about 2 tablespoons of grated cheese on the lower third. Top that with around ⅔ cup of the chicken mixture, add another tablespoon of cheese, and finish with a sprinkle of chopped green onion for a fresh touch. Fold in the sides of the tortilla and roll it up tightly to keep everything secure inside.
Heat a non-stick pan over medium-high heat and give it a quick spray with olive oil. Place the wrap seam-side down and cook for 3-4 minutes per side until it’s golden and crispy, covering the pan with a lid to melt the cheese and warm the filling evenly. Once done, slice the wrap in half and serve it hot for the best experience.
The total preparation time is straightforward: prep takes 15 minutes, cooking is about 7 minutes, and you’re ready to eat in just 22 minutes total. This serves 2 people, making it perfect for a quick meal. For added inspiration, check out our vegetarian lettuce wraps recipe if you’re looking for a plant-based twist on similar ideas.
Nutritional Highlights
To give you a clear picture of what you’re enjoying, here’s a breakdown of the nutritional info per serving in a simple table:
| Nutrient | Amount |
|---|---|
| Calories | 476 kcal |
| Carbohydrates | 19 g |
| Protein | 38 g |
| Fat | 27 g |
| Saturated Fat | 11 g |
| Polyunsaturated Fat | 5 g |
| Monounsaturated Fat | 7 g |
| Trans Fat | 0.01 g |
| Cholesterol | 120 mg |
| Sodium | 1090 mg |
| Potassium | 347 mg |
| Fiber | 1 g |
| Sugar | 2 g |
| Vitamin A | 543 IU |
| Vitamin C | 5 mg |
| Calcium | 376 mg |
| Iron | 3 mg |
This table shows why these wraps are a great choice for diet-conscious folks, offering a balance of protein and healthy fats without going overboard.

Dietary Substitutions to Customize Your Cheesy Garlic Chicken Wraps
One of the best parts about cheesy garlic chicken wraps is how easy it is to make them your own. If you’re looking to switch things up for health reasons or personal taste, start with simple protein swaps like using grilled tofu or tempeh instead of chicken. This keeps the recipe vegetarian-friendly while maintaining that hearty feel.
For vegetable tweaks, try swapping tomatoes for roasted red peppers or cilantro for parsley to add a fresh twist. If dairy is an issue, reach for dairy-free cheese or nutritional yeast to keep the creamy element without the compromise. These changes let you enjoy garlic chicken wraps in a way that fits your lifestyle, whether you’re a senior watching sodium levels or a baking enthusiast experimenting with flavors.
Don’t forget about fun additions like spicy sriracha mayo for extra heat. To learn more about similar healthy options, try our San Francisco chicken salad recipe, which pairs well with these wraps for a fuller meal.
Remember, small changes can make a big difference in how your cheesy garlic chicken wraps turn out, so have fun tailoring them to your needs.
Mastering Cheesy Garlic Chicken Wraps: Advanced Tips and Variations
Taking your cheesy garlic chicken wraps to the next level involves a few smart techniques that enhance flavor and texture. For instance, marinate your chicken in garlic and herbs ahead of time to make every bite more delicious. Using a grill pan can add those nice char marks, giving your wraps a smoky edge that elevates the meal.
Experiment with flavors by adding spices like smoked paprika for a warm kick or trying different cheeses such as mozzarella for a stretchier melt. If you want a lighter version, simply reduce the cheese while keeping the garlic front and center. Covering the pan during cooking helps the cheese melt faster and warms the filling just right, as per our tips for the best results.
For make-ahead options, prepare the chicken filling up to 3 days in advance and store it in the fridge, or freeze it for a month to save time. You can also try the air fryer method at 375°F for 6-8 minutes or baking at 400°F for 10-12 minutes, though pan-frying gives the crispiest finish. Serving ideas include pairing with a crunchy salad or roasted veggies to round out the dish.
- Use fresh herbs to brighten the flavor even more.
- Store leftovers in the fridge for up to 2 days and reheat in a skillet.
- Turn extra filling into quick toasties or quesadillas for variety.
These handy lists make it simple to remember the key steps, especially for travelers or working professionals on the go.
How to Store Cheesy Garlic Chicken Wraps: Best Practices
Keeping your cheesy garlic chicken wraps fresh is all about proper storage to lock in that crispy texture. Pop them in an airtight container in the fridge and they’ll stay good for up to 2-3 days, ready for a quick meal. If you’re meal prepping, make the filling in advance and keep it separate from the tortillas to avoid sogginess.
For longer storage, freeze the filling for up to 1 month, but skip freezing the assembled wraps as it can make them lose their crunch. When it’s time to eat, reheat in a skillet over medium heat to get that golden exterior back without the microwave, which might make them soft. These methods work well for busy parents or students juggling schedules.
One more tip: always assemble wraps fresh if you can, and consider using them in other dishes like stuffed potatoes for creative leftovers.
FAQs: Frequently Asked Questions About Cheesy Garlic Chicken Wraps
Can I bake cheesy garlic chicken wraps instead of pan-frying them?
Yes, you can bake the wraps at 400°F (200°C) for 10 to 12 minutes, making sure to flip them once midway through to cook evenly. Baking results in a softer wrap compared to pan-frying or air frying, which create a crispier texture. For the best crunch, pan-frying in a skillet or using an air fryer at 375°F (190°C) for 6 to 8 minutes is recommended.
How should I store leftover cheesy garlic chicken wraps to keep them fresh?
Store any leftover cooked wraps in an airtight container in the refrigerator for up to 2 days. To reheat, warm them in a skillet or air fryer to restore their crispiness. It’s best to avoid freezing assembled wraps, as this can affect the texture and cause sogginess once thawed.
Can I prepare the chicken filling for these wraps ahead of time?
Absolutely. You can make the chicken filling 2 to 3 days in advance and keep it refrigerated until you are ready to use it. If you want to store it longer, the filling can be frozen for up to 1 month. Just thaw it in the fridge before reheating and assembling your wraps.
Are there different types of tortillas I can use for cheesy garlic chicken wraps?
Yes, you can use a variety of large tortillas such as wheat, whole grain, or low-carb high-protein wraps depending on your dietary preference. Choose tortillas that are large enough to easily wrap the filling without tearing for the best results.
What are some tasty extras I can add to my cheesy garlic chicken wraps?
To boost flavor and texture, consider adding ingredients like sliced avocado, sun-dried tomatoes, olives, gherkins, fresh spinach, or sautéed mushrooms. These additions complement the garlic and cheese well and add nutritional variety to your wraps.
Cheesy Garlic Chicken Wraps
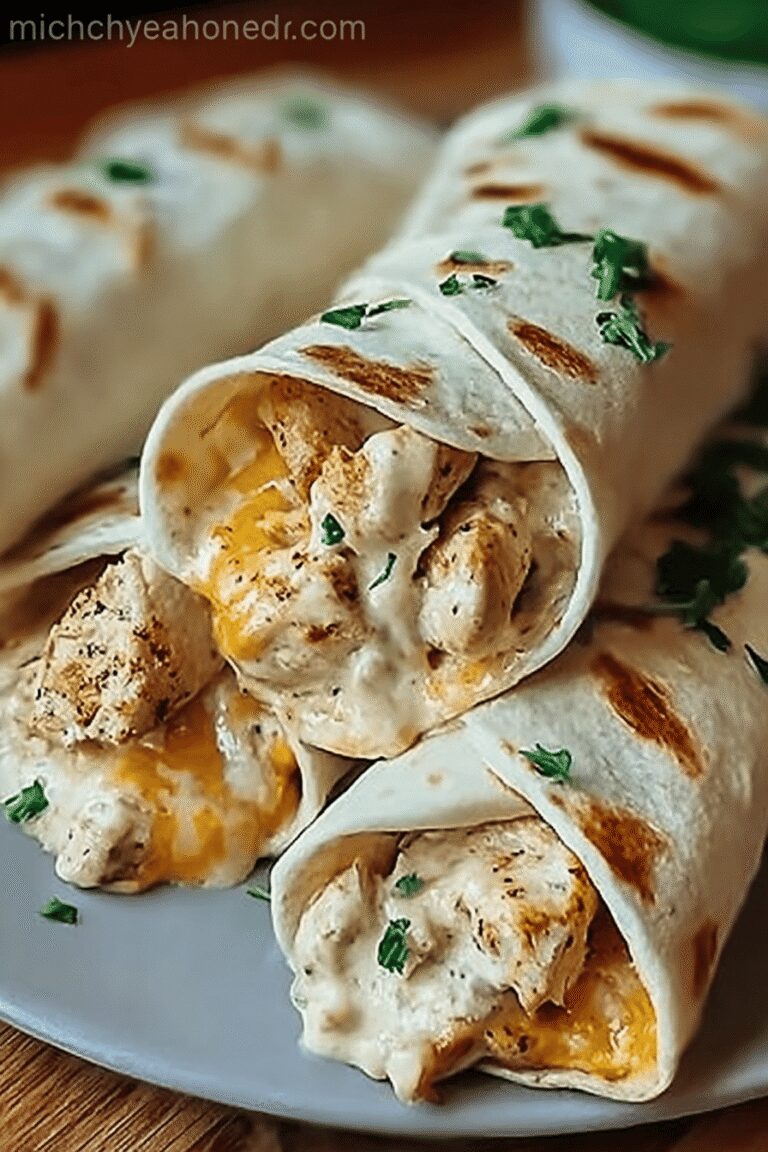
🌯 Cheesy Garlic Chicken Wraps combine tender chicken with a creamy, flavorful sauce and melted cheese for a satisfying meal.
🧄 This quick and easy recipe delivers fresh herb accents and a crispy finish, perfect for a delicious weeknight dinner or lunch.
- Total Time: 22 minutes
- Yield: 2 servings
Ingredients
– 2 large tortillas (regular or low-carb/high-protein)
– 7 oz cooked chicken (about 200 grams, chopped)
– 2 garlic cloves minced or grated (adjust to taste)
– 2 tablespoons light mayonnaise
– 1 tablespoon light Greek yogurt or plain yogurt
– 2 teaspoons hot sauce
– ¼ teaspoon salt
– 3 oz grated cheese (about 90 grams, cheddar or cheddar blend for melting)
– 1 green onion chopped
– Olive oil spray
Instructions
1- Whipping up these cheesy garlic chicken wraps is a breeze, and it starts with mixing the flavorful filling. Begin by combining the chopped chicken, minced garlic, light mayonnaise, Greek yogurt, hot sauce, and salt in a bowl until everything blends smoothly. This step takes just a few minutes and infuses the chicken with a creamy, zesty kick.
2- Next, lay out your tortilla and build the wrap by sprinkling about 2 tablespoons of grated cheese on the lower third. Top that with around ⅔ cup of the chicken mixture, add another tablespoon of cheese, and finish with a sprinkle of chopped green onion for a fresh touch. Fold in the sides of the tortilla and roll it up tightly to keep everything secure inside.
3- Heat a non-stick pan over medium-high heat and give it a quick spray with olive oil. Place the wrap seam-side down and cook for 3-4 minutes per side until it’s golden and crispy, covering the pan with a lid to melt the cheese and warm the filling evenly. Once done, slice the wrap in half and serve it hot for the best experience.
Notes
🔥 Covering the pan while cooking helps melt cheese and heat filling faster.
🥗 Prepare chicken filling ahead and store refrigerated up to 3 days for convenience.
🍽️ For crispier wraps, cook in an air fryer at 375°F for 6-8 minutes or bake at 400°F for 10-12 minutes, flipping once.
- Prep Time: 15 minutes
- Cook Time: 7 minutes
- Category: Main Dish, Lunch
- Method: Pan-frying
- Cuisine: American
- Diet: None specified
Nutrition
- Serving Size: 1 wrap
- Calories: 476
- Sugar: 2g
- Sodium: 1090mg
- Fat: 27g
- Saturated Fat: 11g
- Unsaturated Fat: 12g
- Trans Fat: 0.01g
- Carbohydrates: 19g
- Fiber: 1g
- Protein: 38g
- Cholesterol: 120mg


