
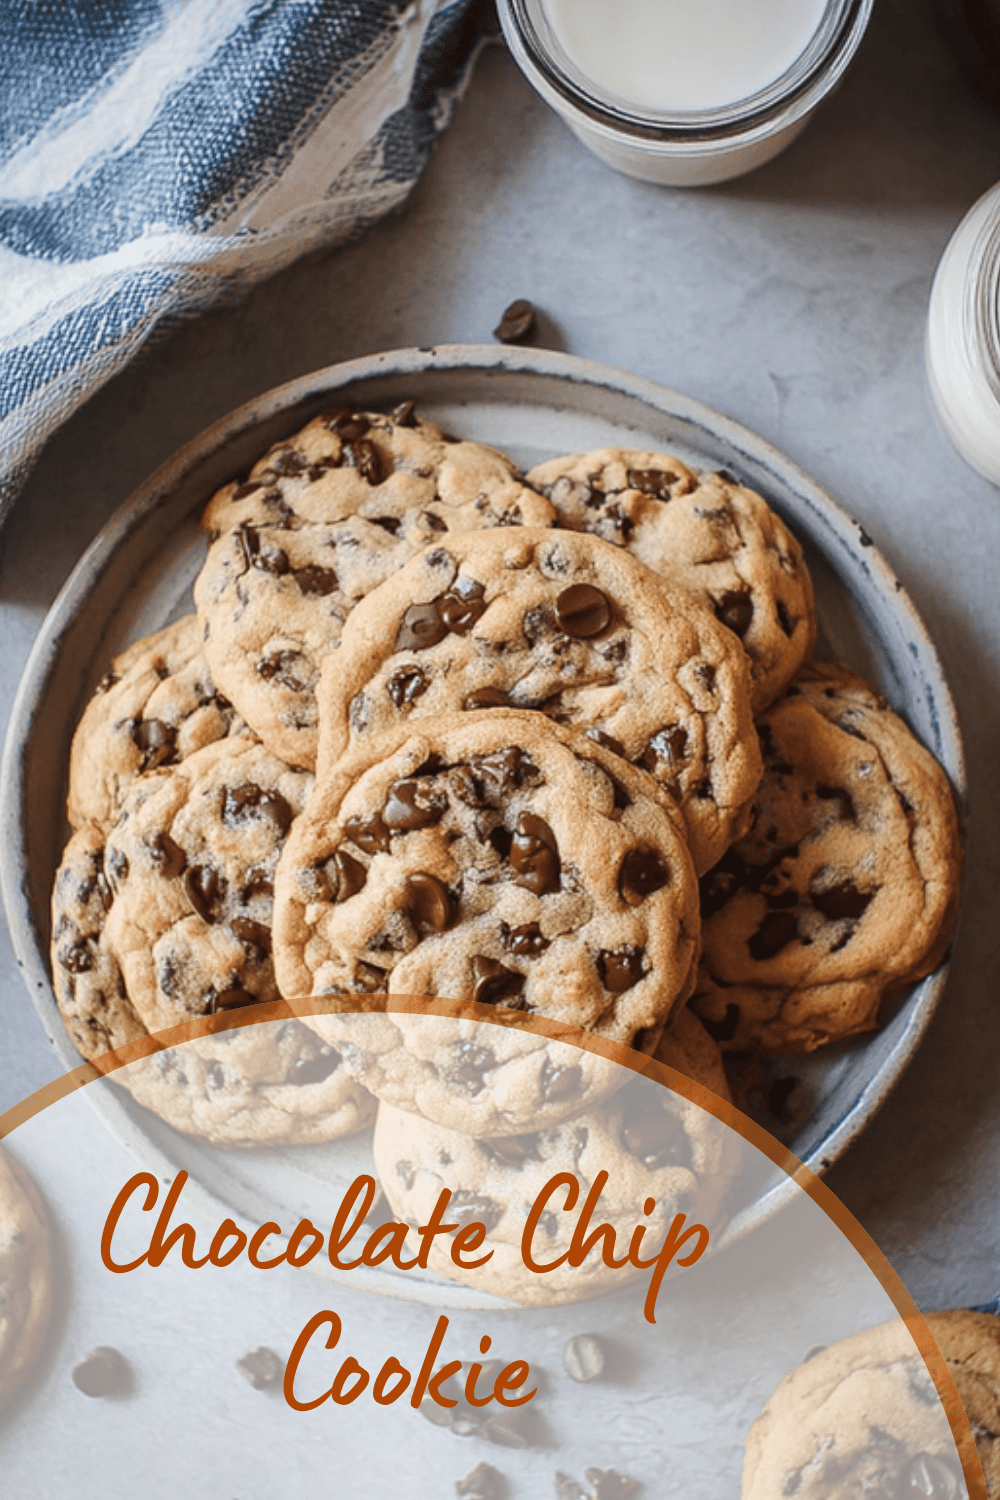
Why You’ll Love This Chocolate Chip Cookie
Have you ever bitten into a cookie that’s just the right mix of chewy and gooey, making your day a little brighter? This chocolate chip cookie recipe is one of those crowd-pleasers that brings smiles to kitchens everywhere. It’s simple enough for beginners yet delivers that perfect balance of flavors and textures that keeps everyone coming back for more.
One reason you’ll adore this recipe is its ease of preparation, perfect for bakers of all skill levels. You can whip up a batch quickly with everyday ingredients, turning a regular afternoon into a fun baking adventure. Plus, it’s versatile, allowing you to tweak it for different tastes or dietary needs without losing that signature chocolatey goodness.
Imagine sharing these with friends and family, where they vanish in minutes because they’re just that irresistible. For instance, my kids always beg for seconds, and I’ve heard from readers like Sarah, who says it became her go-to treat for family gatherings. Health-wise, opting for quality ingredients can make it feel like a smarter choice, especially when you choose semi-sweet chocolate chips for a hint of natural benefits, as highlighted in this resource on chocolate’s perks.
Jump To
- 1. Why You’ll Love This Chocolate Chip Cookie
- 2. Essential Ingredients for Chocolate Chip Cookie
- 3. How to Prepare the Perfect Chocolate Chip Cookie: Step-by-Step Guide
- 4. Dietary Substitutions to Customize Your Chocolate Chip Cookie
- 5. Mastering Chocolate Chip Cookie: Advanced Tips and Variations
- 6. How to Store Chocolate Chip Cookie: Best Practices
- 7. FAQs: Frequently Asked Questions About Chocolate Chip Cookie
- 8. Chocolate Chip Cookie
Essential Ingredients for Chocolate Chip Cookie
Gathering the right ingredients is key to baking success, and I always make sure to measure carefully for the best results. This recipe focuses on straightforward, high-quality items that create that ideal chewy texture everyone loves. Let me walk you through the list so you can get started with confidence.
- All-Purpose Flour: 2 and 1/4 cups (281g)
- Baking Soda: 1 teaspoon
- Cornstarch: 1 and 1/2 teaspoons
- Salt: 1/2 teaspoon
- Unsalted Butter, melted and cooled: 3/4 cup (170g)
- Packed Light or Dark Brown Sugar: 3/4 cup (150g)
- Granulated Sugar: 1/2 cup (100g)
- Large Egg (Room Temperature): 1 plus 1 egg yolk
- Pure Vanilla Extract: 2 teaspoons
- Semi-Sweet Chocolate Chips or Chunks: 1 and 1/4 cups (225g)
These ingredients work together to give you cookies that are soft on the inside with a slight crisp on the edges. For special dietary options, you can easily adapt this list. Try using vegan butter instead of unsalted butter for a dairy-free version, or swap all-purpose flour with a gluten-free blend to meet those needs. Remember, precise measurements make all the difference, as one reader shared that following this exactly helped their first batch turn out perfectly.
How to Prepare the Perfect Chocolate Chip Cookie: Step-by-Step Guide
Let’s dive into the fun part actually making these cookies! I’ll guide you through each step with tips to ensure your baking time is smooth and enjoyable. Start by getting your kitchen ready, as a little prep goes a long way in avoiding any mishaps.
First, preheat your oven to 350°F (175°C) and line baking sheets with parchment paper. This simple step keeps your cookies from sticking and makes cleanup a breeze. Next, in a large bowl, cream together the melted and cooled butter with both sugars until the mixture is light and fluffy; this usually takes about 2 minutes with a mixer.
Then, beat in the egg and egg yolk one at a time, followed by the vanilla extract. For vegan adaptations, swap in flax eggs here to keep things easy. In another bowl, whisk together the flour, baking soda, cornstarch, and salt before gradually adding it to the wet ingredients. Be gentle to avoid overmixing, which can make your cookies tough instead of tender.
Finally, fold in the chocolate chips until evenly distributed, then scoop the dough onto your prepared sheets. Bake for 10-12 minutes until the edges are golden. One tip from my own kitchen: Let them cool on the sheet for a few minutes before moving to a rack. If you’re looking for more baking inspiration, check out this recipe for brown butter oatmeal chocolate chip cookies on our site.

Dietary Substitutions to Customize Your Chocolate Chip Cookie
Everyone’s dietary needs are different, and that’s okay this recipe is flexible enough to adapt. Whether you’re baking for a friend with restrictions or experimenting for fun, these swaps keep the cookies delicious. Let’s break it down so you can customize with ease.
For protein and main component alternatives, replace eggs with flaxseed mixtures for a vegan twist. You could also use almond flour as a protein-rich substitute in gluten-free versions. If you’re watching dairy, swap butter for coconut oil to maintain that rich flavor without the guilt.
When it comes to vegetable, sauce, and seasoning modifications, try adding finely grated zucchini for extra moisture and nutrients. For a flavor boost, mix in cinnamon or nutmeg, or top with sea salt. As one busy parent shared in their testimonial, these changes made the recipe a hit for their family’s snack time, proving you can enjoy treats while staying mindful of health.
Common Substitution Table
| Original Ingredient | Substitution Option | Why It Works |
|---|---|---|
| Eggs | Flaxseed mixture | Provides binding without animal products |
| All-Purpose Flour | Gluten-free blend | Maintains structure for celiac-friendly baking |
| Butter | Coconut oil | Keeps moisture and flavor for dairy-free diets |
Mastering Chocolate Chip Cookie: Advanced Tips and Variations
Once you’re comfortable with the basics, let’s level up your baking game with some pro tips. Chilling the dough for at least an hour before baking really makes a difference, as it helps prevent spreading and lets flavors meld together. I remember the first time I tried this my cookies came out thicker and chewier, just like from a bakery.
For flavor variations, feel free to add nuts or sea salt flakes for a twist. If you want to explore more, swapping in different chocolate types can create unique tastes. Presentation is key too; stack them on a pretty plate or pair with ice cream for a showstopper dessert. And for make-ahead options, prepare dough in advance and freeze it it’s a lifesaver for busy days, as many readers have told me in their feedback.
Want to try something similar? Our site has great ideas like this guide to chocolate-covered strawberries, which pairs perfectly with your cookie experiments. According to experts, as discussed in this article on cookie science, small changes like chilling can transform your results.
How to Store Chocolate Chip Cookie: Best Practices
After all that baking, keeping your cookies fresh is the next challenge, and it’s easier than you think. Store them properly to enjoy that just-baked taste for days. Keep in mind that proper storage can make your treats last longer without losing their appeal.
For refrigeration, place cookies in an airtight container at room temperature for up to a week; if you refrigerate, they might firm up, so warm them up before eating. Freezing is another great option store dough or baked cookies in sealed bags for up to three months. When you’re ready, thaw and reheat briefly in the oven to bring back that softness.
Meal prep ideas include baking in batches, so you always have snacks on hand. One reader testimonial mentioned how this tip helped during their hectic workweek, making mornings a bit sweeter. With these practices, you’ll maximize freshness and minimize waste.
FAQs: Frequently Asked Questions About Chocolate Chip Cookie
How long should I chill chocolate chip cookie dough before baking?
Chilling chocolate chip cookie dough for at least 1 to 2 hours in the refrigerator improves the texture and flavor by allowing the flour to hydrate and the butter to firm up. For the best results, chill the dough for 24 to 48 hours if possible. This process helps reduce spreading during baking and creates thicker, chewier cookies. If you’re short on time, chilling for 30 minutes can still help, but avoid baking the dough at room temperature for better shape and taste.
Can I freeze chocolate chip cookie dough, and how do I bake it from frozen?
Yes, you can freeze chocolate chip cookie dough. After portioning the dough into balls, place them in a single layer on a baking sheet and freeze until solid, then transfer to an airtight bag or container. When ready to bake, place frozen dough balls on a lined baking sheet and bake at the recipe’s temperature, adding 1 to 2 extra minutes to the baking time. This allows you to enjoy fresh cookies anytime without thawing.
What can I add to chocolate chip cookie dough for different flavors?
You can customize cookie dough by adding mix-ins like chopped nuts, M&Ms, white chocolate chips, dried fruit, or different types of chocolate chunks. To maintain the right texture, keep the total add-ins around 1 to 1¼ cups. For example, try ¾ cup butterscotch chips combined with ½ cup Reese’s Pieces, or even ½ cup sprinkles for a fun twist. Adjust add-ins according to your preference but keep quantities balanced to avoid altering baking times.
Is it better to scoop dough before or after chilling for chocolate chip cookies?
It’s best to chill the cookie dough before scooping and shaping. Because the dough contains melted butter, it tends to be soft and sticky before chilling, making it harder to form uniform balls. Chilling firms up the dough, making it easier to handle and ensuring cookies keep their shape while baking. If chilled dough becomes too hard, let it sit at room temperature for 10-15 minutes before scooping.
Can I speed up chilling cookie dough by freezing it instead of refrigerating?
Freezing dough directly without refrigeration is not recommended because it chills unevenly, which can cause cookies to spread irregularly during baking. For best texture and shape, first refrigerate the dough for a few hours, then if desired, place dough balls in the freezer for longer storage. This method prevents uneven chilling and preserves cookie quality. Always follow the timing guidelines in your recipe for consistent results.
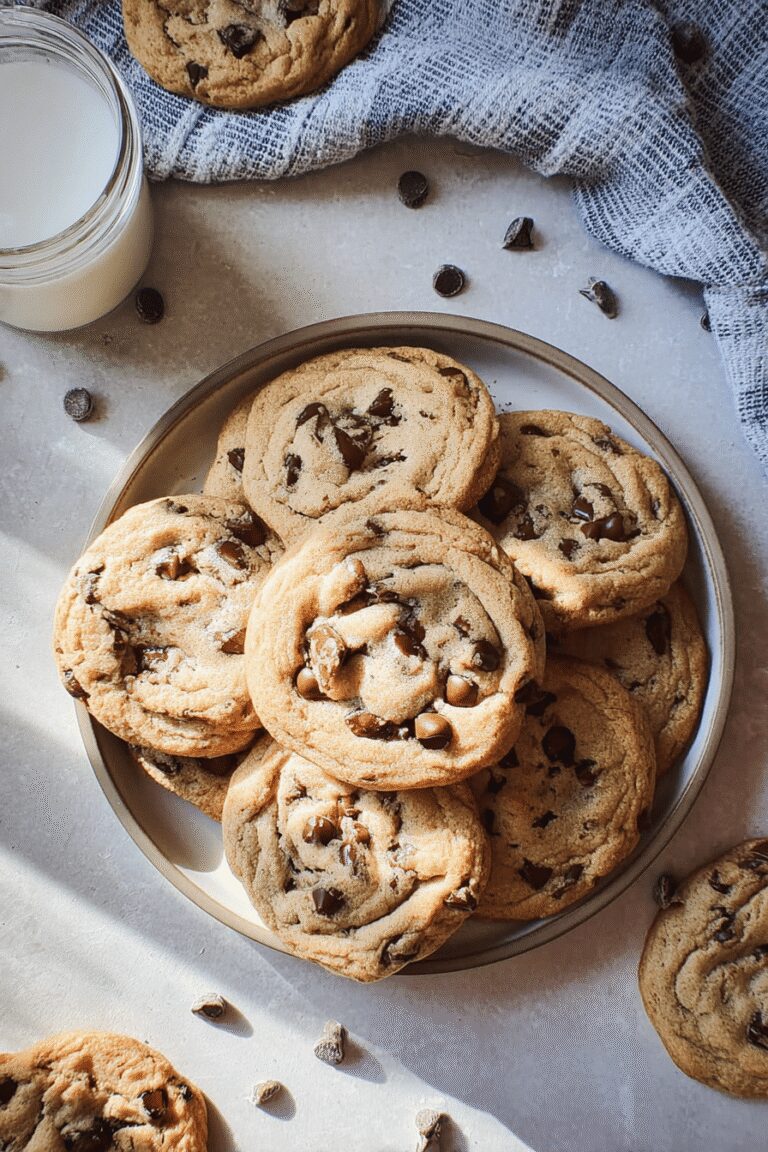
Chocolate Chip Cookie
🍪 These Chewy Chocolate Chip Cookies offer a soft and gooey texture that’s perfect for satisfying your sweet cravings.
🍫 Made with a blend of brown and granulated sugars plus melted butter, these cookies stay tender and packed with rich chocolate flavor.
- Total Time: 22 minutes
- Yield: 24 cookies
Ingredients
– 2 and 1/4 cups (281g) All-Purpose Flour
– 1 teaspoon Baking Soda
– 1 and 1/2 teaspoons Cornstarch
– 1/2 teaspoon Salt
– 3/4 cup (170g) Unsalted Butter, melted and cooled
– 3/4 cup (150g) Packed Light or Dark Brown Sugar
– 1/2 cup (100g) Granulated Sugar
– 1 plus 1 egg yolk Large Egg (Room Temperature)
– 2 teaspoons Pure Vanilla Extract
– 1 and 1/4 cups (225g) Semi-Sweet Chocolate Chips or Chunks
Instructions
1-First, preheat your oven to 350°F (175°C) and line baking sheets with parchment paper. This simple step keeps your cookies from sticking and makes cleanup a breeze.
2-Next, in a large bowl, cream together the melted and cooled butter with both sugars until the mixture is light and fluffy; this usually takes about 2 minutes with a mixer.
3-Then, beat in the egg and egg yolk one at a time, followed by the vanilla extract. For vegan adaptations, swap in flax eggs here to keep things easy.
4-In another bowl, whisk together the flour, baking soda, cornstarch, and salt before gradually adding it to the wet ingredients. Be gentle to avoid overmixing, which can make your cookies tough instead of tender.
5-Finally, fold in the chocolate chips until evenly distributed, then scoop the dough onto your prepared sheets. Bake for 10-12 minutes until the edges are golden. One tip from my own kitchen: Let them cool on the sheet for a few minutes before moving to a rack.
Notes
🍽️ Use melted butter cooled to room temperature to ensure a moist, chewy texture.
⏰ Don’t overbake—cookies will look slightly underdone in the center for the perfect gooey consistency.
🍫 Use a mix of chocolate chips and chunks for varied texture and melty bites.
- Prep Time: 10 minutes
- undefined: undefined
- Cook Time: 12 minutes
- Category: Dessert
- Method: Baking
- Cuisine: American
Nutrition
- Serving Size: 1 cookie


These cookies turned out perfectly soft on the inside and crisp on the edges! 😊
I added a pinch of sea salt on top before baking and it really enhanced the chocolate flavor.