
Why You’ll Love This Chocolate Cobbler
I’ve always had a soft spot for desserts that bring back memories of family gatherings, and this chocolate cobbler is one of those treats that reminds me of my grandma’s kitchen on warm summer evenings! It’s simple to whip up, needing just a handful of ingredients and a bit of time in the oven, making it perfect for busy nights when you crave something sweet without all the fuss. Plus, with its rich, gooey chocolate goodness, it offers health perks like antioxidants from the cocoa that can make you feel great about indulging a little.
What really makes this chocolate cobbler stand out is how easy it is to adapt for anyone’s needs, whether you’re going for vegan swaps or keeping it gluten-free, so everyone at the table can enjoy a slice. I remember my kids gobbling it up during our last picnic, and it quickly became our go-to dessert for potlucks! Let me share why this recipe has become a favorite in my home, blending ease, nutrition, and that irresistible flavor that keeps you coming back for more.
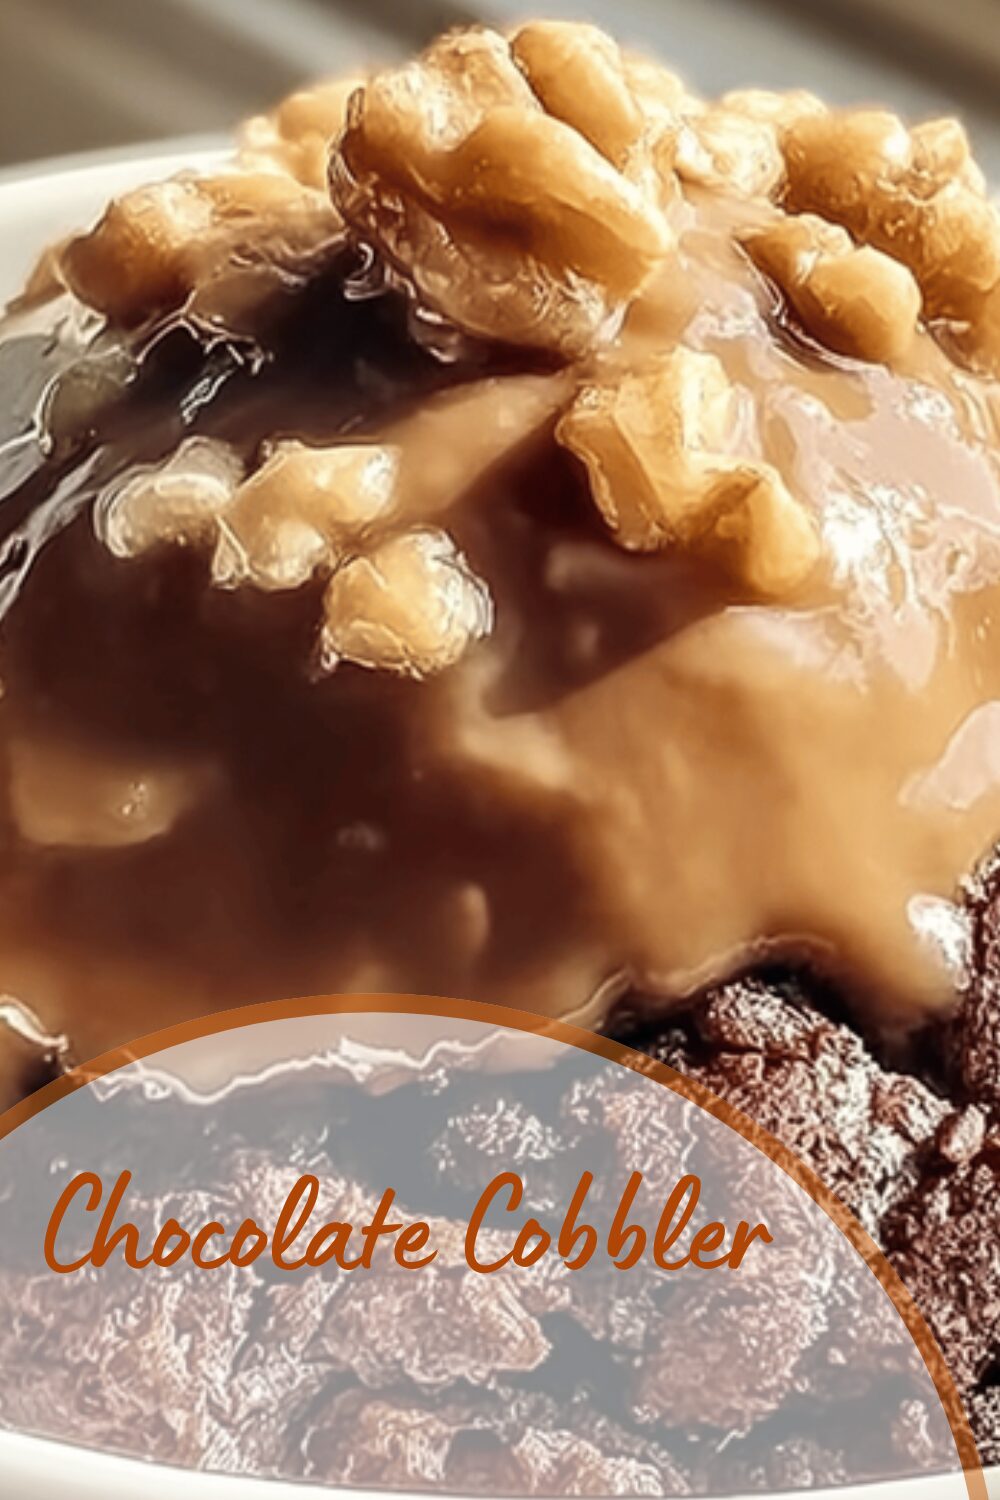
From its brownie-like top that’s perfectly crisp to the fudge sauce hiding underneath, this chocolate cobbler delivers a delightful surprise in every bite. It’s not just a dessert; it’s a way to create those memorable moments around the table that I love sharing with my family. Whether you’re a beginner or a seasoned baker, you’ll find joy in how straightforward it is to prepare, turning simple ingredients into something truly special.
Benefits That Make It a Winner
This recipe shines because it’s packed with options for healthier twists, like using sugar substitutes that cut down on calories without losing that sweet charm. I often swap in coconut sugar for a natural boost, and it still turns out amazing every time! For folks watching their diet, the antioxidants in the cocoa can support your wellness goals, making it feel like a treat that’s actually good for you.
It’s versatile too, adapting to various dietary preferences, which means my friends with restrictions can dive in without worry. Imagine serving this at a family reunion and watching everyone light up that’s the magic of chocolate cobbler for you! Overall, it’s a dessert that combines simplicity with satisfaction, perfect for any occasion.
Jump To
- 1. Why You’ll Love This Chocolate Cobbler
- 2. Essential Ingredients for Chocolate Cobbler
- 3. How to Prepare the Perfect Chocolate Cobbler: Step-by-Step Guide
- 4. Dietary Substitutions to Customize Your Chocolate Cobbler
- 5. Mastering Chocolate Cobbler: Advanced Tips and Variations
- 6. How to Store Chocolate Cobbler: Best Practices
- 7. FAQs: Frequently Asked Questions About Chocolate Cobbler
- 8. Chocolate Cobbler
Essential Ingredients for Chocolate Cobbler
When I first tried making chocolate cobbler, I realized how key the ingredients are to getting that perfect gooey texture we all love. Let’s dive into what you’ll need, pulling from my tried-and-true recipe that never fails to impress! I’ll list everything out clearly so you can shop easily and whip this up in no time.
Remember, fresh ingredients make all the difference, like using high-quality cocoa for that deep chocolate flavor that takes me back to childhood baking sessions. Below, you’ll find a complete structured list based on the essentials I use, ensuring you have exactly what’s needed for a delicious outcome.
Main Ingredients List
- 1/2 cup (113 g) butter, salted or unsalted
- 1 1/2 cups (297 g) granulated sugar (substitutes: cane sugar, coconut sugar, sugar substitute)
- 3 tablespoons (16 g) unsweetened cocoa powder
- 2 cups (226 g) self-rising flour (substitute: gluten-free flour)
- 1 cup (227 g) whole milk or preferred dairy or dairy-free milk
- 2 teaspoons (9 g) vanilla extract
- 2 cups (396 g) granulated sugar for topping
- 1/2 cup (42 g) unsweetened cocoa powder for topping
- 3 cups (681 g) boiling water for topping
- Optional: vanilla ice cream for serving
This list covers everything you’ll need, from the butter that gives it that rich base to the boiling water that creates the magical sauce layer. I always make sure to have these on hand because they turn a simple mix into something extraordinary! If you’re experimenting, the substitutes noted can help tailor it to your preferences.
How to Prepare the Perfect Chocolate Cobbler: Step-by-Step Guide
Getting this chocolate cobbler just right is easier than you might think, and I promise it’ll become your new favorite dessert! Start by preheating your oven, just like I do every time for that even bake. Follow these steps closely, and you’ll have a warm, gooey treat that everyone will rave about.
I love sharing this recipe because it brings back fond memories of baking with my family, and the aroma that fills the kitchen is unbeatable. Let’s break it down so you can enjoy the process as much as the final result. For an extra twist, check out my easy chocolate desserts for more ideas to pair with this one!
Step-by-Step Directions
- Preheat oven to 350°F (175°C).
- Melt butter in a 9×13 inch baking dish in the oven; remove once melted.
- In a bowl, combine 1 1/2 cups sugar, 3 tablespoons cocoa powder, flour, milk, and vanilla to form the batter.
- Spoon the batter over the melted butter in the dish without stirring.
- In a separate bowl, mix 2 cups sugar and 1/2 cup cocoa powder for the topping; sprinkle evenly over the batter.
- Gently pour 3 cups boiling water over the topping mixture without stirring.
- Bake for 35 to 40 minutes, until the top is set but the bottom remains slightly loose.
- Cool for 15 to 20 minutes to let the sauce thicken before serving.
- Serve plain or with vanilla ice cream for an extra treat!
This method creates that signature gooey layer that makes chocolate cobbler so irresistible, and it only takes about 40 to 45 minutes total! I always tell my friends to resist the urge to stir everything together that’s the secret to the magic happening in the oven.

Dietary Substitutions to Customize Your Chocolate Cobbler
One of the things I adore about this chocolate cobbler recipe is how flexible it is, allowing you to tweak it for different diets without losing any of that yummy goodness! Whether you’re vegan or just watching your calories, I’ve got some simple swaps that work wonders based on what I’ve tried at home.
For instance, swapping butter for coconut oil brings back memories of tropical flavors we enjoyed on vacation, making it feel fresh and exciting. Let’s explore these options so you can make it your own every time. It’s all about making delicious food that fits your lifestyle!
Simple Swaps for Everyone
- Replace butter with coconut oil or vegan margarine for plant-based diets.
- Use almond milk, soy milk, or oat milk in place of dairy milk for those with lactose intolerance.
- Opt for gluten-free flour instead of self-rising flour to accommodate gluten-free needs.
- Enhance flavors with cinnamon or chili powder for a spicy kick that adds a fun twist.
- Try maple syrup or agave nectar as natural sweeteners instead of granulated sugar.
These changes not only make the recipe adaptable but also let you experiment with seasonal ingredients, like adding fresh berries in the summer! I’ve found that a little creativity goes a long way in the kitchen.
Mastering Chocolate Cobbler: Advanced Tips and Variations
Once you’ve nailed the basic recipe, let’s amp it up with some pro tips that I’ve picked up over the years of baking this chocolate cobbler! Using top-notch cocoa powder really makes a difference, giving it that deep, rich taste that my family can’t get enough of. Gently mixing the batter keeps it light and fluffy, just like when I bake for holiday gatherings.
For fun variations, try adding a hint of espresso powder for a grown-up twist or some orange zest to brighten it up it’s amazing how these little changes can elevate your dessert game! Serving it warm with a scoop of ice cream is my favorite way, and it always gets smiles around the table. If you love more chocolatey ideas, check out chocolate lava cake recipe on my site for a similar treat.
Creative Variations to Try
Here’s a quick table of variations I enjoy:
| Variation | Add-In | Why It Works |
|---|---|---|
| Spicy Kick | 1 teaspoon chili powder | Adds a warm heat that pairs wonderfully with chocolate |
| Citrus Burst | Zest of one orange | Brightens the flavor for a refreshing twist |
| Coffee Infusion | 1 tablespoon espresso powder | Deepens the chocolate notes for a sophisticated taste |
Make-ahead tips include preparing the batter ahead and baking it fresh, which saves time on busy days. It freezes beautifully too, so you can have dessert ready whenever the craving hits!
How to Store Chocolate Cobbler: Best Practices
After enjoying your chocolate cobbler, storing it properly keeps that gooey goodness intact for later, and I always make sure to follow these steps so nothing goes to waste! Pop it in the fridge for a few days, or freeze it for longer enjoyment it reheats like a dream and tastes just as fresh as when it came out of the oven.
I often prepare extras for meal prep, portioning them out for quick desserts during the week. Let’s go over the best ways to keep your cobbler at its best, drawing from the tips I’ve learned through trial and error.
- Store in an airtight container in the refrigerator for up to 4-5 days.
- Freeze after cooling by wrapping tightly; it keeps for up to 3 months.
- Reheat gently in the oven at 350°F for about 20 minutes or in the microwave for a quick warm-up.
- For meal prep, bake in batches and store portions for easy access.
Following these practices ensures your chocolate cobbler remains moist and flavorful, ready for whenever you need a sweet pick-me-up!
FAQs: Frequently Asked Questions About Chocolate Cobbler
What ingredients do I need to make Chocolate Cobbler?
To make Chocolate Cobbler, you will typically need cocoa powder or melted chocolate, sugar, flour, baking powder, salt, milk, butter, and eggs. Some recipes call for vanilla extract or chocolate chips for extra flavor. The batter forms the base, and a sauce made from melted chocolate and sugar is poured over before baking to create a rich, gooey dessert.
How do I bake Chocolate Cobbler for the best texture?
Bake Chocolate Cobbler in a preheated oven at around 350°F (175°C) for 35 to 45 minutes. Use an oven-safe dish and bake until the top is set but still moist and a toothpick inserted near the center comes out with a few moist crumbs. Avoid overbaking to keep the dessert soft and gooey inside. Let it cool slightly before serving.
Can I make Chocolate Cobbler ahead of time and reheat it?
Yes, Chocolate Cobbler can be made a day ahead and stored in the refrigerator covered tightly with plastic wrap. To reheat, warm individual servings in the microwave for 20-30 seconds or place the whole dish in a preheated 300°F (150°C) oven for about 15 minutes. Reheating restores warmth and gooey texture without drying it out.
What are some topping ideas to serve with Chocolate Cobbler?
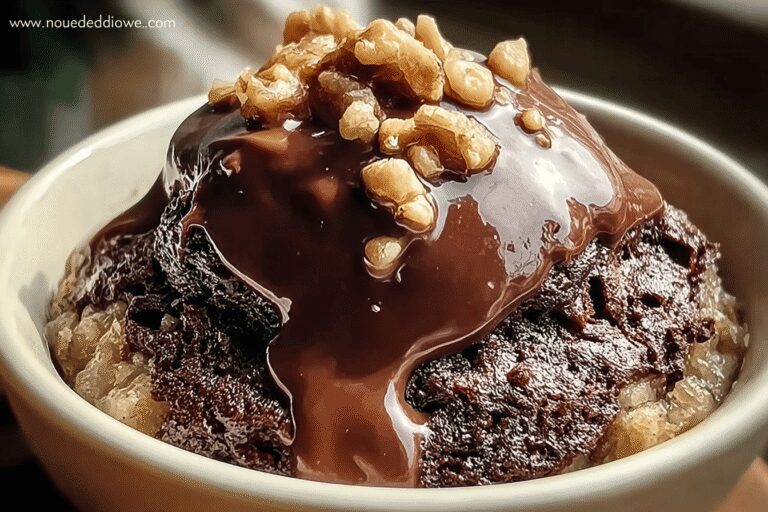
Popular toppings for Chocolate Cobbler include whipped cream, vanilla ice cream, fresh berries, or a dusting of powdered sugar. Adding nuts like chopped pecans or walnuts can provide a pleasant crunch. These toppings complement the rich chocolate flavor and add texture and freshness to the dessert.
Is Chocolate Cobbler suitable for gluten-free diets?
Traditional Chocolate Cobbler uses wheat flour, which contains gluten, but you can make a gluten-free version by substituting with almond flour, coconut flour, or a gluten-free baking mix. Be sure to check that the cocoa powder and other ingredients are certified gluten-free. Adjust baking times slightly, as gluten-free flours may affect the texture and moisture content.
Chocolate Cobbler
🍫 Enjoy the rich and gooey texture of this Southern Chocolate Cobbler, a decadent dessert classic loved by chocolate enthusiasts.
🍨 Perfectly balanced with a fudgy sauce beneath a brownie-like top layer, it pairs wonderfully with vanilla ice cream for an irresistible treat.
- Total Time: 40-45 minutes
- Yield: About 12 servings 1x
Ingredients
1/2 cup (113 g) butter, salted or unsalted
1 1/2 cups (297 g) granulated sugar
3 tablespoons (16 g) unsweetened cocoa powder
2 cups (226 g) self-rising flour
1 cup (227 g) whole milk or preferred dairy or dairy-free milk
2 teaspoons (9 g) vanilla extract
2 cups (396 g) granulated sugar for topping
1/2 cup (42 g) unsweetened cocoa powder for topping
3 cups (681 g) boiling water for topping
vanilla ice cream for serving
Instructions
1-Preheat oven: Preheat oven to 350°F (175°C).
2-Melt butter: Melt butter in a 9×13 inch baking dish in the oven; remove once melted.
3-Combine ingredients: In a bowl, combine 1 1/2 cups sugar, 3 tablespoons cocoa powder, flour, milk, and vanilla to form the batter.
4-Spoon batter: Spoon the batter over the melted butter in the dish without stirring.
5-Mix topping: In a separate bowl, mix 2 cups sugar and 1/2 cup cocoa powder for the topping; sprinkle evenly over the batter.
6-Pour boiling water: Gently pour 3 cups boiling water over the topping mixture without stirring.
7-Bake: Bake for 35 to 40 minutes, until the top is set but the bottom remains slightly loose.
8-Cool: Cool for 15 to 20 minutes to let the sauce thicken before serving.
9-Serve: Serve plain or with vanilla ice cream for an extra treat!
Notes
🔥 The sauce is thin when hot but thickens as it cools.
⏲️ Bake a few minutes longer if the sauce is too thin after baking.
❌ Avoid adding thickeners like cornstarch to preserve texture.
- Prep Time: 5 minutes
- Cook Time: 35-40 minutes
- Category: Dessert
- Method: Baking
- Cuisine: Southern American
Nutrition
- Serving Size: 1/2 cup
- Calories: 394
- Sugar: 77 g
- Fat: 9 g
- Carbohydrates: 77 g
- Fiber: 2 g
- Protein: 4 g


