
Why You’ll Love This Cookie Cutter Cookies
Cookie cutter cookies are a fun way to bake treats that look as good as they taste, perfect for holidays or everyday fun. These cookies stand out because they are delightfully simple to make, requiring just a few basic ingredients and easy steps that even beginner bakers can handle. Plus, they bring a lot of joy with their custom shapes and flavors that everyone in the family will enjoy.
This recipe offers options that make it healthy and flexible, letting you choose ingredients that fit your needs. For example, using whole grains or reducing sugar can add nutritional benefits without losing that classic cookie taste. Whether you’re baking for a crowd or just for yourself, these cookies adapt to any occasion and dietary preference.
One of the best parts is how versatile this recipe can be, allowing swaps for vegan or gluten-free diets. Imagine creating cookies that not only taste amazing but also help you feel good about what you’re eating. That’s why this cookie cutter cookies recipe has become a favorite for so many home cooks.
Jump To
- 1. Why You’ll Love This Cookie Cutter Cookies
- 2. Essential Ingredients for Cookie Cutter Cookies
- 3. How to Prepare the Perfect Cookie Cutter Cookies: Step-by-Step Guide
- 4. Dietary Substitutions to Customize Your Cookie Cutter Cookies
- 5. Mastering Cookie Cutter Cookies: Advanced Tips and Variations
- 6. How to Store Cookie Cutter Cookies: Best Practices
- 7. FAQs: Frequently Asked Questions About Cookie Cutter Cookies
- 8. Cookie Cutter Cookies
Essential Ingredients for Cookie Cutter Cookies
First, let’s break down the ingredients you’ll need to whip up these delicious cookie cutter cookies. We’ll focus on the basics for the dough and frosting, ensuring everything is easy to find and measure.
Sugar Cookie Dough Ingredients
- 1 cup softened salted butter (unsalted butter can be substituted)
- 1 cup granulated sugar (white or organic cane sugar)
- 2 teaspoons vanilla extract (real vanilla preferred; can substitute 1 teaspoon with another extract such as almond or lemon)
- 2 room temperature eggs
- 2 ¾ cups all-purpose flour (can sift if lumpy; pastry, bread, or gluten-free flour can also be used)
- ¾ teaspoon baking powder
- ½ teaspoon salt
- ½ cup whole milk (heavy cream or half and half can substitute)
- 2 ½ tablespoons light corn syrup for frosting
Frosting Ingredients
- 4 cups sifted powdered sugar
- 3 to 4 tablespoons milk at room temperature (start with 2 to 3 tablespoons and adjust as needed)
- 2 ½ tablespoons light corn syrup
- ½ teaspoon vanilla extract
- Optional gel food coloring for tinting
These ingredients come together to make soft, tasty cookies with a frosting that’s just right for decorating. Using fresh items like real vanilla extract helps bring out the best flavors in your cookie cutter cookies.
How to Prepare the Perfect Cookie Cutter Cookies: Step-by-Step Guide
Getting started with cookie cutter cookies is straightforward, and following these steps will help you create the perfect batch every time. Begin by preparing your space and ingredients to make the process smooth and enjoyable. This guide builds on the classic method, incorporating tips for great results.
First Step: Mixing the Dough
Cream the butter and sugar until they’re light and fluffy, which takes a couple of minutes with a mixer. Add the eggs and vanilla extract next, beating everything until it’s well combined. For a fun twist, you could try substituting part of the vanilla as mentioned in the ingredients.
Then, mix in the flour, baking powder, and salt on low speed at first, then increase to medium until the dough forms nicely. Once done, divide the dough into two parts, shape them into flat disks, wrap them up tight, and pop them in the fridge for at least 2 hours or overnight.
Second Step: Baking the Cookies
Preheat your oven to 350°F (177°C) and line your baking sheets with parchment paper. Roll out one dough disk on a floured surface to about ¼ to ½ inch thick, then use your cookie cutters to make shapes and place them 1 inch apart on the sheets.
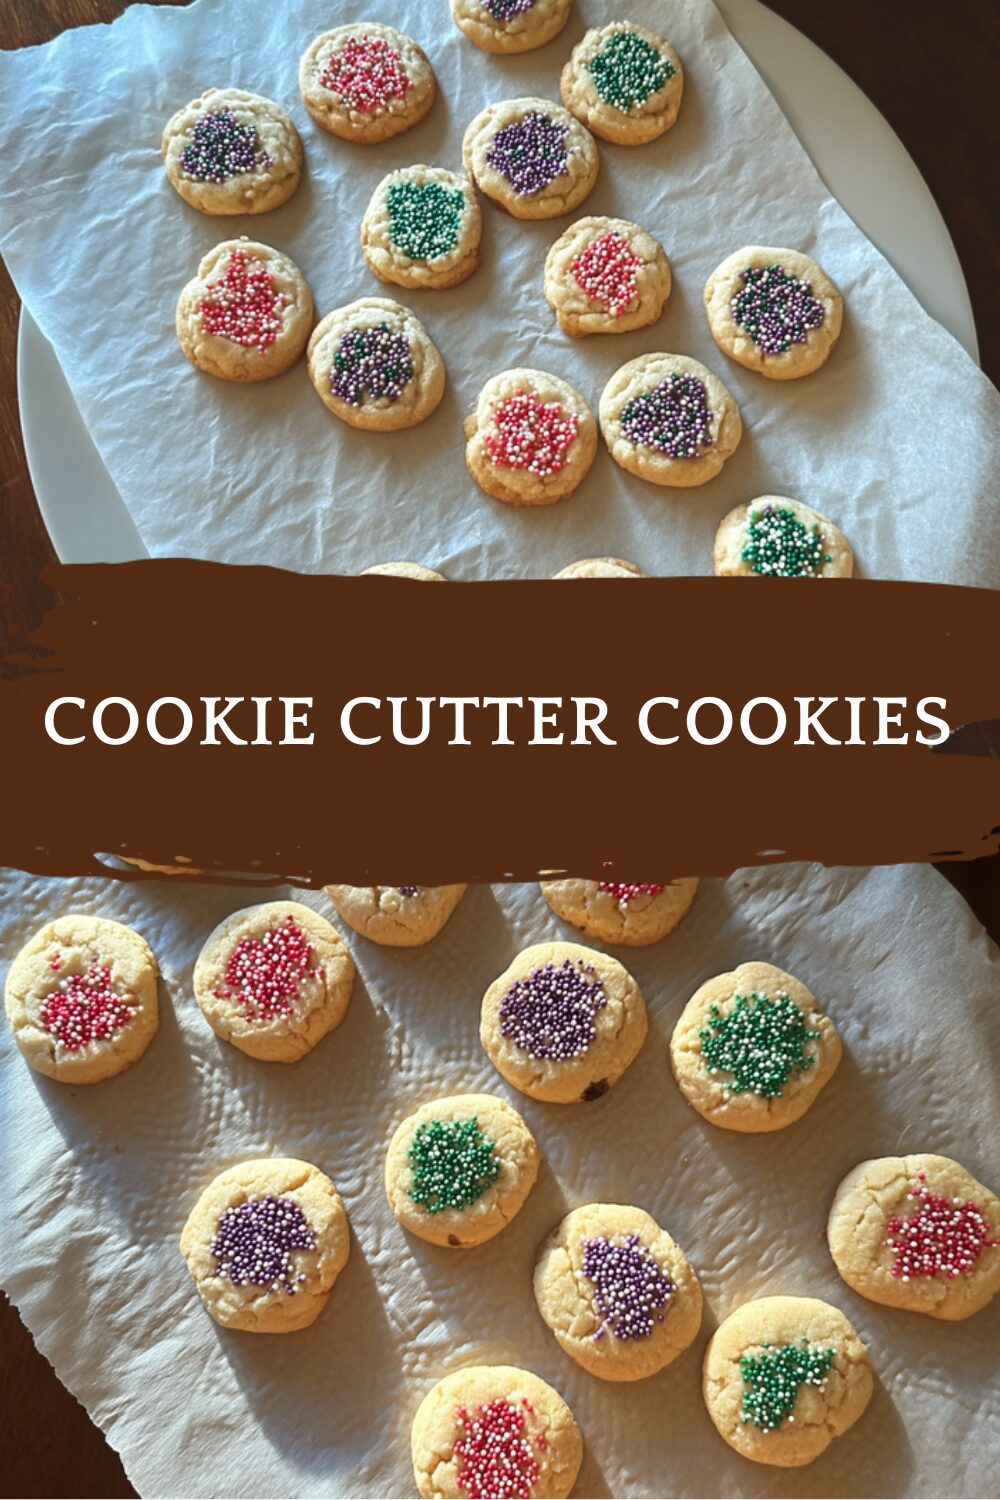
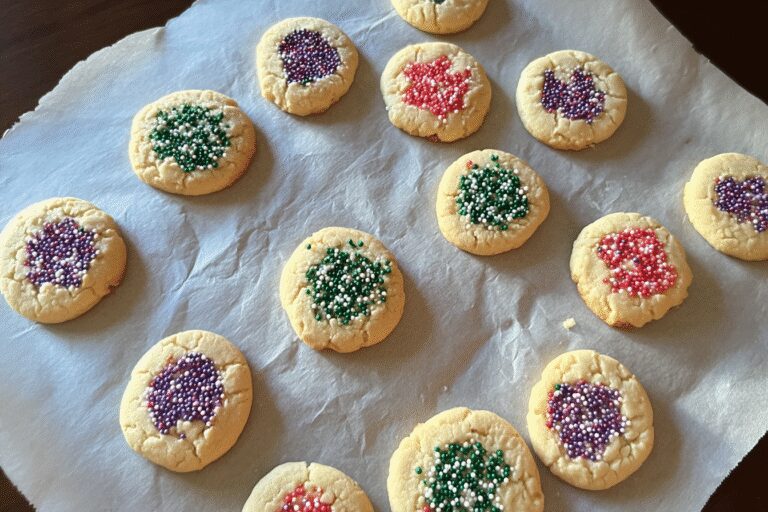
Bake for 9-10 minutes until the cookies are puffed and set but not browned. Let them cool briefly on the sheets before moving to wire racks. This step keeps your cookie cutter cookies firm and ready for decorating.
Third Step: Decorating and Finishing
If you want to skip frosting, brush the unbaked cookies with milk or cream and add sprinkles before baking for a simple look. For frosting, whisk together the powdered sugar, milk, corn syrup, and vanilla until smooth, adjusting the milk for the right consistency.
Divide the frosting and tint it with gel food coloring if you like, then use piping bags to outline and fill your cooled cookies. Add sprinkles right away and let the frosting harden at room temperature for at least 3 hours. For added context on similar treats, check out our recipe for brown butter oatmeal chocolate chip cookies that pairs well with this method.
This step-by-step approach ensures your cookie cutter cookies turn out just right, with options to customize as you go. Remember, practice makes perfect, so have fun experimenting with shapes and flavors.

Dietary Substitutions to Customize Your Cookie Cutter Cookies
Making cookie cutter cookies work for everyone means knowing how to swap ingredients based on dietary needs. This section covers simple changes that keep the cookies tasty and inclusive. For instance, you can easily adjust for vegan or gluten-free diets without losing that great texture.
| Substitution Type | Original Ingredient | Alternative |
|---|---|---|
| Dairy-Free | Salted butter | Plant-based butter or coconut oil |
| Egg Replacement | Eggs | Flaxseed mixture (1 tbsp flaxseed meal + 3 tbsp water) |
| Gluten-Free | All-purpose flour | Gluten-free flour blend with xanthan gum |
| Sweetener | Granulated sugar | Erythritol or another low-calorie option |
These swaps, like using almond flour, add protein and cater to sensitivities. For more flavor ideas, such as adding cinnamon or fruit, they enhance your cookie cutter cookies in a natural way.
Mastering Cookie Cutter Cookies: Advanced Tips and Variations
Taking your cookie cutter cookies to the next level involves some handy techniques and creative ideas. Start by chilling the dough for at least an hour to keep shapes sharp and prevent spreading. This basic tip makes a big difference in the final product.
For flavor variations, try mixing in citrus zest or chopped nuts to give your cookies a unique twist. When it comes to presentation, royal icing can make them look professional, or you could sandwich cookies with flavored creams for extra appeal.
Make-ahead options are great for busy days; prepare dough ahead and freeze it in portions. To explore more dessert ideas that complement these cookies, visit our page on chocolate-covered strawberries, which adds a fun element to your baking routine.
Pro Techniques
- Chill dough for sharp shapes.
- Use a silicone mat for even baking.
- Add espresso powder for a coffee flavor boost.
These tips help you master cookie cutter cookies, turning your kitchen into a creative space.
How to Store Cookie Cutter Cookies: Best Practices
Proper storage keeps your cookie cutter cookies fresh and tasty for longer. Store them in an airtight container at room temperature to avoid moisture, which can make them soft or stale. For decorated ones, wait until the frosting hardens fully before packing them away.
If you have extras, freezing is a smart choice; it preserves the cookies for up to three months. Thaw them at room temperature, and they will taste just-baked. Labeling your batches helps keep things organized for quick snacks.
Reheating in a low oven can bring back that fresh-baked feel, making your cookie cutter cookies enjoyable anytime. For more on storage, check out external advice like Sugar Cookies Baking Tips.
FAQs: Frequently Asked Questions About Cookie Cutter Cookies
How should I store decorated sugar cookies to keep them fresh?
After the frosting has hardened, store decorated sugar cookies in an airtight container at room temperature. To prevent sticking or damage when stacking, place parchment or wax paper between layers. Avoid exposing the cookies to air to maintain freshness. Properly stored, they can stay fresh for 2-3 weeks.
Can I freeze decorated sugar cookies and how long do they last in the freezer?
Yes, decorated sugar cookies freeze well. Store them in an airtight container or wrap tightly with plastic wrap and foil before freezing. Frozen cookies can last up to two months. Thaw them at room temperature before serving to keep the texture and decoration intact.
What’s the best way to freeze sugar cookie dough for later baking?
Sugar cookie dough can be frozen either as wrapped discs or after cutting into shapes. For discs, tightly wrap them and place in a freezer-safe container. For cut dough, arrange shapes on a baking sheet, freeze until firm, then wrap well with plastic wrap and foil. Thaw in the refrigerator overnight or at room temperature before baking.
How can I stop my sugar cookies from spreading during baking?
To prevent sugar cookies from spreading, bake them on parchment paper instead of a greased pan. Keep the dough chilled until ready to bake, avoid overworking it, and check that your oven temperature is accurate. Using fresh ingredients also helps maintain the cookie shape.
What thickness should I roll sugar cookie dough for the best texture?
Roll sugar cookie dough to about 1/4 to 1/2 inch thick. Rolling thinner will produce crisper cookies, while thicker dough results in softer, chewier cookies. Consistent thickness also ensures even baking for well-shaped cookie cutouts.
Cookie Cutter Cookies
🍪 Best Cut Out Sugar Cookie Recipe delivers perfectly shaped, tasty cookies ideal for decorating and festive occasions.
🎨 This recipe provides a smooth, easy-to-work dough and frosting that holds shape beautifully and tastes deliciously classic.
- Total Time: 2 hours 25 minutes
- Yield: About 24 cookies 1x
Ingredients
1 cup softened salted butter (unsalted butter can be substituted)
1 cup granulated sugar (white or organic cane sugar)
2 teaspoons vanilla extract (real vanilla preferred; can substitute 1 teaspoon with another extract such as almond or lemon)
2 room temperature eggs
2 ¾ cups all-purpose flour (can sift if lumpy; pastry, bread, or gluten-free flour can also be used)
¾ teaspoon baking powder
½ teaspoon salt
½ cup whole milk (heavy cream or half and half can substitute)
2 ½ tablespoons light corn syrup for frosting
4 cups sifted powdered sugar
3 to 4 tablespoons milk at room temperature (start with 2 to 3 tablespoons and adjust as needed)
2 ½ tablespoons light corn syrup
½ teaspoon vanilla extract
Optional gel food coloring for tinting
Instructions
1-First Step: Mixing the Dough: Cream the butter and sugar until they’re light and fluffy, which takes a couple of minutes with a mixer. Add the eggs and vanilla extract next, beating everything until it’s well combined. For a fun twist, you could try substituting part of the vanilla as mentioned in the ingredients.
2-First Step: Mixing the Dough: Then, mix in the flour, baking powder, and salt on low speed at first, then increase to medium until the dough forms nicely. Once done, divide the dough into two parts, shape them into flat disks, wrap them up tight, and pop them in the fridge for at least 2 hours or overnight.
3-Second Step: Baking the Cookies: Preheat your oven to 350°F (177°C) and line your baking sheets with parchment paper. Roll out one dough disk on a floured surface to about ¼ to ½ inch thick, then use your cookie cutters to make shapes and place them 1 inch apart on the sheets.
4-Second Step: Baking the Cookies: Bake for 9-10 minutes until the cookies are puffed and set but not browned. Let them cool briefly on the sheets before moving to wire racks. This step keeps your cookie cutter cookies firm and ready for decorating.
5-Third Step: Decorating and Finishing: If you want to skip frosting, brush the unbaked cookies with milk or cream and add sprinkles before baking for a simple look. For frosting, whisk together the powdered sugar, milk, corn syrup, and vanilla until smooth, adjusting the milk for the right consistency.
6-Third Step: Decorating and Finishing: Divide the frosting and tint it with gel food coloring if you like, then use piping bags to outline and fill your cooled cookies. Add sprinkles right away and let the frosting harden at room temperature for at least 3 hours. For added context on similar treats, check out our recipe for brown butter oatmeal chocolate chip cookies that pairs well with this method.
Notes
🎯 Chill dough well to ensure clean cut shapes that don’t spread.
🎨 Use gel food coloring for bright, vibrant frosting.
⏳ Allow frosting to harden fully at room temperature for best texture and appearance.
- Prep Time: 15 minutes
- Chill Time: 2 hours
- Cook Time: 10 minutes
- Category: Dessert
- Method: Baking and Decorating
- Cuisine: American
- Diet: Vegetarian
Nutrition
- Serving Size: 1 cookie


