Ingredients
– 3 cups chocolate chips
– 14 ounces sweetened condensed milk
– 1 teaspoon pure vanilla extract
Instructions
1-First Step: Prepare the pan Line an 8×8 inch baking dish with aluminum foil or parchment paper. Leave a little overhang on the sides if you can, since that makes it easier to lift the fudge out after it sets. This small step saves time later and helps the fudge release cleanly. If you want tidy squares with flatter bottoms, remember to trim the rounded edges after setting. That gives you neater pieces and a more polished look for gifting or serving.
2-Second Step: Combine the chocolate and condensed milk Place 3 cups of chocolate chips and 14 ounces of sweetened condensed milk into a medium saucepan. Set the heat to medium-low. Stir consistently as the chocolate begins to soften. At this stage, the chocolate will look partly melted, and the mixture may seem thick and glossy. Low heat is important here. If the heat is too high, the chocolate can scorch or become grainy. Stirring often keeps the mixture smooth and helps the ingredients melt evenly.
3-Third Step: Add vanilla and finish melting Stir in 1 teaspoon pure vanilla extract. Keep stirring until the chocolate is fully melted, smooth, and shiny. The mixture should look rich and pourable, with no lumps remaining. This usually takes just a few minutes on the stove. If you prefer a microwave method, you can use half power in short intervals, stirring frequently between each burst. The microwave version works well, but the stovetop method gives you a little more control and helps prevent burning.
4-Fourth Step: Pour into the prepared pan Pour the warm fudge mixture into the lined baking dish right away. Use a spatula to spread it into an even layer if needed. Try to work while the mixture is still warm and soft, because it becomes firmer as it cools. At this point, the surface should look glossy and smooth. If you want to add chopped nuts, dried fruit, or another mix-in, stir it in just before pouring so it distributes evenly through the fudge.
5-Fifth Step: Let the fudge set Cover the pan and let the fudge sit at room temperature for about four hours, or until firm. You do not need to refrigerate it. In fact, room-temperature setting usually gives the best texture for this easy fudge recipe. The finished fudge should feel firm to the touch but still creamy when you bite into it. Patience matters here. Letting the fudge set slowly at room temperature helps it hold its shape and stay soft instead of becoming too hard.
6-Sixth Step: Remove and trim Once the fudge is firm, lift it from the pan using the foil or parchment paper. Remove the lining carefully. If the sides of the pan created rounded edges, trim them off so the pieces have flatter, cleaner sides. You can snack on the trimmed bits while you finish cutting. This is also a good time to admire that smooth top. If the surface looks glossy and even, you know your melting process worked well.
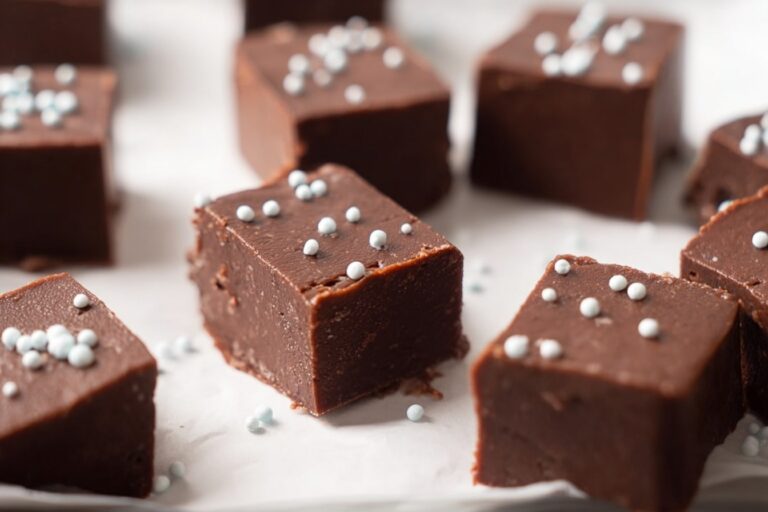
7-Final Step: Cut into 36 pieces Cut the slab into 4 large squares first, then cut each square into 9 smaller pieces by dividing each square into thirds both ways. That gives you 36 equal pieces. A sharp knife works best for neat cuts, especially if you wipe the blade between slices. If you want a festive serving idea, place the pieces in mini paper cups or stack them on a platter with berries or cookies. For another sweet option that pairs well on a dessert table, try this salted caramel popcorn.
Notes
🍫 Use higher quality chocolate chips for the best creamy texture and flavor.
🔥 Melt on low heat on the stovetop, stirring constantly to avoid scorching.
📦 Store in an airtight container at room temperature for up to 2 weeks.
- Prep Time: 10 minutes
- Setting Time: 4 hours
- Cook Time: 5 minutes
- Category: Desserts
- Method: No-Bake
- Cuisine: American
- Diet: Vegetarian
Nutrition
- Serving Size: 1 piece
- Calories: 155 kcal
- Sugar: 3g
- Sodium: 19mg
- Fat: 7g
- Saturated Fat: 4g
- Unsaturated Fat: 3g
- Trans Fat: 0g
- Carbohydrates: 21g
- Fiber: 1g
- Protein: 3g
- Cholesterol: 5mg