Ingredients
– 1 1/4 cups (160g) all-purpose flour
– 1/2 cup (43g) unsweetened Dutch-processed cocoa powder
– 1/4 teaspoon salt
– 10 tablespoons (142g) unsalted softened butter
– 3/4 cup plus 2 tablespoons (175g) granulated sugar
– 1 large egg white
– 1 1/2 teaspoons peppermint extract
– 1/2 teaspoon vanilla extract
– 12 ounces (340g) dark or semisweet chocolate
– 1/2 cup (120ml) vegetable oil
– 3/4 teaspoon peppermint extract
Instructions
1-Step 1: Mix the dry ingredients Whisk together 1 1/4 cups all-purpose flour, 1/2 cup unsweetened Dutch-processed cocoa powder, and 1/4 teaspoon salt in a medium bowl. This quick step helps spread the cocoa and salt evenly through the dough, so every cookie has a balanced flavor.
2-Step 2: Cream the butter and sugar In a separate large bowl, beat 10 tablespoons softened unsalted butter with 3/4 cup plus 2 tablespoons granulated sugar. Mix for about 2 minutes, until the mixture looks smooth and fluffy. This creates a lighter cookie base and helps the dough blend well.
3-Step 3: Add the flavoring ingredients Mix in 1 large egg white, 1 1/2 teaspoons peppermint extract, and 1/2 teaspoon vanilla extract. The dough may look curdled at this stage, but that is completely normal. It will come together once you add the dry ingredients. If the dough looks a little odd at this point, do not worry. That curdled look is part of the process and the cookies will still bake up beautifully.
4-Step 4: Form the dough Gradually add the dry ingredients to the butter mixture and stir until a dough forms. Try not to overmix, since that can make the cookies less crisp. The dough should be soft but easy to handle.
5-Step 5: Roll and chill Divide the dough in half. Place each half between sheets of parchment paper and roll to 1/4-inch thickness. Stack the dough slabs with parchment between them, then refrigerate or freeze for 15 to 30 minutes. Chilling makes the dough easier to cut and helps the cookies keep their shape in the oven.
6-Step 6: Preheat the oven and cut the cookies Preheat your oven to 350°F (175°C). Line baking sheets with parchment paper. Cut the chilled dough into 2-inch rounds and place them on the prepared sheets with a little space between each cookie.
7-Step 7: Bake until firm Bake the cookies for 15 to 18 minutes, or until the tops are firm and dry. The cookies should look set, but they do not need to brown much. That pale, dry finish helps create the classic crisp bite.
8-Step 8: Cool completely Let the cookies cool on the baking sheet for a few minutes, then transfer them to wire racks. They need to be fully cool before dipping, or the chocolate coating will melt and slide off.
9-Step 9: Melt the coating For the chocolate coating, melt 12 ounces dark or semisweet chocolate with 1/2 cup vegetable oil and 3/4 teaspoon peppermint extract in a double boiler over simmering water. Stir until smooth. The double boiler method helps the chocolate melt evenly and gives you a thinner coating that sets neatly.
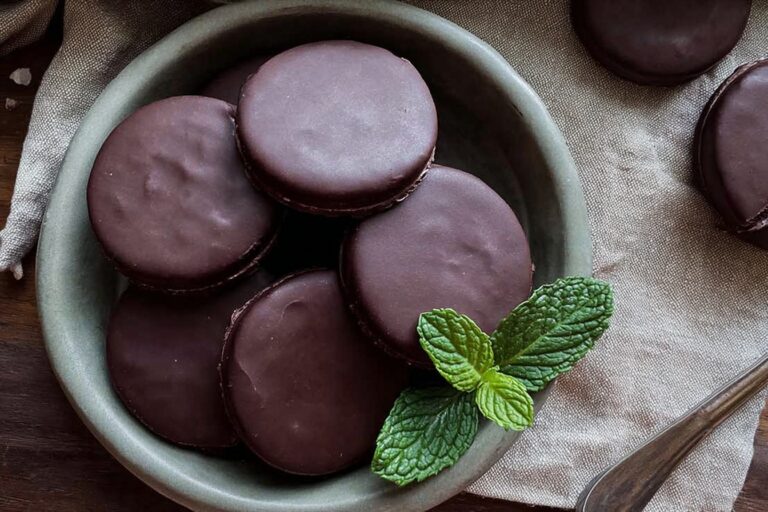
10-Step 10: Dip and set Dip each cooled cookie fully into the melted chocolate. Let the excess drip off, then place the cookies on a parchment-lined tray. Refrigerate for about 30 minutes, or until the coating is set. Serve the cookies cold for the best texture and flavor.
Notes
❄️ Refrigerate or freeze dough up to 3 days or 2 months for easy prep ahead.
🔥 Use a double boiler for smooth, even chocolate melting and thin coating.
🧊 Store baked cookies refrigerated up to 7 days or frozen up to 2 months; serve cold.
- Prep Time: 35 minutes
- Chill Time: 15-30 minutes + 30 minutes set
- Cook Time: 22 minutes
- Category: Desserts
- Method: Baked
- Cuisine: American
- Diet: Vegetarian
Nutrition
- Serving Size: 1 cookie
- Calories: 115 kcal
- Sugar: 6g
- Sodium: 29mg
- Fat: 7g
- Saturated Fat: 4g
- Unsaturated Fat: 3g
- Trans Fat: 0g
- Carbohydrates: 12g
- Fiber: 1g
- Protein: 1g
- Cholesterol: 11mg