
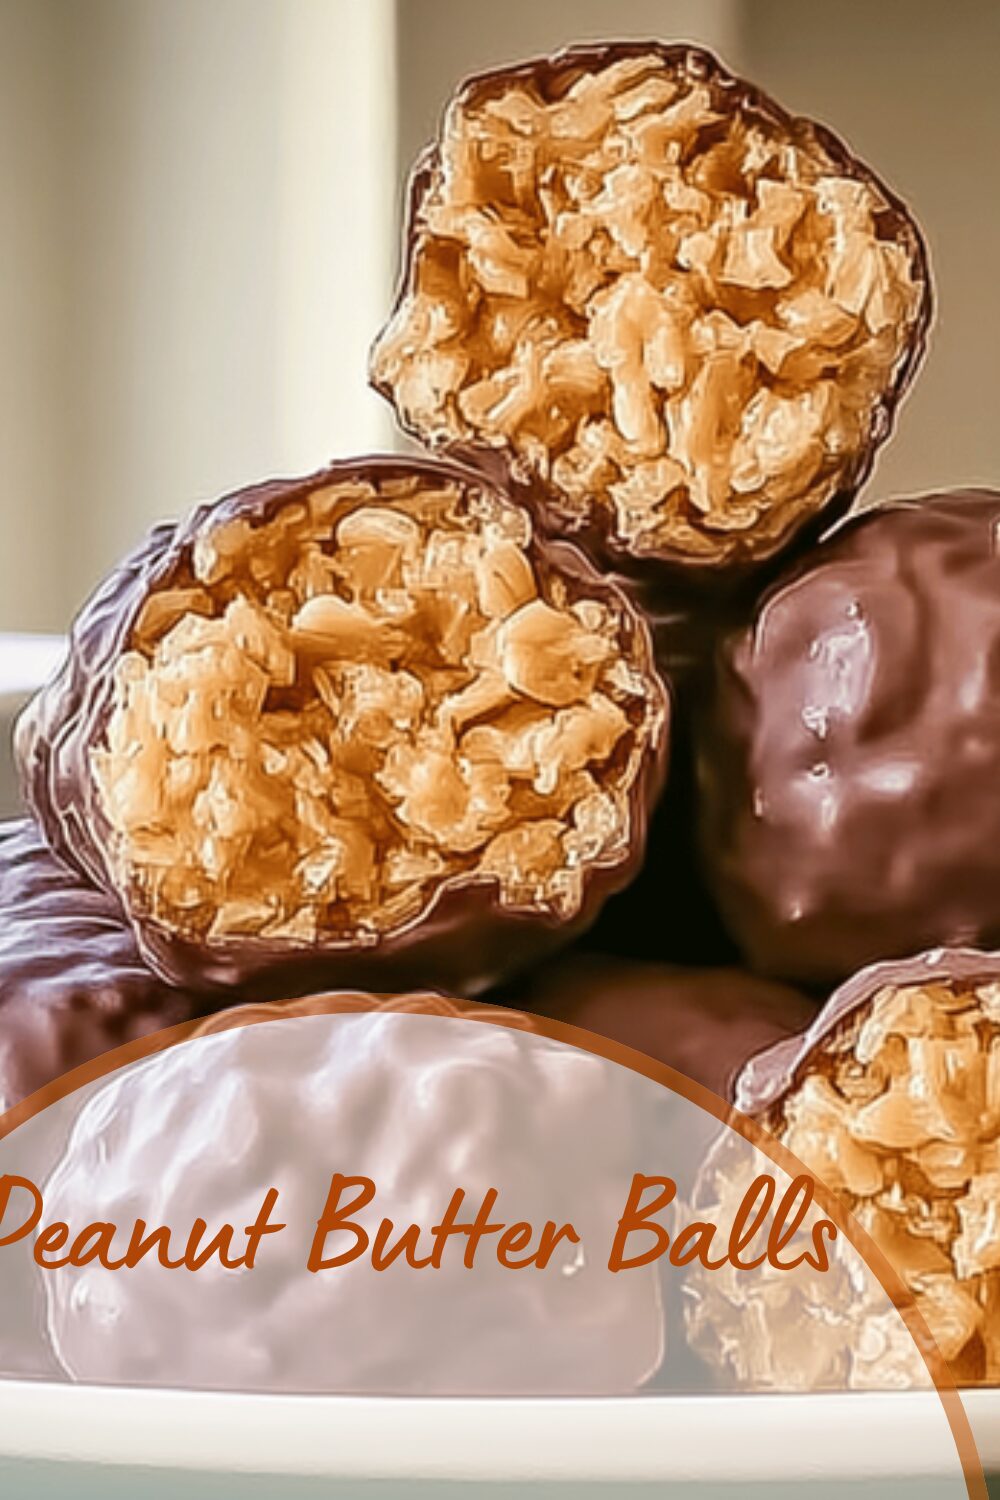
Why You’ll Love This Peanut Butter Balls
Picture this: you’re craving something sweet and satisfying, but you don’t want to spend hours in the kitchen! These peanut butter balls are an absolute game-changer for busy days, and let me tell you, my family goes wild over them every time we make a batch. With just four simple ingredients, you’ll whip up a treat that’s packed with flavor and goodness, making it perfect for anyone from busy parents to baking enthusiasts looking for a quick win.
They are super easy to prepare, taking only a few minutes to mix and shape, which fits right into your hectic schedule. Plus, these little delights offer fantastic health benefits like protein from the peanut butter to keep you full and energized all day long. Whether you’re a student grabbing a snack on the go or a food enthusiast experimenting in the kitchen, peanut butter balls deliver that creamy, irresistible taste that everyone adores!
This recipe shines with its versatility, letting you tweak it for different dietary needs without losing that yummy appeal. Imagine sharing these at a family gathering or packing them for a picnic they’ll be the hit of the show! In short, peanut butter balls are not just a treat; they’re a fun, feel-good addition to your snack routine that keeps things exciting and delicious.
Ease of Preparation
No fancy tools or complicated steps needed here just mix, roll, and chill! I remember the first time I made these with my kids; we laughed as we shaped the balls, turning it into a family adventure. It’s ideal for beginners because it’s so straightforward, and you’ll have homemade treats ready in no time. That ease makes peanut butter balls a go-to option for anyone wanting quick, satisfying snacks without the fuss.
Health Benefits and More
These balls aren’t just tasty; they’re nutritious too, loaded with protein and healthy fats that support your energy levels. My husband, who’s always watching his diet, loves how they curb his cravings without overloading on sugar. You can enjoy them as a post-workout boost or a midday pick-me-up, making them perfect for working professionals and diet-conscious folks alike. It’s amazing how something so simple can pack such a punch!
Jump To
- 1. Why You’ll Love This Peanut Butter Balls
- 2. Essential Ingredients for Peanut Butter Balls
- 3. How to Prepare the Perfect Peanut Butter Balls: Step-by-Step Guide
- 4. Dietary Substitutions to Customize Your Peanut Butter Balls
- 5. Mastering Peanut Butter Balls: Advanced Tips and Variations
- 6. How to Store Peanut Butter Balls: Best Practices
- 7. FAQs: Frequently Asked Questions About Peanut Butter Balls
- 8. Peanut Butter Balls
Essential Ingredients for Peanut Butter Balls
Let’s dive into what makes these peanut butter balls so magical it’s all about the ingredients! I’m thrilled to share this straightforward list that keeps things simple and delicious, perfect for home cooks just starting out. By using these exact measurements, you’ll nail the texture and flavor every single time, and trust me, once you try them, you’ll be hooked.
Below is the complete list of ingredients you need for this recipe. I’ve formatted it clearly so you can easily follow along and grab everything from your pantry. Remember, every item plays a key role in creating that creamy, chocolatey goodness that makes peanut butter balls irresistible!
- 1/2 cup creamy peanut butter
- 3 tablespoons softened butter
- 1 cup powdered sugar
- 1 cup semi-sweet chocolate chips
- 1 tablespoon vegetable shortening or coconut oil (optional)
This list ensures you have everything measured out perfectly for a batch that serves about 20 balls isn’t that exciting? For those with special dietary needs, you can swap in alternatives like vegan butter for a plant-based version or check labels to make it gluten-free. I love how flexible this recipe is, letting you customize based on what you have on hand!
Special Dietary Options
If you’re adapting for different diets, here’s how to make it work! For a vegan twist, swap the butter for a plant-based option and ensure your peanut butter is free from any animal products. Those following a gluten-free path can enjoy these as is, since there are no gluten-containing ingredients in the list. It’s all about making these treats work for you, so feel free to experiment and share your variations with friends they’ll thank you for it!
How to Prepare the Perfect Peanut Butter Balls: Step-by-Step Guide
Are you ready to get your hands sticky and have some fun? Making peanut butter balls is one of those recipes that feels like playtime in the kitchen, and I promise, it’s easier than it sounds! Gather your ingredients, roll up your sleeves, and let’s turn those simple items into amazing treats that everyone will rave about. This step-by-step guide will walk you through it all, so even if you’re a beginner, you’ll feel like a pro in minutes.
First, measure out all your ingredients to get that perfect consistency it’s like setting the stage for a delicious show! In a big bowl, mix the creamy peanut butter and softened butter until it’s super smooth and creamy; this base is what gives your balls that dreamy texture. Next, stir in the powdered sugar gradually, making sure everything blends evenly for that sweet, melt-in-your-mouth feel. What a joy it is to see it all come together so quickly!
Once your mixture is ready, it’s time for the fun part: shaping! Use your hands to form the dough into bite-sized balls, about 1 inch in diameter, and place them on a lined baking sheet. Pop them in the fridge for at least 30 minutes to firm up this step is crucial for keeping them from falling apart later. Finally, melt the chocolate chips with a bit of vegetable shortening if you like, dip each ball to coat, and let them set. Voila, you’re done and ready to enjoy your homemade peanut butter balls doesn’t that sound fantastic?
Tips for Smooth Preparation
To make things even easier, always use room-temperature ingredients so they mix without any lumps! I once rushed and used cold butter, and oh boy, it was a mess, but now I know better. If you’re feeling creative, add a sprinkle of sea salt on top for an extra flavor kick. This recipe is not only straightforward but also forgiving, perfect for busy parents like me who want quality time without the stress.
Here is a helpful table to summarize the steps at a glance:
| Step | Description |
|---|---|
| 1 | Gather and measure ingredients. |
| 2 | Mix peanut butter and butter until smooth. |
| 3 | Add powdered sugar and stir well. |
| 4 | Shape into balls and chill. |
| 5 | Dip in melted chocolate and set. |

Dietary Substitutions to Customize Your Peanut Butter Balls
One of the best things about peanut butter balls is how easy they are to tweak for your needs! I love experimenting in the kitchen, and this recipe lets me do just that, whether I’m making it for my gluten-free friend or my vegan sister. With a few simple swaps, you can turn these into your perfect treat, and it’s so rewarding to see how versatile they are. Let’s explore some fun ideas to make them just right for you.
For the main components, you can swap peanut butter with almond butter or sunflower seed butter if you’re avoiding nuts it’s a great way to change up the flavor without losing that creamy goodness. If you want to boost the protein, try adding a scoop of your favorite protein powder, making it ideal for workouts or busy days. This flexibility means peanut butter balls can fit into so many lifestyles, from travelers needing quick snacks to seniors looking for light options!
- Use almond butter for a nuttier taste and allergy-friendly version.
- Switch sweeteners like agave for a lower-glycemic option.
- Add seeds or dried fruits for extra texture and nutrition.
Don’t forget about seasonings; a dash of cinnamon can add warmth, while cocoa powder makes it chocolatey. For instance, if you’re making them for newlyweds on a special occasion, for internal link, try our Peanut Butter Chocolate Molten Lava Cake recipe for inspiration on pairing flavors. These changes keep things exciting and ensure everyone at the table can enjoy them!
Mastering Peanut Butter Balls: Advanced Tips and Variations
Once you’ve nailed the basics, it’s time to level up your peanut butter balls game and oh, the possibilities are endless! I get so excited thinking about all the ways to jazz these up, from adding fun mix-ins to perfecting your technique. Whether you’re a baking enthusiast or just want to impress at your next gathering, these tips will take your treats to the next level and make you feel like a kitchen rockstar.
Start with pro techniques like chilling the mixture before shaping to avoid stickiness it’s a game-changer that makes rolling a breeze. For flavor variations, toss in coconut flakes or chocolate chips for a twist that surprises your taste buds every bite. Presentation is key too; roll your balls in crushed nuts for that extra crunch, and watch how they become the star of any dessert table!
Make-Ahead Magic
If you’re prepping for the week, whip up a big batch and freeze them for easy access. I always have a stash in my freezer for those impromptu snack attacks, and it’s saved me on more than one busy evening. For more sweet ideas, for internal link, check out our Chocolate Covered Strawberries recipe to pair with your peanut butter balls. This way, you can enjoy fresh-tasting treats whenever the mood strikes!
How to Store Peanut Butter Balls: Best Practices
Storing your peanut butter balls the right way keeps them fresh and delicious for longer, so you can savor that creamy goodness anytime! I can’t tell you how many times I’ve pulled a batch from the fridge for a quick treat, and it’s become a staple in my meal prep routine. With these simple tips, you’ll extend their shelf life while maintaining that perfect texture and flavor that makes them so irresistible.
For refrigeration, pop them in an airtight container where they stay fresh for up to a week it’s ideal for busy families grabbing snacks on the go. Freezing is another fantastic option; lay them out on a tray first, then bag them up to last for months without losing quality. Remember, they taste best when thawed slowly, so plan ahead for the best results!
Meal Prep Ideas
Turn these into your go-to snack by portioning them into small bags for easy grab-and-go moments. As a working professional, I love having them ready for lunch breaks, and it’s a hit with my kids for after-school munchies. Plus, for external link, visit Allrecipes for more storage tips that can help with your favorite treats!
FAQs: Frequently Asked Questions About Peanut Butter Balls
Can peanut butter balls be frozen for later use?
Yes, peanut butter balls can be frozen to keep them fresh for longer. After making the balls, allow them to chill and harden completely. Then, place them in an airtight container, layering with parchment or wax paper between layers to prevent sticking. Seal the container tightly and store it in the freezer. They can last up to one month frozen without losing quality. When ready to eat, simply thaw them in the refrigerator for a few hours.
How long do peanut butter balls stay fresh at room temperature?
Peanut butter balls can stay fresh at room temperature for about 2 to 3 days if kept in a cool, dry place inside an airtight container. Beyond this, their texture may soften or they may start to spoil, especially if made with perishable ingredients like fresh dairy. For longer freshness, refrigerate them, which can extend their shelf life to about 1 to 2 weeks.
What ingredients affect the texture and shelf life of peanut butter balls?
Ingredients like peanut butter, powdered sugar, and chocolate heavily influence peanut butter balls’ texture and shelf life. Using natural peanut butter without preservatives may shorten shelf life and cause oil separation, while commercial peanut butter tends to last longer. Adding powdered sugar helps firm up the mixture. Coating the balls in chocolate creates a protective layer that helps maintain freshness. To maximize shelf life, avoid adding fresh dairy or eggs unless stored immediately in the refrigerator.
Can peanut butter balls be made vegan or allergy-friendly?
Yes, peanut butter balls can be customized to be vegan or accommodate allergies. Use vegan chocolate or carob chips for coating and ensure peanut butter contains no added dairy or honey. For those with peanut allergies, substitute with sunflower seed butter or almond butter if no nut allergy exists. Replace powdered sugar with organic or allergy-safe alternatives if needed. Always check ingredient labels to confirm they are free of common allergens.
What is the best way to store peanut butter balls to maintain their flavor and texture?
The ideal storage for peanut butter balls depends on how soon you plan to eat them. For short-term storage (2-3 days), keep them in an airtight container at room temperature away from heat and humidity. For longer storage, refrigerate them in a sealed container to prevent them from drying out. When stored properly in the fridge, they can last up to two weeks. For extended storage, freezing is recommended, with proper layering and airtight sealing to preserve taste and texture.
Peanut Butter Balls
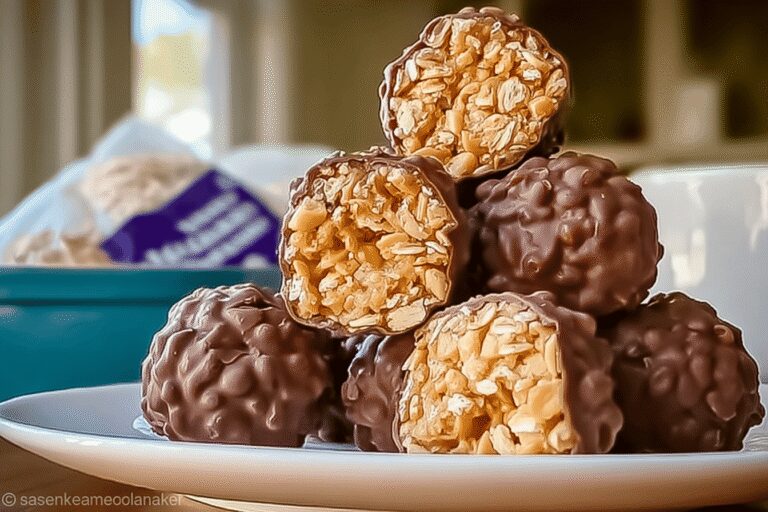
🥜 A quick and simple treat combining creamy peanut butter and rich chocolate in just 4 ingredients.
🍫 Perfect for homemade snacks, these peanut butter balls require minimal prep and deliver maximum flavor.
- Total Time: 65 minutes
- Yield: 20-24 peanut butter balls
Ingredients
– 1/2 cup creamy peanut butter
– 3 tablespoons softened butter
– 1 cup powdered sugar
– 1 cup semi-sweet chocolate chips
– 1 tablespoon vegetable shortening or coconut oil (optional)
Instructions
1-First, measure out all your ingredients to get that perfect consistency it’s like setting the stage for a delicious show!
2-In a big bowl, mix the creamy peanut butter and softened butter until it’s super smooth and creamy; this base is what gives your balls that dreamy texture.
3-Next, stir in the powdered sugar gradually, making sure everything blends evenly for that sweet, melt-in-your-mouth feel.
4-Once your mixture is ready, it’s time for the fun part: shaping! Use your hands to form the dough into bite-sized balls, about 1 inch in diameter, and place them on a lined baking sheet.
5-Pop them in the fridge for at least 30 minutes to firm up this step is crucial for keeping them from falling apart later.
6-Finally, melt the chocolate chips with a bit of vegetable shortening if you like, dip each ball to coat, and let them set. Voila, you’re done and ready to enjoy your homemade peanut butter balls doesn’t that sound fantastic?
Notes
🥜 Use creamy peanut butter for a smooth texture.
❄️ Chilling the peanut butter balls before dipping helps the chocolate coating set better.
🍫 Add vegetable shortening or coconut oil to melted chocolate to make dipping easier and add shine.
- Prep Time: 15 minutes
- Chilling Time: 50 minutes
- Category: Snack, Dessert
- Method: No-Bake, Dipping
- Cuisine: American
- Diet: Vegetarian
Nutrition
- Serving Size: 1 peanut butter ball
- Calories: 90 kcal
- Sugar: 8 g
- Sodium: 40 mg
- Fat: 6 g
- Saturated Fat: 3 g
- Unsaturated Fat: 2 g
- Trans Fat: 0 g
- Carbohydrates: 8 g
- Fiber: 1 g
- Protein: 2 g
- Cholesterol: 5 mg


