
Why You’ll Love This Peanut Butter Blossoms
Peanut Butter Blossoms are a timeless favorite that blend the nutty charm of peanut butter with a sweet chocolate surprise, making them a go-to treat for any occasion. This recipe stands out because it’s simple enough for beginners, yet it delivers a soft and chewy texture that keeps everyone coming back for more. With just a few basic ingredients and easy steps, you can whip up a batch that feels like a warm hug in cookie form.
One of the biggest draws is the ease of preparation, which takes only about 15-20 minutes of prep and 10 minutes of baking, perfect for busy parents or students looking for a quick dessert. You’ll appreciate the health benefits too, as these cookies provide protein from peanut butter along with healthy fats and minerals like magnesium and potassium, making them a smarter snack option when enjoyed in moderation. Beyond that, the recipe’s versatility means you can tweak it for dietary needs, such as vegan or gluten-free versions, without losing that distinctive rich flavor from the peanut butter and melty chocolate center.
This adaptability extends to endless variations, letting you experiment while keeping the core appeal intact. Whether you’re a baking enthusiast or just starting out, these cookies offer a fun way to explore flavors and create memorable moments in the kitchen. For those who love chocolate treats, you might also try our chocolate covered strawberries recipe for another easy delight.
Jump To
- 1. Why You’ll Love This Peanut Butter Blossoms
- 2. Essential Ingredients for Peanut Butter Blossoms
- 3. How to Prepare the Perfect Peanut Butter Blossoms: Step-by-Step Guide
- 4. Dietary Substitutions to Customize Your Peanut Butter Blossoms
- 5. Mastering Peanut Butter Blossoms: Advanced Tips and Variations
- 6. How to Store Peanut Butter Blossoms: Best Practices
- 7. FAQs: Frequently Asked Questions About Peanut Butter Blossoms
- 8. Peanut Butter Blossoms
Essential Ingredients for Peanut Butter Blossoms
Gathering the right ingredients is key to making perfect Peanut Butter Blossoms, and this list covers everything you need for a successful bake. Each item plays a specific role in achieving that ideal soft and chewy texture we all love. Below is a structured list of all the ingredients from the recipe, complete with precise measurements to ensure your cookies turn out just right.
- 1/2 cup granulated sugar
- 1/2 cup packed brown sugar
- 1/2 cup creamy peanut butter
- 1/2 cup salted butter, softened
- 1 large egg
- 1 1/2 cups all-purpose flour
- 3/4 teaspoon baking soda
- 1/2 teaspoon baking powder
- Additional granulated sugar for rolling (amount as needed)
- About 36 milk chocolate candies, unwrapped
For special dietary options, consider swaps like flaxseed meal mixed with water for the egg in vegan versions, or a gluten-free flour mix if needed. Using these ingredients as listed will help you nail the balance of flavors and textures in your Peanut Butter Blossoms.
How to Prepare the Perfect Peanut Butter Blossoms: Step-by-Step Guide
Creating Peanut Butter Blossoms is straightforward and fun, especially when you follow this simple guide that breaks it down into clear steps. Start by preheating your oven to 375°F to get everything ready for baking. This ensures your cookies bake evenly and achieve that perfect golden edge while keeping the center soft and chewy.
In a large bowl, combine 1/2 cup granulated sugar, 1/2 cup packed brown sugar, 1/2 cup creamy peanut butter, 1/2 cup softened salted butter, and 1 large egg. Mix them well with an electric mixer or by hand until the mixture is smooth and blended, which helps develop the dough’s rich flavor. Next, stir in 1 1/2 cups all-purpose flour, 3/4 teaspoon baking soda, and 1/2 teaspoon baking powder until a dough forms, making sure not to overmix to keep the cookies tender.
Shape the dough into 1-inch balls and roll each one in additional granulated sugar for a sweet coating that adds crunch. Place the balls about 2 inches apart on ungreased cookie sheets to allow for spreading during baking. Bake one sheet at a time for 8 to 10 minutes until the edges turn light golden brown, then immediately press one unwrapped milk chocolate candy into the center of each cookie. Let them cool on a rack for about 1 hour until the chocolates set, and remember to adapt for dietary needs like using vegan substitutes if required.

Dietary Substitutions to Customize Your Peanut Butter Blossoms
Peanut Butter Blossoms are versatile, allowing you to tweak the recipe for different tastes and needs without losing their charm. Start with protein swaps like using almond or cashew butter instead of peanut butter for a fresh twist, or go with sunflower seed butter for those with allergies. These changes keep the cookies moist and flavorful while accommodating various preferences.
For binding agents, flax eggs or chia eggs work great as plant-based alternatives to the traditional egg, helping maintain the dough’s structure. When it comes to flavors, you can add a pinch of cinnamon or experiment with dark chocolate candies to introduce new notes. Seasonal touches like orange zest can make your batch feel special for holidays, ensuring the cookies remain a hit for everyone.
| Original Ingredient | Substitution Option | Benefit |
|---|---|---|
| Peanut butter | Almond butter | Adds a milder nutty flavor |
| Egg | Flax egg | Makes it vegan-friendly |
| Milk chocolate candies | Dark chocolate pieces | Offers a richer taste |
These modifications let you enjoy the same soft texture while catering to diverse diets, making Peanut Butter Blossoms a flexible favorite.
Mastering Peanut Butter Blossoms: Advanced Tips and Variations
Taking your Peanut Butter Blossoms to the next level involves a few smart techniques that can improve both taste and appearance. First, chill the dough for about 30 minutes before baking to stop it from spreading too much, resulting in thicker, chewier cookies that hold their shape well. Using a cookie scoop ensures each ball is the same size, which leads to even baking and a professional finish.
Flavor and Texture Enhancements
For flavor variations, try adding a sprinkle of sea salt on top before baking to bring out the contrast between the peanut butter and chocolate. You could also mix in chopped nuts or switch the chocolate candies for peanut butter chips to add extra crunch and depth. These small changes keep the cookies exciting and adaptable to what you have on hand.
Presentation and Storage Ideas
When it comes to presentation, arrange your baked cookies on a nice plate and perhaps drizzle some melted chocolate over them for a fancy look. For make-ahead options, freeze the dough balls after shaping them, then bake them straight from the freezer with a bit more time. This tip is handy for busy professionals who want fresh treats without the full prep each time. If you’re exploring more baking ideas, check out our brown butter oatmeal cookies for another crowd-pleaser.
To get the best results, always use creamy peanut butter and softened butter, as they help achieve that ideal soft texture everyone loves.
How to Store Peanut Butter Blossoms: Best Practices
Proper storage keeps your Peanut Butter Blossoms fresh and tasty, so let’s cover the basics to maintain that soft chewiness. At room temperature, store them in an airtight container with waxed paper between layers for up to 3 days to prevent them from going stale. If you need them to last longer, refrigeration works for up to two weeks, though they might firm up a bit.
- Freeze the cookies in a single layer on a baking sheet first, then move them to a freezer-safe bag for up to three months.
- To reheat, warm them in a 300°F oven for about 5 minutes or in the microwave for 10-15 seconds to bring back that fresh-baked feel.
- For meal prep, shape and freeze dough balls ahead, thawing them briefly before baking to enjoy hot cookies anytime.
Serve them with cold milk or pair with vanilla ice cream for a special treat, and always thaw frozen cookies at room temperature to keep the chocolates from melting.

FAQs: Frequently Asked Questions About Peanut Butter Blossoms
How do I stop my Peanut Butter Blossoms from becoming dry and crumbly?
To avoid dry and crumbly Peanut Butter Blossoms, use room temperature butter that is soft but not melted. Cream the butter and sugar thoroughly until smooth and uniform. Measure the flour by spooning it into the measuring cup and leveling it off to prevent overpacking, which can dry out cookies. Also, avoid overbaking; remove cookies from the oven when edges are lightly golden but centers still look soft, as they will firm up while cooling.
When is the best time to add the chocolate kiss on Peanut Butter Blossoms?
Place the chocolate kiss on top of the cookie immediately after removing it from the oven. This allows the warm cookie to slightly soften the chocolate for it to stick well while keeping its shape. Adding the chocolate before baking can cause the candy to melt excessively and lose its signature appearance.
What’s the easiest way to store Peanut Butter Blossoms to keep them fresh?
Store Peanut Butter Blossoms in an airtight container at room temperature for up to one week. To retain softness, place a slice of bread or a damp paper towel inside the container to maintain moisture. For longer storage, freeze baked cookies in a sealed container or bag for up to three months, then thaw at room temperature before serving.
Can I prepare Peanut Butter Blossoms dough ahead of time?
Yes, you can prepare the dough balls ahead of time. After shaping the dough into balls, freeze them uncovered on a baking sheet until firm, then transfer to a resealable freezer bag. Dough balls can be stored for up to three months. When ready to bake, let them thaw at room temperature for 10-15 minutes, then bake as directed.
How can I make Peanut Butter Blossoms softer or chewier?
For softer and chewier Peanut Butter Blossoms, try adding an extra tablespoon of brown sugar or reducing baking time by 1-2 minutes. Using creamy peanut butter instead of crunchy can also contribute to a softer texture. Additionally, do not overbake; remove cookies when edges are set but centers remain soft. Cooling cookies on a wire rack helps maintain the desired texture.
Peanut Butter Blossoms
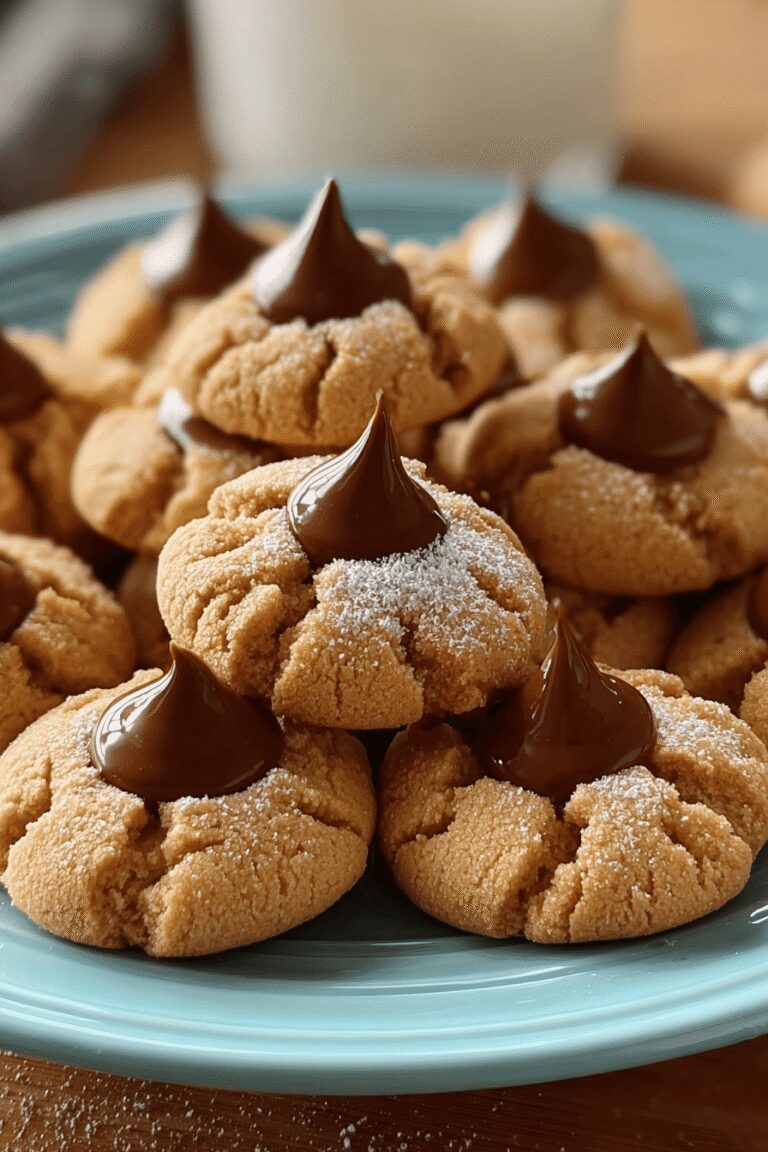
🥜 Classic Peanut Butter Blossom Cookies offer a perfect balance of soft, chewy texture and rich peanut butter flavor, with a delightful chocolate center.
🍪 These cookies are easy to make, fun to bake, and loved by all ages, making them a staple for holidays and special occasions.
- Total Time: 30 minutes
- Yield: About 36 cookies
Ingredients
– 1/2 cup granulated sugar
– 1/2 cup packed brown sugar
– 1/2 cup creamy peanut butter
– 1/2 cup salted butter, softened
– 1 large egg
– 1 1/2 cups all-purpose flour
– 3/4 teaspoon baking soda
– 1/2 teaspoon baking powder
– Additional granulated sugar for rolling (amount as needed)
– About 36 milk chocolate candies, unwrapped
Instructions
1-Start by preheating your oven to 375°F to get everything ready for baking. This ensures your cookies bake evenly and achieve that perfect golden edge while keeping the center soft and chewy.
2-In a large bowl, combine 1/2 cup granulated sugar, 1/2 cup packed brown sugar, 1/2 cup creamy peanut butter, 1/2 cup softened salted butter, and 1 large egg. Mix them well with an electric mixer or by hand until the mixture is smooth and blended, which helps develop the dough’s rich flavor. Next, stir in 1 1/2 cups all-purpose flour, 3/4 teaspoon baking soda, and 1/2 teaspoon baking powder until a dough forms, making sure not to overmix to keep the cookies tender.
3-Shape the dough into 1-inch balls and roll each one in additional granulated sugar for a sweet coating that adds crunch. Place the balls about 2 inches apart on ungreased cookie sheets to allow for spreading during baking. Bake one sheet at a time for 8 to 10 minutes until the edges turn light golden brown, then immediately press one unwrapped milk chocolate candy into the center of each cookie. Let them cool on a rack for about 1 hour until the chocolates set, and remember to adapt for dietary needs like using vegan substitutes if required.
Notes
🍫 Always unwrap chocolates before baking to press into warm cookies immediately.
🥄 Use both granulated and brown sugar for ideal chewy texture and flavor depth.
❄️ Freeze dough balls for up to 3 months; thaw before baking for convenience and freshness.
- Prep Time: 20 minutes
- Cook Time: 10 minutes
- Category: Dessert
- Method: Baking
- Cuisine: American
Nutrition
- Serving Size: 1 cookie
- Calories: 115
- Sugar: 14 g
- Sodium: 75 mg
- Fat: 6 g
- Saturated Fat: 3 g
- Carbohydrates: 14 g
- Fiber: 1 g
- Protein: 2 g
- Cholesterol: 15 mg


