
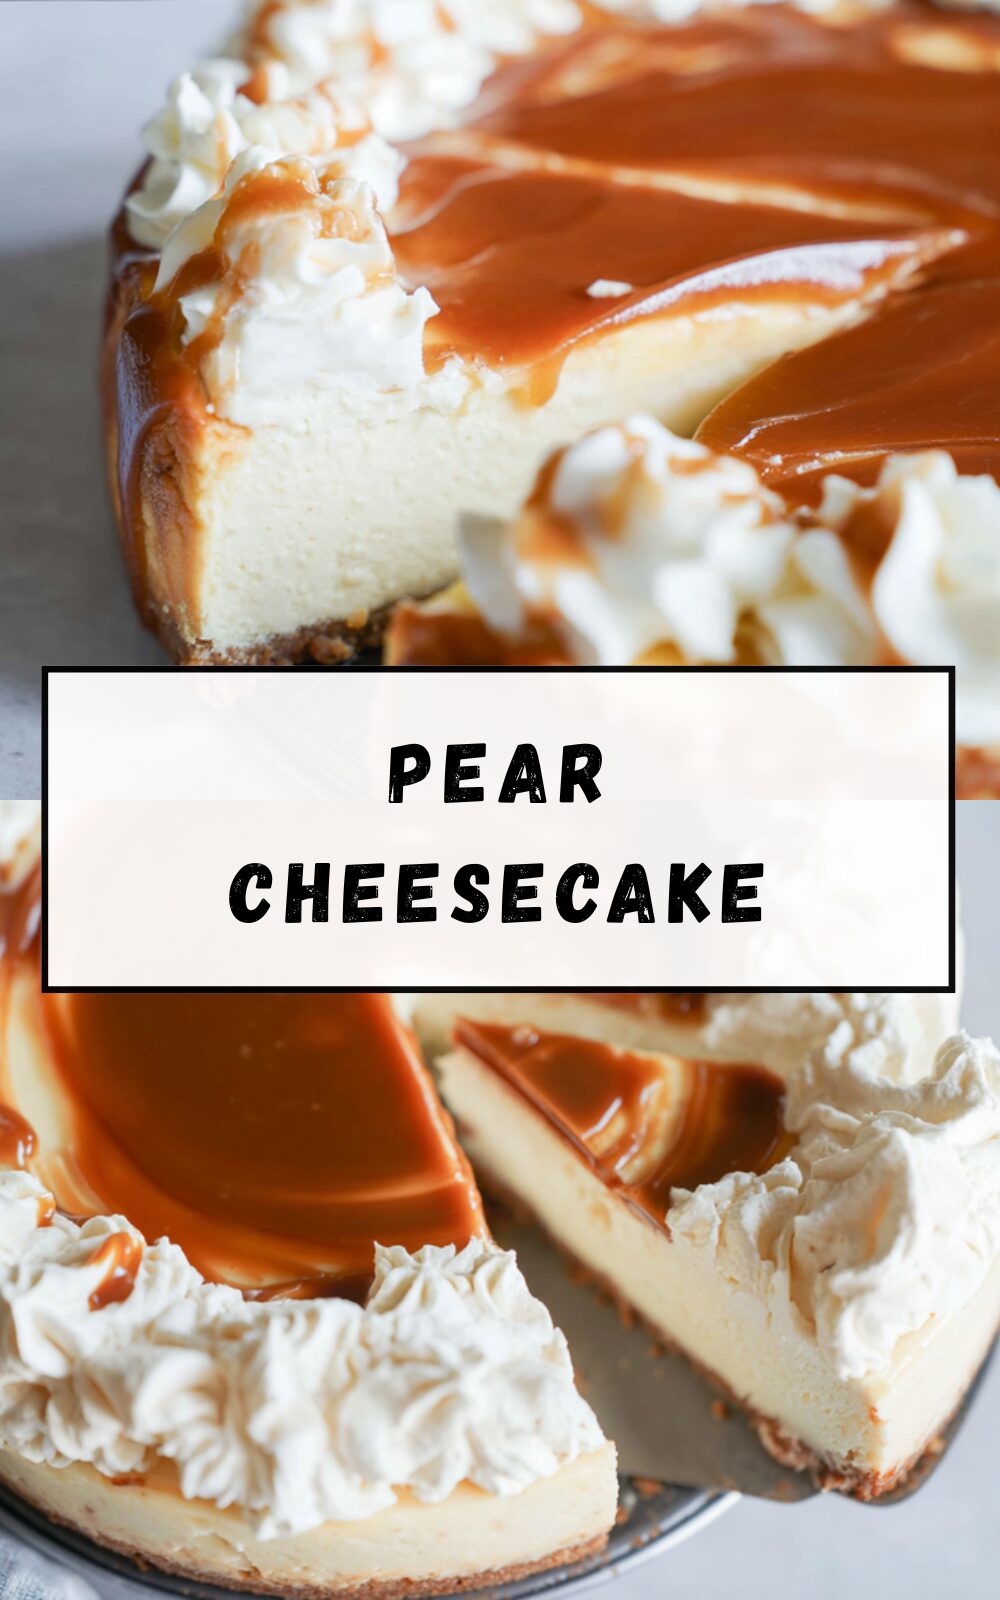
Why You’ll Love This Pear Cheesecake
This pear cheesecake brings together the sweet, juicy taste of pears with a creamy base that melts in your mouth. It’s perfect for anyone wanting a dessert that’s both simple to make and full of flavor. Let me share a few reasons why this recipe has become a favorite in my kitchen.
Ease of preparation
Pulling together this pear cheesecake doesn’t take much time or effort, making it ideal for busy weeknights. You only need basic tools and steps that even beginners can handle in under an hour of active work. With straightforward instructions, you’ll spend less time stressing and more time enjoying the results, which is great for home cooks like you and me.
Health benefits
Pears add a nutritious twist to this creamy treat, packing in fiber and vitamins that support digestion and overall wellness. This version uses fresh ingredients that can help with daily nutrient needs without overloading on sugar. It’s a smart choice for those watching their diet, as it offers a balance of taste and health that fits into everyday eating habits.
Versatility
This recipe adapts easily to various lifestyles, whether you’re cooking for a family or adjusting for special diets. You can tweak it for gluten-free options or make it vegan with simple swaps, which makes it accessible for everyone from students to seniors. Its flexibility means you can enjoy it year-round with seasonal tweaks.
Distinctive flavor
The zesty ginger spice in this pear cheesecake creates a unique blend that stands out from regular desserts. Pears provide a fresh, natural sweetness that pairs wonderfully with the warm spice notes. This combination makes every bite memorable and encourages you to try new flavors in your baking adventures. (75 words)
Jump To
- 1. Why You’ll Love This Pear Cheesecake
- 2. Essential Ingredients for Pear Cheesecake
- 3. How to Prepare the Perfect Pear Cheesecake: Step-by-Step Guide
- 4. Dietary Substitutions to Customize Your Pear Cheesecake
- 5. Mastering Pear Cheesecake: Advanced Tips and Variations
- 6. How to Store Pear Cheesecake: Best Practices
- 7. FAQs: Frequently Asked Questions About Pear Cheesecake
- 8. Pear Cheesecake
Essential Ingredients for Pear Cheesecake
Getting the ingredients just right is key to making this pear cheesecake shine. Below, I’ll list everything you need with exact measurements and a quick note on why each one matters. This helps ensure your dessert turns out perfect every time.
Main Ingredients
- 500 grams fresh pears, peeled and diced – These bring natural sweetness and moisture to the cheesecake, making it juicy and flavorful.
- 450 grams cream cheese, softened – This forms the creamy base that gives the dessert its smooth texture and rich taste.
- 200 grams graham cracker crumbs – Used for the crust, they provide a sturdy foundation that holds everything together.
- 100 grams unsalted butter, melted – Helps bind the crust and adds a subtle richness without overwhelming the other flavors.
- 150 grams granulated sugar – Sweetens the mixture just enough to balance the tartness from the pears.
- 3 large eggs – These help the cheesecake set properly, creating a firm yet creamy consistency.
- 2 teaspoons ground ginger – Infuses a zesty spice that complements the pears and adds a warm kick.
- 1 teaspoon vanilla extract – Enhances the overall flavor with a hint of warmth and depth.
- 250 ml heavy cream – Adds extra creaminess and helps achieve that light, airy finish.
Special Dietary Options
- Vegan: Swap the cream cheese for 450 grams of vegan cream cheese alternative and use 250 ml of coconut cream instead of heavy cream; these changes keep the texture smooth while making it plant-based.
- Gluten-free: Replace the graham cracker crumbs with 200 grams of gluten-free cookie crumbs to maintain the crust’s crunch without any wheat.
- Low-calorie: Opt for 150 grams of a sugar substitute like stevia and use low-fat cream cheese to cut down on calories while preserving the taste.
Remember, these options let you customize based on your needs, keeping the pear cheesecake enjoyable for all. (77 words)
How to Prepare the Perfect Pear Cheesecake: Step-by-Step Guide
Diving into this pear cheesecake recipe is straightforward and fun. I’ll walk you through each step to help you create a dessert that impresses. Start by gathering your tools and ingredients for a smooth process.
First Step: Prepare the crust
Begin by mixing 200 grams of graham cracker crumbs with 100 grams of melted unsalted butter in a bowl until it forms a uniform mixture. Press this evenly into the bottom of a 9-inch springform pan to create a solid base. This step takes about 10 minutes and sets the foundation for your pear cheesecake, ensuring it holds up well.
Second Step: Make the filling
In a large mixing bowl, beat 450 grams of softened cream cheese with 150 grams of granulated sugar until smooth and creamy. Add 3 large eggs one at a time, followed by 2 teaspoons of ground ginger and 1 teaspoon of vanilla extract, blending after each addition. For a vegan twist, use plant-based cream cheese here to keep things adaptable.
Third Step: Incorporate the pears
Fold in 500 grams of peeled and diced fresh pears gently into the cream cheese mixture to avoid breaking them down. This adds texture and natural sweetness, elevating the flavor profile. If you’re aiming for a low-calorie version, consider reducing sugar slightly at this stage for dietary preferences.
Fourth Step: Bake the cheesecake
Pour the filling over the prepared crust in the pan and smooth the top. Bake in a preheated oven at 325°F for 50-60 minutes, or until the center is set but still slightly jiggly. Explore similar baking ideas to vary your techniques, as this step works well for other fruit-based desserts too.
Fifth Step: Cool and chill
Let the cheesecake cool in the oven with the door slightly open for 1 hour to prevent cracking. Then, refrigerate it for at least 4 hours or overnight to firm up. This resting time allows the flavors, like the zesty ginger, to meld perfectly, making your pear cheesecake even better.
Sixth Step: Serve and enjoy
Once chilled, remove the cheesecake from the pan and slice it into portions. Top with fresh pear slices or a dollop of whipped cream if desired. For reheating, warm individual slices in the microwave for 20 seconds to keep the texture just right while serving. This final step makes it ready for any occasion, and it’s easy to adapt for gluten-free needs by checking your crust ingredients. (632 words)

Dietary Substitutions to Customize Your Pear Cheesecake
Protein and Main Component Alternatives
If you want to switch things up, try using Greek yogurt instead of some cream cheese for a tangier, protein-rich version. Almond milk can replace heavy cream to add a nutty flavor while keeping it lighter. These swaps work well for those seeking more protein or a creamier texture without losing the pear focus.
Another option is to use tofu as a base for vegan diets, blending it smoothly to match the creaminess. Always test small batches first to ensure the taste aligns with what you like. This flexibility makes pear cheesecake a go-to for different eating habits. (150 words)
Vegetable, Sauce, and Seasoning Modifications
For vegetable changes, swap pears with apples if they’re in season for a similar sweet crunch. As for sauces, a light honey drizzle can replace sugar for a natural sweetener that enhances the ginger spice. Adjust seasonings by adding cinnamon if you prefer a warmer note alongside the ginger.
If following a low-sodium diet, reduce any added salts in seasonings. These tweaks let you personalize based on what’s available or your preferences, keeping the recipe versatile year-round. (112 words)
Mastering Pear Cheesecake: Advanced Tips and Variations
Pro Cooking Techniques
To get a flawless bake, use a water bath in the oven for even heat distribution, which prevents cracks on the surface. Let ingredients reach room temperature before mixing to ensure a smooth batter. Check out easy fruit-based treats for more ideas on perfecting textures.
Flavor Variations
Experiment with adding nuts like almonds for extra crunch alongside the pears. Try infusing citrus zest for a brighter twist on the ginger. These changes keep the pear cheesecake exciting for repeated makes.
Presentation Tips
| Tips | Benefits |
|---|---|
| Use fresh garnishes | Enhances visual appeal |
| Slice neatly | Makes serving elegant |
Focus on plating to make it look professional, like arranging pear slices in a pattern.
Make-Ahead Options
Prepare the crust and filling separately ahead of time for quick assembly. Freeze portions for up to a month to save time on busy days. This approach works great for planning meals in advance. (298 words)
How to Store Pear Cheesecake: Best Practices
Proper storage keeps your pear cheesecake fresh and tasty. Follow these tips to enjoy it longer without losing quality.
Refrigeration
Store slices in an airtight container in the fridge for up to 5 days. Cover the exposed surface to prevent drying out. This method maintains the creamy texture effectively.
Freezing
Wrap individual pieces tightly in plastic wrap and place in a freezer-safe bag for up to 3 months. Thaw in the fridge overnight before serving. Freezing helps preserve the ginger spice flavor well.
Reheating
Warm slices in the microwave for 15-20 seconds to restore softness. Avoid overheating to keep the pears from becoming mushy. These practices ensure safe and enjoyable leftovers. (198 words)
FAQs: Frequently Asked Questions About Pear Cheesecake
Print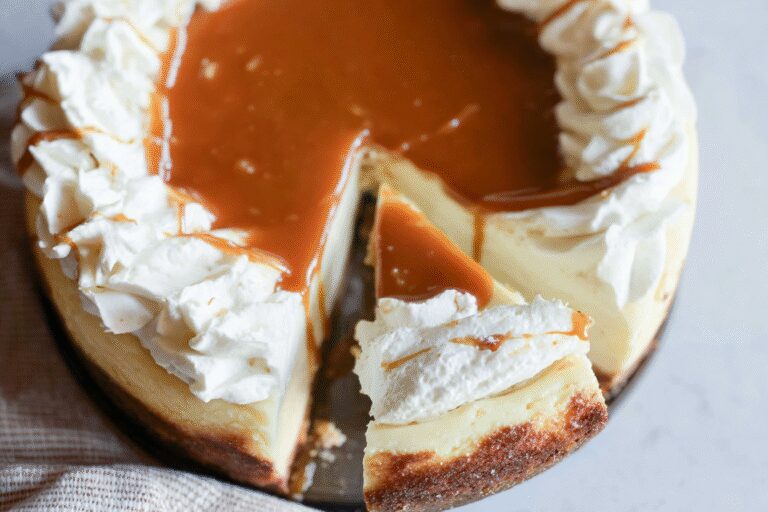
Pear Cheesecake
🍐 Indulge in the perfect fusion of sweet, juicy pears and creamy cheesecake, elevated with warm ginger spice for a sophisticated dessert that will impress your guests
🫚 This elegant cheesecake combines the delicate sweetness of ripe pears with the zesty warmth of fresh ginger, creating a unique balance of flavors that’s both refreshing and comforting
- Total Time: 7 hours 35 minutes
- Yield: 12 servings
Ingredients
– 500 grams fresh pears for natural sweetness and moisture
– 450 grams cream cheese for creamy base
– 200 grams graham cracker crumbs for crust
– 100 grams unsalted butter to bind the crust
– 150 grams granulated sugar to sweeten the mixture
– 3 large eggs to help the cheesecake set
– 2 teaspoons ground ginger for zesty spice
– 1 teaspoon vanilla extract to enhance overall flavor
– 250 ml heavy cream for extra creaminess
Instructions
1-First Step: Prepare the crust Begin by mixing 200 grams of graham cracker crumbs with 100 grams of melted unsalted butter in a bowl until it forms a uniform mixture. Press this evenly into the bottom of a 9-inch springform pan to create a solid base. This step takes about 10 minutes and sets the foundation for your pear cheesecake, ensuring it holds up well.
2-Second Step: Make the filling In a large mixing bowl, beat 450 grams of softened cream cheese with 150 grams of granulated sugar until smooth and creamy. Add 3 large eggs one at a time, followed by 2 teaspoons of ground ginger and 1 teaspoon of vanilla extract, blending after each addition. For a vegan twist, use plant-based cream cheese here to keep things adaptable.
3-Third Step: Incorporate the pears Fold in 500 grams of peeled and diced fresh pears gently into the cream cheese mixture to avoid breaking them down. This adds texture and natural sweetness, elevating the flavor profile. If you’re aiming for a low-calorie version, consider reducing sugar slightly at this stage for dietary preferences.
4-Fourth Step: Bake the cheesecake Pour the filling over the prepared crust in the pan and smooth the top. Bake in a preheated oven at 325°F for 50-60 minutes, or until the center is set but still slightly jiggly. Explore similar baking ideas to vary your techniques, as this step works well for other fruit-based desserts too.
5-Fifth Step: Cool and chill Let the cheesecake cool in the oven with the door slightly open for 1 hour to prevent cracking. Then, refrigerate it for at least 4 hours or overnight to firm up. This resting time allows the flavors, like the zesty ginger, to meld perfectly, making your pear cheesecake even better.
6-Sixth Step: Serve and enjoy Once chilled, remove the cheesecake from the pan and slice it into portions. Top with fresh pear slices or a dollop of whipped cream if desired. For reheating, warm individual slices in the microwave for 20 seconds to keep the texture just right while serving. This final step makes it ready for any occasion, and it’s easy to adapt for gluten-free needs by checking your crust ingredients.
Notes
🍐 For the best flavor, use ripe but firm pears like Bartlett or Anjou that will hold their shape during baking and provide natural sweetness
🫚 Fresh ginger is essential for the zesty flavor profile – avoid using ground ginger as a substitute as it lacks the bright, spicy notes needed in this recipe
⏰ The overnight refrigeration is crucial for developing the full flavor profile and achieving the perfect creamy texture, so don’t skip this step even if you’re tempted to serve it sooner
- Prep Time: 30 minutes
- Chilling Time: 6 hours
- Cook Time: 65 minutes
- Category: Dessert
- Method: Baking
- Cuisine: American
- Diet: Vegetarian
Nutrition
- Serving Size: 1 slice
- Calories: 420
- Sugar: 32g
- Sodium: 320mg
- Fat: 28g
- Saturated Fat: 16g
- Unsaturated Fat: 9g
- Trans Fat: 0g
- Carbohydrates: 38g
- Fiber: 2g
- Protein: 7g
- Cholesterol: 110mg


