
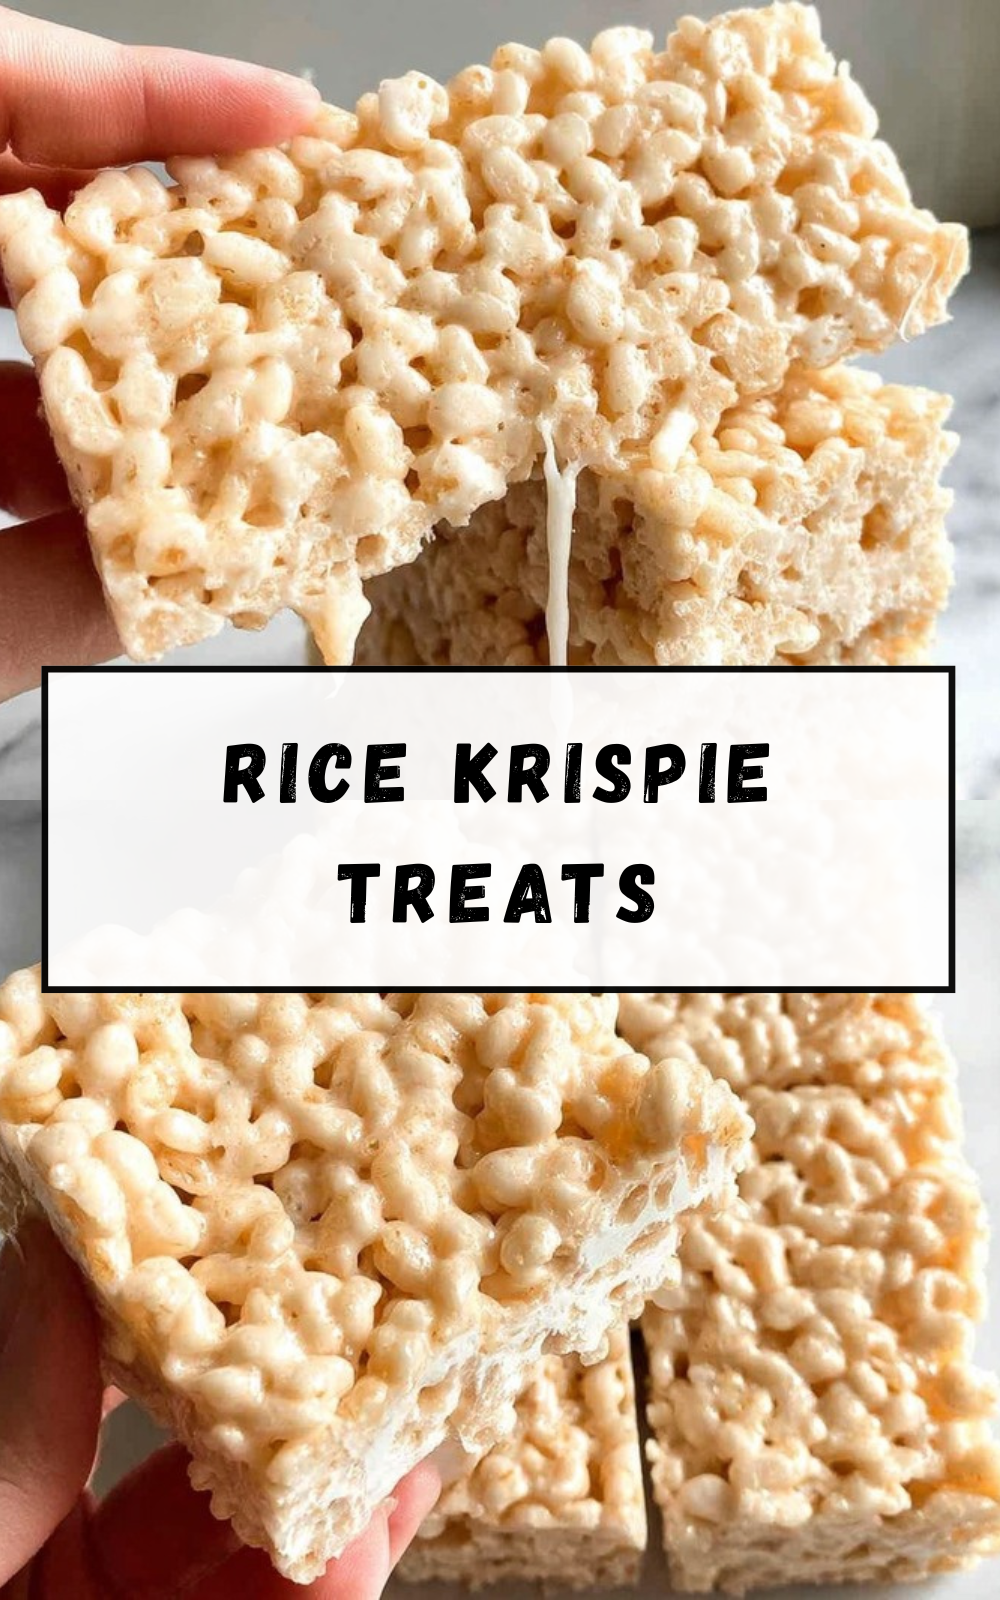
Why You’ll Love This Rice Krispie Treats
Rice Krispie Treats are a timeless, no-fuss dessert that fits into busy days, family gatherings, and last-minute celebrations. This classic Rice Krispie Treats recipe delivers nostalgia and convenience in one sticky, sweet bite. It is ideal for home cooks, busy parents, students, and anyone who wants a fast, satisfying snack without complicated baking.
- Ease of preparation: The method for Rice Krispie Treats is simple: melt, mix, press, and cool. With only three core ingredients and roughly 15 to 20 minutes from start to finish, these cereal bars are a go-to when you need a quick dessert or snack for hungry kids.
- Health benefits: While Rice Krispie Treats are an indulgence, they give predictable portion control and energy from carbohydrates. Moderation matters: using a measured serving size helps manage calories from sugars and fats coming from the marshmallows and butter.
- Versatility: This basic Rice Krispie bars formula adapts easily. Add chocolate, nuts, or swap ingredients for gluten-free or vegan options to match dietary needs and taste preferences.
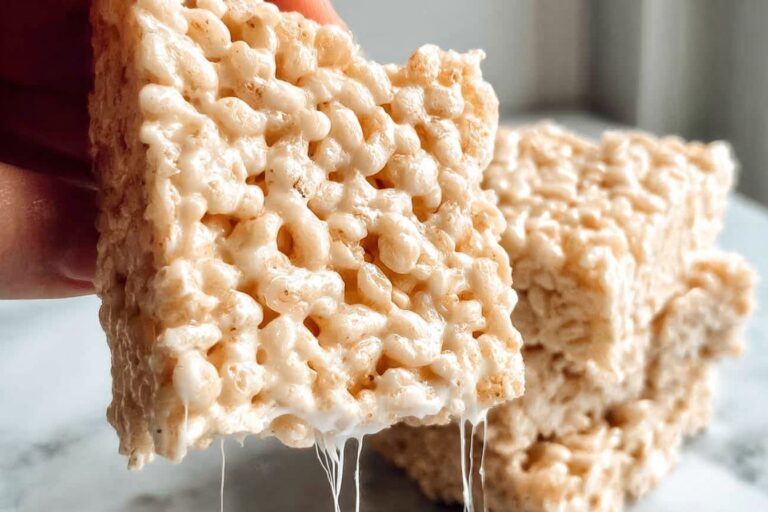
- Distinctive flavor: The toasted cereal texture combined with sweet, melty marshmallows and a hint of butter creates a classic flavor profile that few treats can match. A touch of vanilla or a sprinkle of chocolate chips takes the taste to the next level.
Whether you are a brewing chef or a new cook, this Rice Krispie Treats recipe is forgiving and fast, making it a reliable dessert for any occasion.
Jump To
- 1. Why You’ll Love This Rice Krispie Treats
- 2. Essential Ingredients for Rice Krispie Treats
- 3. How to Prepare the Perfect Rice Krispie Treats: Step-by-Step Guide
- 4. Dietary Substitutions to Customize Your Rice Krispie Treats
- 5. Mastering Rice Krispie Treats: Advanced Tips and Variations
- 6. How to Store Rice Krispie Treats: Best Practices
- 7. FAQs: Frequently Asked Questions About Rice Krispie Treats
- 8. Rice Krispie Treats
Essential Ingredients for Rice Krispie Treats
Below is a clear, structured list of every ingredient required for the recipe. Each line shows the precise measurement first, followed by the ingredient name and a short note about its role in the recipe.
- 6 cups crisp rice cereal – Provides the crunchy base and structure for the treats.
- 4 cups miniature marshmallows (or 10 oz regular marshmallows) – Binds the cereal and creates the classic chewy texture and sweetness.
- 3 tablespoons butter – Adds richness, helps melt the marshmallows smoothly, and improves flavor and mouthfeel.
Special Dietary Options:
- Vegan: Use vegan butter and replace marshmallows with plant-based marshmallows that melt similarly. Ensure the cereal is free from animal-derived ingredients.
- Gluten-free: Choose certified gluten-free crisp rice cereal to keep the bars safe for gluten-sensitive eaters.
- Low-calorie: Use a light butter substitute and reduce marshmallows, or look for lower-sugar marshmallow alternatives to lower sugar and calorie content.
How to Prepare the Perfect Rice Krispie Treats: Step-by-Step Guide
This step-by-step guide walks you through each stage of making Rice Krispie Treats with timing and practical notes so you hit the right texture every time. Follow these actions closely for warm, chewy bars.
First Step: Gather and prepare
Measure out 6 cups crisp rice cereal, 4 cups miniature marshmallows (or 10 oz regular marshmallows), and 3 tablespoons butter. Grease a 9×13-inch pan with butter or line it with parchment paper for easier removal. Have a buttered spatula or a sheet of wax paper ready for pressing the mixture into the pan. Pre-measured ingredients keep the process smooth and fast.
Second Step: Melt the butter
Place a large pan over low heat and add 3 tablespoons butter. Melt the butter gently; do not let it brown. Low heat keeps the butter from burning and helps the marshmallows melt evenly. This typically takes about 1 to 2 minutes on low heat.
Third Step: Add and melt the marshmallows
Once the butter is melted, add 4 cups miniature marshmallows (or 10 oz regular marshmallows). Stir constantly over low heat until the marshmallows are completely melted and smooth, about 3 to 5 minutes. Avoid high heat that can make marshmallows tough. If you like, stir in 1/2 teaspoon vanilla extract for added flavor.
Fourth Step: Combine cereal and marshmallow mixture
Remove the pan from heat immediately. Add 6 cups crisp rice cereal to the melted marshmallow mixture. Stir quickly and thoroughly until each rice piece is well coated with the marshmallow. Work fast while the mixture is warm so it mixes evenly.
Fifth Step: Press into pan
Transfer the mixture to the prepared 9×13-inch pan. Using a buttered spatula or a sheet of wax paper, press the mixture firmly and evenly into the pan. Pressing firmly helps the bars hold together and creates compact Rice Krispie treats. Be careful not to press so hard that the bars become overly dense and tough.
Final Step: Cool and serve
Let the treats cool completely in the pan before cutting into squares. Cooling helps them set and maintain their shape when sliced. Allow about 30 minutes to cool at room temperature. Once set, cut into 12 to 16 squares and serve. Total preparation time is approximately 15 to 20 minutes, with additional cooling time of about 30 minutes.
Quick tips inside the steps:
- If bars seem too stiff after cooling, microwave a single square for 10 seconds to soften.
- For extra chewiness, add 1 tablespoon corn syrup to the marshmallows while melting.
- To make chocolate-topped bars, press the mixture into the pan, then spread melted chocolate chips over the top and chill briefly until set.
Timing and temperature summary
| Stage | Time | Notes |
|---|---|---|
| Prep and measuring | 3-5 minutes | Have pan and tools ready |
| Melting butter and marshmallows | 4-6 minutes | Low heat, stir constantly |
| Mixing and pressing | 3-5 minutes | Work quickly before mixture cools |
| Cooling | 30 minutes | Set at room temperature |

Dietary Substitutions to Customize Your Rice Krispie Treats
Protein and Main Component Alternatives
Although Rice Krispie Treats are centered on cereal, marshmallows, and butter, you can tailor them if you need different dietary profiles:
- For a vegan version, swap the butter for vegan margarine and use vegan marshmallows. Confirm the crisp rice cereal is vegan-friendly, as some brands use vitamin D derived from animal sources.
- To make them higher in protein, stir in 1/4 to 1/2 cup of a neutral-flavored protein powder after removing the pan from heat. This will change texture slightly, so add slowly and test consistency.
- If you need gluten-free bars, use certified gluten-free rice cereal and check all labels to confirm no cross-contamination.
Vegetable, Sauce, and Seasoning Modifications
Rice Krispie Treats are sweet and simple, but small seasoning or add-in changes can create new flavor directions:
- Add a pinch of fine sea salt or a half-teaspoon of vanilla extract to the marshmallow mixture to round the sweetness.
- Stir in 1/2 cup mini chocolate chips, chopped nuts, or dried fruit after mixing the cereal for texture and flavor contrast.
- For a seasonal twist, fold in 1/2 cup pumpkin spice mix or cinnamon sugar. These do not change core method but provide a fresh taste.
Mastering Rice Krispie Treats: Advanced Tips and Variations
Once you know the basic process, these advanced tips will raise your Rice Krispie Treats from good to memorable. Use the ideas below to add flavor depth, refined texture, and attractive presentation.
Pro cooking techniques
- Always melt marshmallows on low heat and stir constantly. Gentle, even heat prevents scorching and yields a smooth binder for the cereal.
- To avoid sticky hands and an uneven press, use a piece of buttered parchment or wax paper to press the mixture into the pan rather than using bare hands.
- For uniform squares, chill the pan briefly after pressing, then use a sharp knife dipped in hot water for clean cuts.
Flavor variations
- Chocolate-dipped: Spread melted chocolate over the cooled bars and allow to set. For a richer finish, add 1 tablespoon peanut butter to the melted chocolate before spreading.
- Cookies and cream: Fold in crushed sandwich cookies to the cereal before pressing for crunch and creaminess.
- Caramel swirl: Drizzle warm salted caramel on top and let it set for a sweet-salty contrast.
Presentation tips
Arrange bars on a platter with a sprinkle of cocoa powder or finely chopped nuts for color. Use patterned parchment paper or cut shapes with cookie cutters for parties and holiday trays. Pair with simple fruit plates or small bowls of dipping sauces for an elevated snack station. For pairing ideas, consider sweet fruit options such as chocolate-covered strawberries to complement the cereal bars.
Make-ahead options
- Prepare the base mixture and press into the pan, then cover and refrigerate for up to 24 hours before serving. Bring to room temperature for best chewiness.
- Freeze individual squares wrapped tightly in plastic for up to 2-3 months. Thaw at room temperature before serving.
Tip: Use fresh marshmallows for the best melting results and melt butter gently to avoid burning. Press firmly for compact treats and let them cool completely before cutting to maintain their shape.
How to Store Rice Krispie Treats: Best Practices
Proper storage keeps your Rice Krispie Treats tasting fresh and soft. Here are practical recommended methods for short- and long-term storage, reheating, and batch prep.
Refrigeration
While refrigeration is not required, you can refrigerate wrapped Rice Krispie Treats for up to 5 to 7 days. Cold air can make them firmer; allow them to sit at room temperature for about 30 minutes before serving to regain chewiness.
Freezing
For long-term storage, wrap each square tightly in plastic wrap and then foil, or place in an airtight freezer container with parchment between layers. Freeze for up to 2 to 3 months. Thaw overnight in the refrigerator or at room temperature for a few hours.
Reheating
To soften a firm bar, microwave an individual piece for 5 to 10 seconds. This briefly warms the marshmallow binder and restores chewiness. Avoid overheating, which can melt the shape out of the bar.
Meal prep considerations
Make a double batch and freeze half for later to reduce prep time. Label containers with dates and keep an inventory for quick grab-and-go snacks for lunches or party trays.
FAQs: Frequently Asked Questions About Rice Krispie Treats
How do you make classic Rice Krispie treats at home?
To make classic Rice Krispie treats, you’ll need 6 cups Rice Krispies cereal, 4 cups mini marshmallows, and 3 tablespoons butter. Melt butter in a large pot over low heat, add marshmallows, and stir until fully melted (about 5 minutes). Remove from heat, mix in cereal until coated. Press mixture evenly into a greased 9×13-inch pan using a spatula or waxed paper. Let cool for 30 minutes, then cut into squares. This yields 12-16 treats. Tip: Use fresh marshmallows for gooey texture and avoid overcooking to prevent hardness. Total time: 15 minutes prep + cooling. Perfect for quick desserts or kids’ snacks.
Why are my Rice Krispie treats hard and how can I fix it?
Hard Rice Krispie treats usually result from old marshmallows, high heat, or overmixing. Use fresh mini marshmallows and melt over low heat, stirring constantly for 4-5 minutes until smooth. Don’t press too firmly into the pan—gentle pressure keeps them soft. Add 1/2 teaspoon vanilla extract or a pinch of salt for better flavor and chewiness. If they’re already hard, microwave squares for 10 seconds to soften. Store in an airtight container at room temperature for up to 2 days. For extra softness, mix in 1 tablespoon corn syrup with marshmallows. This simple tweak makes perfect, chewy treats every time.
Do Rice Krispie treats need to be refrigerated?
No, Rice Krispie treats don’t need refrigeration if eaten within 2-3 days. Store them in an airtight container at room temperature to maintain chewiness—fridge moisture makes them stale and hard. For longer storage (up to a week), wrap individually in plastic and refrigerate, but let them sit out 30 minutes before serving to soften. In hot climates, fridge helps prevent melting. Freezing works for up to 6 weeks: wrap tightly, thaw at room temp. Always check for mold. Pro tip: Layer parchment paper between treats in containers to avoid sticking.
What’s the best Rice Krispie treats recipe with chocolate?
For chocolate Rice Krispie treats, start with the classic base: melt 3 tbsp butter and 4 cups mini marshmallows, stir in 6 cups Rice Krispies. Press into pan. Melt 1 cup chocolate chips with 2 tbsp peanut butter, spread over top, and add sprinkles. Chill 10 minutes to set. Makes 12 treats. Variations: Swirl in brownie batter before baking briefly at 350°F for 10 minutes, or dip ends in melted chocolate. Each serving has about 150 calories. This upgrade takes 20 minutes and turns basic treats into crowd-pleasers for parties.
How long do homemade Rice Krispie treats last?
Homemade Rice Krispie treats stay fresh for 2-3 days at room temperature in an airtight container. They’ll soften after day 2 due to humidity, so eat soon. Refrigerate for 5-7 days max, but texture changes—reheat in microwave 5-10 seconds per square. Freeze portions wrapped in plastic and foil for 2-3 months; thaw overnight in fridge. Signs they’re bad: dryness, odd smell, or mold. To extend shelf life, add a vanilla extract dash during melting. Track with dates on containers. Ideal for meal prep or gifting.
Rice Krispie Treats
🍪 Create nostalgic, gooey marshmallow treats in minutes with this foolproof recipe that kids and adults love
🌾 Enjoy the perfect crunchy-chewy texture combination that makes these classic treats irresistible every time
- Total Time: 45 minutes
- Yield: 24 squares 1x
Ingredients
6 cups crisp rice cereal Provides the crunchy base and structure for the treats
4 cups miniature marshmallows (or 10 oz regular marshmallows) Binds the cereal and creates the classic chewy texture and sweetness
3 tablespoons butter Adds richness, helps melt the marshmallows smoothly, and improves flavor and mouthfeel
Instructions
1-First Step: Gather and prepare Measure out 6 cups crisp rice cereal, 4 cups miniature marshmallows (or 10 oz regular marshmallows), and 3 tablespoons butter. Grease a 9×13-inch pan with butter or line it with parchment paper for easier removal. Have a buttered spatula or a sheet of wax paper ready for pressing the mixture into the pan. Pre-measured ingredients keep the process smooth and fast.
2-Second Step: Melt the butter Place a large pan over low heat and add 3 tablespoons butter. Melt the butter gently; do not let it brown. Low heat keeps the butter from burning and helps the marshmallows melt evenly. This typically takes about 1 to 2 minutes on low heat.
3-Third Step: Add and melt the marshmallows Once the butter is melted, add 4 cups miniature marshmallows (or 10 oz regular marshmallows). Stir constantly over low heat until the marshmallows are completely melted and smooth, about 3 to 5 minutes. Avoid high heat that can make marshmallows tough. If you like, stir in 1/2 teaspoon vanilla extract for added flavor.
4-Fourth Step: Combine cereal and marshmallow mixture Remove the pan from heat immediately. Add 6 cups crisp rice cereal to the melted marshmallow mixture. Stir quickly and thoroughly until each rice piece is well coated with the marshmallow. Work fast while the mixture is warm so it mixes evenly.
5-Fifth Step: Press into pan Transfer the mixture to the prepared 9×13-inch pan. Using a buttered spatula or a sheet of wax paper, press the mixture firmly and evenly into the pan. Pressing firmly helps the bars hold together and creates compact Rice Krispie treats. Be careful not to press so hard that the bars become overly dense and tough.
6-Final Step: Cool and serve Let the treats cool completely in the pan before cutting into squares. Cooling helps them set and maintain their shape when sliced. Allow about 30 minutes to cool at room temperature. Once set, cut into 12 to 16 squares and serve. Total preparation time is approximately 15 to 20 minutes, with additional cooling time of about 30 minutes.
Notes
🍯 Use fresh marshmallows for the smoothest melting results and best texture
🔥 Melt butter gently over low heat to prevent burning and ensure even mixing
⏰ Allow treats to cool completely before cutting to maintain perfect square shapes
- Prep Time: 5 minutes
- Cooling time: 30 minutes
- Cook Time: 10 minutes
- Category: Dessert
- Method: No-bake
- Cuisine: American
- Diet: Vegetarian
Nutrition
- Serving Size: 1 square
- Calories: 95
- Sugar: 9
- Sodium: 105
- Fat: 3
- Saturated Fat: 2
- Unsaturated Fat: 1
- Trans Fat: 0
- Carbohydrates: 18
- Fiber: 0
- Protein: 1
- Cholesterol: 5


