
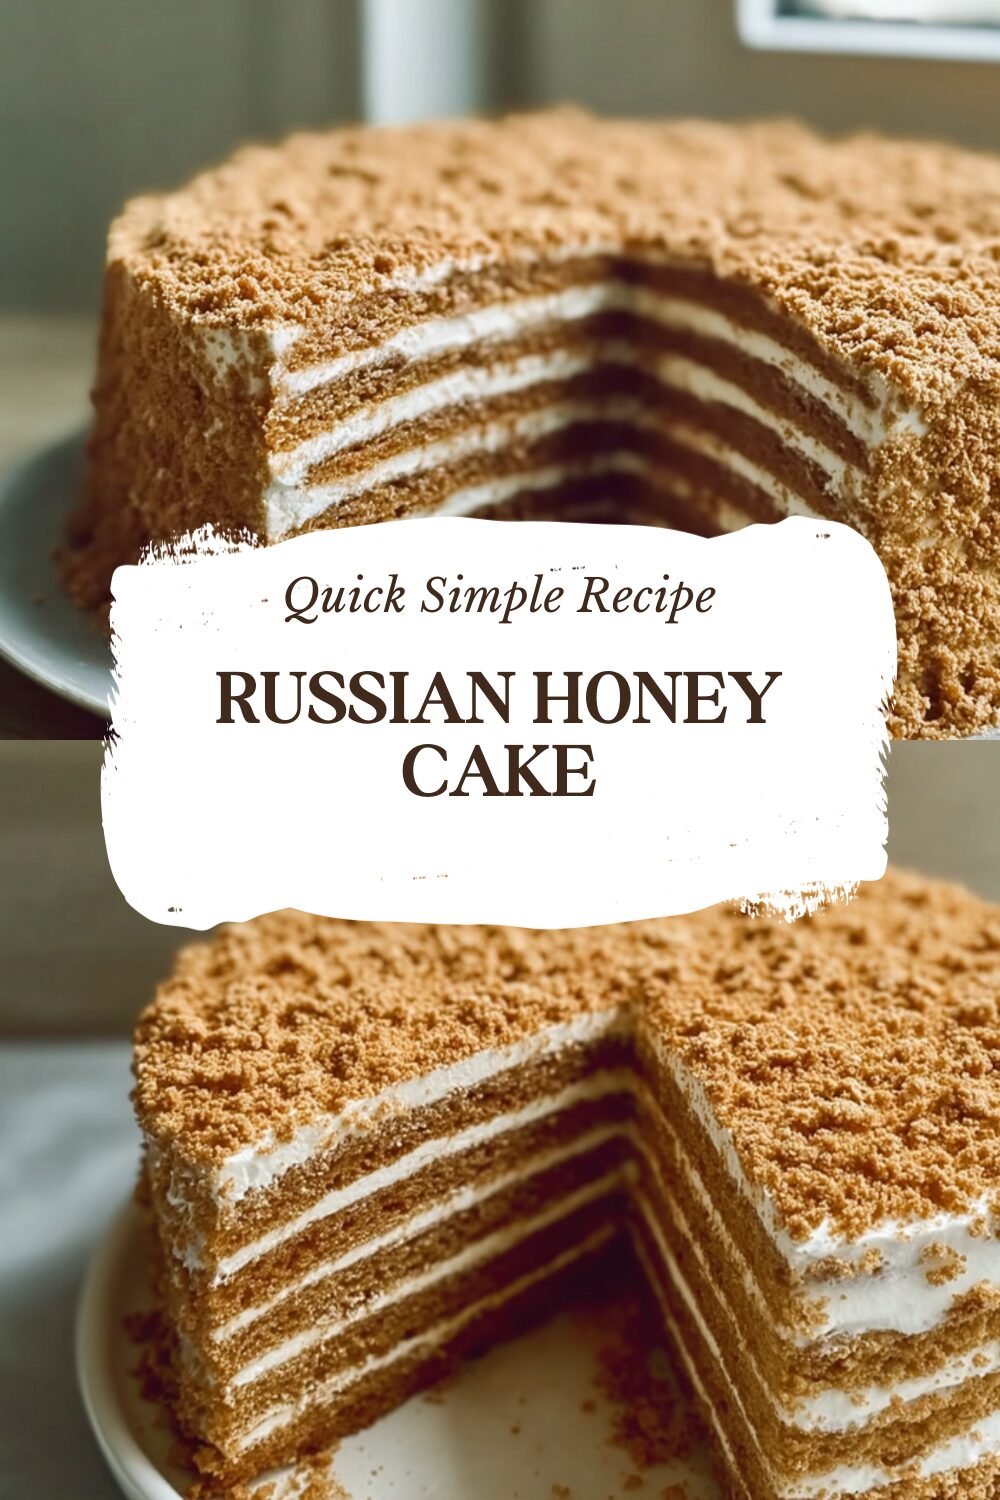
Why You’ll Love This Russian Honey Cake
Imagine sinking your teeth into a cake that combines layers of soft, honey-infused goodness with creamy frosting for a dessert that feels like a treat from a cozy family gathering. This Russian Honey Cake is not just tasty; it’s simple to whip up even if you’re juggling a busy schedule, making it ideal for home cooks and baking enthusiasts alike. You’ll appreciate how the rich, toffee-like flavors from the burnt honey add a unique twist that sets this cake apart from everyday sweets.
One reason this recipe shines is its ease of preparation, allowing you to create a homemade delight without spending all day in the kitchen. It’s packed with health benefits thanks to natural honey, which brings antioxidants and vitamins into the mix, supporting your wellness goals while satisfying your sweet tooth. Plus, its versatility means you can tweak it for different dietary needs, like going vegan or gluten-free, so everyone at the table can enjoy it. The distinctive flavor from the honey and spices makes every bite unforgettable, turning this into a go-to dessert for special occasions or just because.
The way the cake layers soak up that sweet cream overnight creates a moist, flavorful experience that’s hard to resist. Whether you’re a busy parent looking for a fun weekend project or a student wanting to impress friends, this Russian Honey Cake delivers big on taste and simplicity. Dive in and see why it might just become your new favorite bake with its perfect balance of sweetness and texture.
Key Features That Make It Stand Out
- Quick cooking time keeps things straightforward for everyday bakers.
- Wholesome ingredients like honey add nutritional value without sacrificing flavor.
- Easy adaptations ensure it’s suitable for various lifestyles and preferences.
- The rich, toffee-like notes from burnt honey elevate the overall taste profile.
Jump To
- 1. Why You’ll Love This Russian Honey Cake
- 2. Essential Ingredients for Russian Honey Cake
- 3. How to Prepare the Perfect Russian Honey Cake: Step-by-Step Guide
- 4. Dietary Substitutions to Customize Your Russian Honey Cake
- 5. Mastering Russian Honey Cake: Advanced Tips and Variations
- 6. How to Store Russian Honey Cake: Best Practices
- 7. FAQs: Frequently Asked Questions About Russian Honey Cake
- 8. Russian Honey Cake
Essential Ingredients for Russian Honey Cake
Gathering the right ingredients is the first step to creating a delicious Russian Honey Cake, and this recipe focuses on burnt honey for that special toffee-like flavor. You’ll need precise measurements to get the texture just right, so let’s break it down into clear categories. Using these ingredients will help you build layers that are soft and full of character, making the whole process rewarding for home bakers.
Burnt Honey
- 3/4 cup honey
- 1/4 cup water
Cake Layers
- 1/4 cup Burnt Honey
- 3/4 cup honey
- 1 cup + 2 tablespoons granulated sugar
- 14 tablespoons unsalted butter (cut into pieces)
- 6 large eggs
- 2 1/2 teaspoons baking soda
- 3/4 teaspoon fine salt
- 1 teaspoon ground cinnamon
- 3 3/4 cups all-purpose flour
Frosting
- 1/2 cup Burnt Honey
- 1/2 teaspoon fine salt
- 4 3/4 cups heavy whipping cream (divided)
- dulce de leche
This structured list ensures you have everything needed for the recipe, with exact quantities to avoid any guesswork. For instance, the burnt honey not only adds depth but also ties the cake and frosting together beautifully. If you’re exploring other recipes, you might try our Butter Pecan Layer Cake for a similar layered delight.
How to Prepare the Perfect Russian Honey Cake: Step-by-Step Guide
Let’s get started on making this Russian Honey Cake, where the magic happens with burnt honey giving everything that rich, toffee-like vibe. First, preheat your oven to 375°F (190°C) and line baking sheets with silicone mats or parchment paper traced into 9-inch circles for easy shaping. This step sets the stage for those thin, caramelized layers that make the cake so special.
Next, make the burnt honey by simmering 3/4 cup honey in a pan until it turns a dark amber color, then stir in 1/4 cup water and whisk until smooth; set it aside to cool. For the cake batter, melt the unsalted butter with both the burnt honey, 3/4 cup regular honey, and 1 cup + 2 tablespoons granulated sugar over simmering water until warm and combined. Once ready, whisk in the 6 large eggs, followed by 2 1/2 teaspoons baking soda, 3/4 teaspoon fine salt, and 1 teaspoon ground cinnamon.
Gradually sift in 3 3/4 cups all-purpose flour in three parts, stirring until the batter is smooth and lump-free. Spread about 1/3 cup of batter into each traced circle on your prepared sheets and bake for 6-7 minutes until the layers turn a deep caramel color. After baking, let the layers cool, then trim the edges and save the trimmings to toast for decoration.
Frosting and Assembly Steps
For the frosting, mix 1/2 cup burnt honey, 1/2 teaspoon fine salt, dulce de leche, and some of the heavy whipping cream until blended, then chill it. Whip the remaining heavy cream to soft peaks and fold in the honey mixture until you reach medium-stiff peaks. Layer the cooled cake rounds with heaping cups of frosting, cover the sides and top, and press the toasted crumbs onto the sides for a nice finish.
| Step | Key Action | Tips |
|---|---|---|
| 1. Preheat Oven | Set to 375°F and prepare sheets | Use silicone mats for less waste |
| 2. Make Burnt Honey | Simmer and whisk | Achieve dark amber for best flavor |
| 3. Prepare Batter | Melt and mix ingredients | Add flour gradually for smoothness |
| 4. Bake Layers | 6-7 minutes per sheet | Check with a toothpick for doneness |
| 5. Assemble Cake | Layer with frosting | Chill overnight for flavors to meld |
To adapt for dietary preferences, swap in vegan alternatives during the mixing steps. For more cream-based treats, check out our Silky Lemon Cream Treat recipe.

Dietary Substitutions to Customize Your Russian Honey Cake
Tailoring this Russian Honey Cake to your needs is simple and fun, especially with its rich, toffee-like flavors from the burnt honey. Start by swapping eggs with flaxseed or chia seed gel if you’re going vegan, which keeps the batter moist and binds everything together nicely. For gluten-free options, use a gluten-free flour blend in place of all-purpose flour to maintain that light texture.
- Replace eggs with flaxseed or chia seed gel for vegan diets.
- Use aquafaba as an egg white substitute for a lighter lift.
- Employ gluten-free flour blends to accommodate gluten intolerance.
- Substitute sour cream with coconut cream or soy yogurt to make it dairy-free.
- Use natural sweeteners like maple syrup instead of sugar for a healthier twist.
- Add spices such as cinnamon, nutmeg, or cardamom to mix up the flavors seasonally.
These changes let you enjoy the cake’s layers of sweet cream while fitting your lifestyle, and the toffee notes from burnt honey shine through no matter what.
Mastering Russian Honey Cake: Advanced Tips and Variations
Taking your Russian Honey Cake to the next level involves a few pro techniques, like using a water bath during baking to ensure even heat and prevent cracking for those perfect, soft layers. The burnt honey’s toffee-like flavors really pop when you experiment with additions such as citrus zest or a hint of rum extract for a fresh twist. For presentation, garnish with toasted nuts or a dusting of powdered sugar to make it look as good as it tastes.
This cake is labor-intensive but worth it preparing it over multiple days, like freezing the layers ahead, makes it manageable for busy schedules. Weighing ingredients ensures the best results, so grab that kitchen scale!
- Use silicone mats for easy release and to cut down on waste.
- More butter in the batter helps achieve soft, spongy layers.
- Caramelize honey carefully to add complex notes to the cake and frosting.
- Make dulce de leche from sweetened condensed milk if it’s not on hand.
- The toasted crumbs not only decorate but also add great texture to the sides.
With these tips, you’ll master the rich flavors and get creative with variations that suit your taste.
How to Store Russian Honey Cake: Best Practices
Keeping your Russian Honey Cake fresh is key to enjoying its toffee-like layers, so start by storing it covered in an airtight container in the refrigerator for up to 4 days. This helps maintain the moisture in the honey-infused layers and prevents the frosting from spoiling. If you want to plan ahead, freezing the cake layers wrapped tightly in plastic wrap and foil works great for up to 2 months just thaw them overnight in the fridge before assembling.
- Refrigerate the whole cake to keep flavors melded.
- Freeze portions for easy meals during busy weeks.
- Reheat slices in the microwave for a quick refresh.
These methods ensure your cake stays delicious and ready to serve.
FAQs: Frequently Asked Questions About Russian Honey Cake
What kind of honey should I use to make an authentic Russian Honey Cake?
For an authentic flavor, wildflower honey is recommended because of its floral notes that enhance the cake’s taste. However, if wildflower honey is not available, regular honey can be used as a suitable substitute without significantly affecting the final result.
Can I prepare the dulce de leche for Russian Honey Cake frosting at home and how long does it take?
Yes, you can make dulce de leche at home by slowly cooking sweetened condensed milk for about 4 hours until it thickens and caramelizes. This step requires patience and planning but results in a rich, creamy frosting that pairs perfectly with the honey cake layers.
How do I bake and handle the honey cake layers to get the best texture?
Bake thin layers quickly at around 6 to 7 minutes each until they are lightly caramel-colored and spring back when touched. Use a toothpick to check doneness—the layers should come out clean. After baking, trim uneven edges and toast the leftover trimmings to use as decoration or garnish.
Can I make parts of the Russian Honey Cake ahead of time?
Absolutely. The dulce de leche can be prepared up to a month in advance and stored in the refrigerator. Cake layers can be baked ahead and frozen for several weeks if properly wrapped in plastic wrap and foil. This flexibility makes assembly easier close to serving time.
How long should Russian Honey Cake chill before it is served?
It is best to refrigerate the assembled cake overnight or for up to two days. This resting period allows the honey-soaked layers to soften, and the flavors to meld, resulting in a moist and flavorful cake. Leftovers can be stored in the fridge for up to three days.
Russian Honey Cake
🍯 Indulge in the rich, layered flavors of Russian Honey Cake that combines sweet cream and toffee-like burnt honey.
🎂 This cake is a delightful treat with soft, spongy layers perfect for special occasions or any celebration.
- Total Time: 9 hours
- Yield: 8–10 servings 1x
Ingredients
3/4 cup honey
1/4 cup water
1/4 cup Burnt Honey
3/4 cup honey
1 cup + 2 tablespoons granulated sugar
14 tablespoons unsalted butter (cut into pieces)
6 large eggs
2 1/2 teaspoons baking soda
3/4 teaspoon fine salt
1 teaspoon ground cinnamon
3 3/4 cups all-purpose flour
1/2 cup Burnt Honey
1/2 teaspoon fine salt
4 3/4 cups heavy whipping cream (divided)
dulce de leche
Instructions
1- Let’s get started on making this Russian Honey Cake, where the magic happens with burnt honey giving everything that rich, toffee-like vibe. First, preheat your oven to 375°F (190°C) and line baking sheets with silicone mats or parchment paper traced into 9-inch circles for easy shaping. This step sets the stage for those thin, caramelized layers that make the cake so special.
2- Next, make the burnt honey by simmering 3/4 cup honey in a pan until it turns a dark amber color, then stir in 1/4 cup water and whisk until smooth; set it aside to cool. For the cake batter, melt the unsalted butter with both the burnt honey, 3/4 cup regular honey, and 1 cup + 2 tablespoons granulated sugar over simmering water until warm and combined. Once ready, whisk in the 6 large eggs, followed by 2 1/2 teaspoons baking soda, 3/4 teaspoon fine salt, and 1 teaspoon ground cinnamon.
3- Gradually sift in 3 3/4 cups all-purpose flour in three parts, stirring until the batter is smooth and lump-free. Spread about 1/3 cup of batter into each traced circle on your prepared sheets and bake for 6-7 minutes until the layers turn a deep caramel color. After baking, let the layers cool, then trim the edges and save the trimmings to toast for decoration.
4-Frosting and Assembly Steps: For the frosting, mix 1/2 cup burnt honey, 1/2 teaspoon fine salt, dulce de leche, and some of the heavy whipping cream until blended, then chill it. Whip the remaining heavy cream to soft peaks and fold in the honey mixture until you reach medium-stiff peaks. Layer the cooled cake rounds with heaping cups of frosting, cover the sides and top, and press the toasted crumbs onto the sides for a nice finish.
Notes
🍰 Use silicone mats or parchment paper with traced circles for easy cake layer release.
🧈 Adding more butter creates soft, spongy layers rather than cookie-like texture.
🍮 Caramelizing the honey adds delightful toffee notes to cake layers and frosting.
- Prep Time: 1 hour
- Chill time: 8 hours (overnight)
- Cook Time: 7 minutes per batch
- Category: Dessert
- Method: Baking, whipping, layering
- Cuisine: Russian
- Diet: Vegetarian
Nutrition
- Serving Size: 1 slice
- Calories: 450 kcal
- Sugar: 40 g
- Sodium: 150 mg
- Fat: 30 g
- Saturated Fat: 18 g
- Unsaturated Fat: 10 g
- Trans Fat: 0 g
- Carbohydrates: 40 g
- Fiber: 0 g
- Protein: 5 g
- Cholesterol: 125 mg


