
Why You’ll Love This Sticky Honey Garlic Chicken
Sticky Honey Garlic Chicken is a weeknight winner that brings sweet, savory, and garlicky flavors together with minimal fuss. This recipe serves 4 and uses 3-4 pounds of bone-in, skin-on chicken parts such as breasts, thighs, or drumsticks, making it perfect for families and meal prep. With an easy sauce and straightforward bake method, you get a crowd-pleasing dinner with little hands-on time.
- Ease of preparation: With the sticky honey garlic chicken sauce whisked together in under 5 minutes and a simple bake at 350°F, this dish takes about 5 minutes hands-on plus 50 to 60 minutes in the oven. It is ideal for busy parents, students, and working professionals who want a satisfying meal without complicated steps.
- Health benefits: Each serving (about one-quarter of the recipe with sauce) delivers roughly 40g protein and 305 calories, making this sticky honey garlic chicken a protein-packed main that fits many balanced eating plans. Using less-sodium soy sauce and moderate portions helps keep sodium and added sugars in check.
- Versatility: The sticky honey garlic chicken adapts easily to preferences. Use thighs for extra juiciness, switch to skinless breasts if you want less fat, or swap spices for heat. It pairs well with rice, roasted vegetables, or a simple salad.
- Distinctive flavor: The combination of honey, garlic, rice vinegar, and soy sauce creates a glossy, sticky glaze that caramelizes on the skin, giving each bite sweet and savory notes with a touch of tang that stands out in a simple oven-baked chicken recipe.
Using the phrase sticky honey garlic chicken naturally across these benefits helps readers and search engines understand what this recipe offers while keeping tone friendly and practical.
Jump To
- 1. Why You’ll Love This Sticky Honey Garlic Chicken
- 2. Essential Ingredients for Sticky Honey Garlic Chicken
- 3. How to Prepare the Perfect Sticky Honey Garlic Chicken: Step-by-Step Guide
- 4. Dietary Substitutions to Customize Your Sticky Honey Garlic Chicken
- 5. Mastering Sticky Honey Garlic Chicken: Advanced Tips and Variations
- 6. How to Store Sticky Honey Garlic Chicken: Best Practices
- 7. FAQs: Frequently Asked Questions About Sticky Honey Garlic Chicken
- 8. Sticky Honey Garlic Chicken
Essential Ingredients for Sticky Honey Garlic Chicken
Below is a precise, structured ingredient list drawn from the recipe details you need to make sticky honey garlic chicken exactly as described. Each item is on its own line with the quantity first for clarity.
- 3-4 pounds bone-in, skin-on chicken parts (breasts, thighs, or drumsticks) – main protein for juicy, flavorful results
- 1/2 cup honey – provides the sweet base for the sticky glaze
- 2 tablespoons minced fresh garlic or garlic powder – adds bold garlic flavor
- 2 tablespoons rice vinegar – adds brightness and balances the honey
- 2 tablespoons less-sodium soy sauce – provides savory umami and salt
- 1-2 tablespoons water – thins the sauce as needed for basting
- Kosher salt – to season the chicken before baking
- Ground black pepper – seasoning to taste
- Nonstick cooking spray – to prepare the baking sheet
- Aluminum foil – to line a rimmed baking sheet for easy cleanup
- Optional: Sesame seeds – garnish for texture and nutty flavor
- Optional: Sliced green onion – garnish for freshness and color
Special Dietary Options
- Vegan: Use firm tofu or cauliflower steaks instead of chicken, swap honey for maple syrup, and use tamari in place of soy sauce for extra depth.
- Gluten-free: Substitute tamari or a certified gluten-free soy sauce for the less-sodium soy sauce.
- Low-calorie: Opt for skinless chicken breasts and reduce honey to 1/4 cup, or use a sugar-free honey substitute if preferred.
How to Prepare the Perfect Sticky Honey Garlic Chicken: Step-by-Step Guide
First Step: Prep and mise en place
Preheat the oven to 350°F. Line a rimmed baking sheet with aluminum foil and spray with nonstick cooking spray. Pat the chicken parts dry with paper towels; removing surface moisture helps the skin crisp up in the oven. Place the chicken on the prepared baking sheet, skin-side up, spacing pieces so air circulates.
Second Step: Season the chicken
Season the chicken liberally with kosher salt and ground black pepper. Keep seasoning simple to let the sticky honey garlic sauce shine. For an even flavor boost, season under the skin where possible for thicker pieces like breasts and thighs.
Third Step: Make the sticky honey garlic sauce
Whisk the sauce ingredients together in a small bowl: 1/2 cup honey, 2 tablespoons minced fresh garlic or garlic powder, 2 tablespoons rice vinegar, 2 tablespoons less-sodium soy sauce, and 1-2 tablespoons water. The water helps thin the glaze so it spreads easily for basting. Taste and adjust: add a splash more vinegar if you want extra tang, or a pinch of salt if the soy sauce was light.
Fourth Step: Apply the first layer of sauce
Spoon about half of the sauce evenly over the chicken, coating the skin lightly. This initial layer gives the meat flavor and begins the sticky glaze formation during baking. Reserve the remaining sauce for basting later so you get a rich, layered glaze rather than a single heavy coating.
Fifth Step: Bake low and slow for tender meat
Place the baking sheet in the preheated oven and bake uncovered for 50 minutes to 1 hour. The oven temperature and time produce tender meat while allowing the glaze to caramelize. Aim for an internal temperature of 165°F measured in the thickest part of a thigh or breast. Start checking around 50 minutes if your pieces are on the smaller side.
Sixth Step: Baste for extra stickiness
Baste once or twice with the remaining sauce during baking. A good schedule is to baste at about 30 minutes and again around 45 minutes. Basting builds up a glossy, sticky coating without soggy skin. If you want more color or a slightly crispier edge, broil for 2-3 minutes at the end while watching closely.
Final Step: Rest and garnish
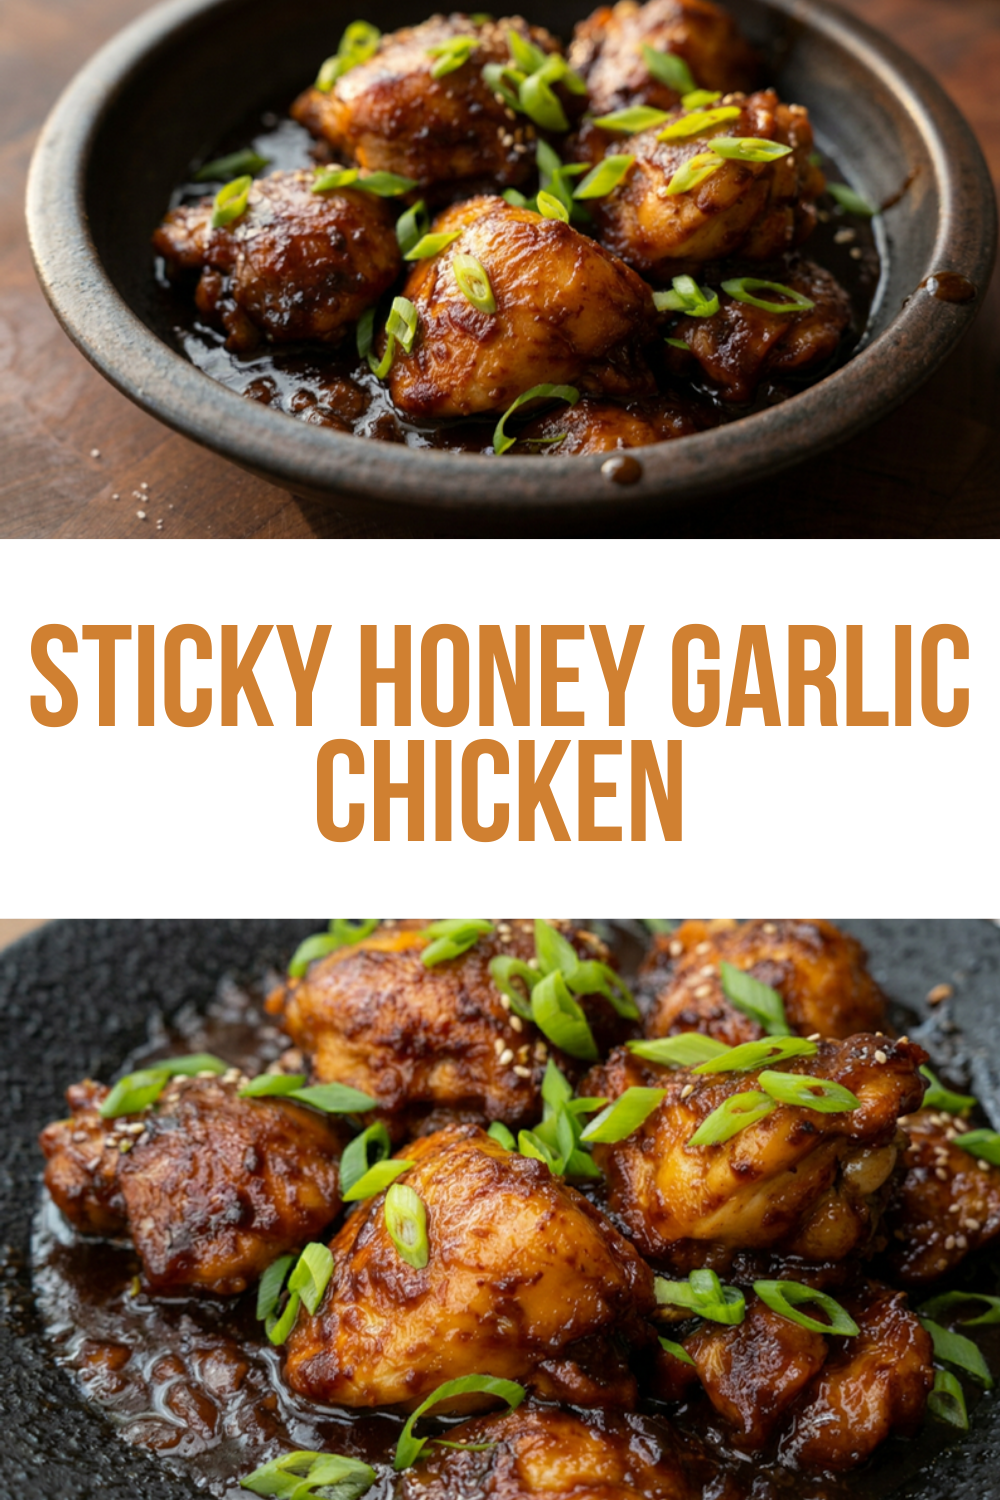
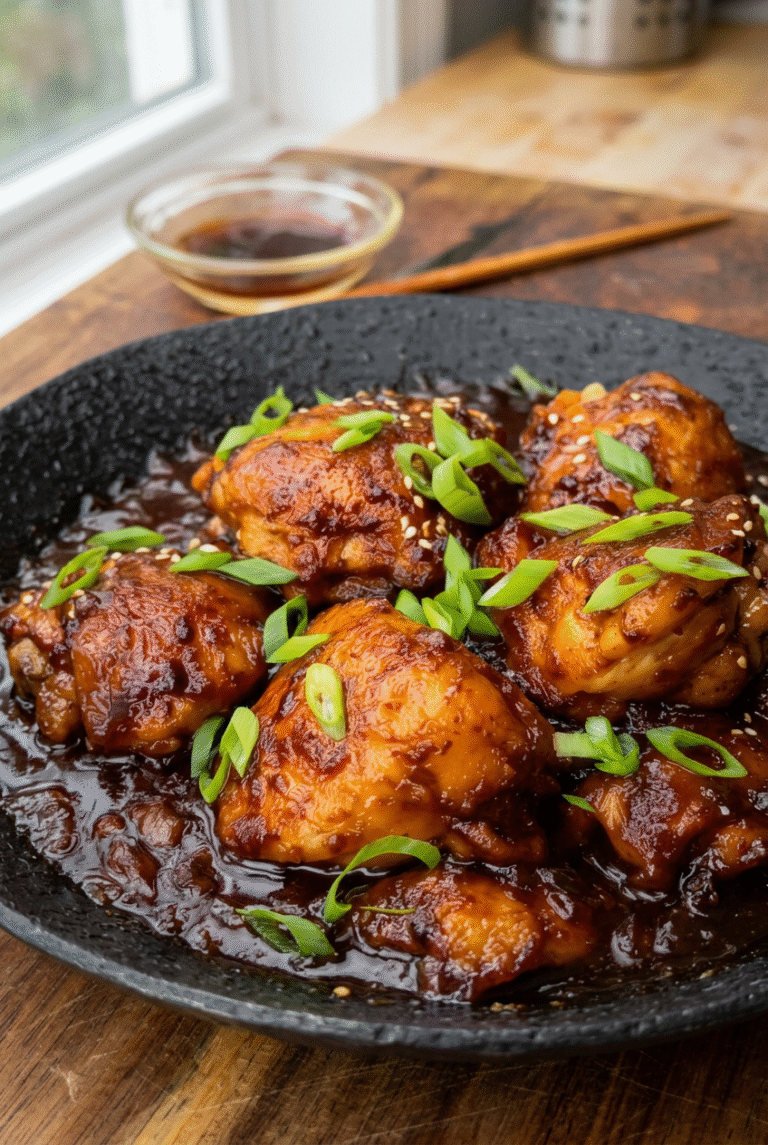
Remove the chicken from the oven and let it rest 5 minutes to lock in juices. Transfer to a serving platter and garnish with optional sesame seeds and sliced green onion for visual contrast and a fresh bite. Serve the sticky honey garlic chicken over steamed rice, with roasted vegetables, or alongside a simple slaw.
Timing summary
| Activity | Time |
|---|---|
| Hands-on prep | 5 minutes |
| Baking | 50-60 minutes |
| Total | About 1 hour 5 minutes |
Adaptations and notes while cooking
- If using bone-in thighs, expect closer to 50 minutes; larger legs or bone-in breasts may need up to 60 minutes.
- To halve the recipe for two servings, reduce the chicken amount but keep oven temperature and bake time the same; check internal temperature for doneness.
- For a spicier glaze, stir in 1/2 to 1 teaspoon crushed red pepper flakes, or 1-2 tablespoons sriracha while making the sauce.
Tip: Patting the chicken dry is the single most important step for getting golden, crispy skin with a sticky glaze on top.

Dietary Substitutions to Customize Your Sticky Honey Garlic Chicken
Protein and Main Component Alternatives
Sticky honey garlic chicken is flexible when it comes to the main protein. If you do not have bone-in, skin-on pieces or want lower fat, make one of these swaps.
- Skinless chicken breasts: Use for lower fat. Pound to even thickness to prevent drying. Broil briefly at the end for a hint of crispness.
- Boneless, skinless thighs: Cook a bit faster; check temperature early. They stay juicy and accept the glaze well.
- Tofu or cauliflower: For vegan versions, press and roast firm tofu or roast thick cauliflower steaks with the same sauce (use maple syrup instead of honey).
- Pork: Try this glaze on pork tenderloin or chops. See a similar pairing in our honey-garlic pork tenderloin recipe for ideas and timing adjustments.
Vegetable, Sauce, and Seasoning Modifications
You can change up the vegetables and aromatics to suit seasons, dietary needs, or flavor preferences.
- Veggies to serve alongside: Roasted green beans, steamed broccoli, or a quick stir-fry pair well with the sweet and garlicky profile. For an Asian twist, serve with garlic noodles or fried rice.
- Sauce swaps: Use tamari for gluten-free, swap rice vinegar with apple cider vinegar for a milder tang, or add a tablespoon of sesame oil for a richer finish.
- Heat options: Add crushed red pepper flakes, sriracha, or chili garlic sauce while making the glaze to customize the level of spice.
Mastering Sticky Honey Garlic Chicken: Advanced Tips and Variations
Pro cooking techniques
- Use an instant-read meat thermometer to check the thickest part of the chicken; pull at 165°F for safe, juicy results.
- Pat dry and let the chicken sit uncovered in the fridge for 30 minutes before cooking to dry the skin further for extra crispiness.
- When basting, use a spoon or small ladle so you can control how much glaze sits on the skin; too much can pool and make the skin soggy.
Flavor variations
Try these twists to keep the sticky honey garlic chicken fresh and interesting.
- Hot honey garlic: Add sriracha or 1 teaspoon cayenne for a spicy-sweet glaze.
- Ginger garlic: Add 1 tablespoon minced fresh ginger to the sauce for warmth and brightness.
- Citrus touch: Stir in 1 teaspoon lemon or orange zest to the glaze for a fruity lift.
Presentation tips
- Top with a sprinkle of sesame seeds and sliced green onion right before serving for color and texture contrast.
- Serve on a bed of steamed jasmine rice or cauliflower rice and garnish with thinly sliced cucumber or carrot ribbons for freshness.
Make-ahead options
- Prepare the sauce up to 3 days in advance and refrigerate in an airtight container. Warm slightly before using to baste.
- Partially cook chicken and cool, then refrigerate. Reheat and baste with fresh sauce before a final quick bake to finish the glaze for busy weeknights.
How to Store Sticky Honey Garlic Chicken: Best Practices
Refrigeration
Store leftover sticky honey garlic chicken in an airtight container in the refrigerator for 3 to 4 days. Keep the sauce and chicken together if you plan to reheat in the oven to preserve moisture, or store sauce separately to avoid overly soft skin.
Freezing
Freeze portions in freezer-safe bags or containers for up to 3 months. Flatten or individually portion pieces for quicker thawing. Thaw overnight in the refrigerator before reheating.
Reheating
For best texture, reheat in a 350°F oven for 10 to 15 minutes until warmed through and the skin crisps slightly. Microwave covered with a damp paper towel for 2 to 3 minutes if short on time, but note the skin will be softer. Reheat sauce separately and toss if you want a fresh glossy finish.
Meal prep considerations
Portion chicken into single servings for quick lunches or dinners. Combine with prepped rice and steamed vegetables for balanced meal prep bowls that stay tasty through the week.
FAQs: Frequently Asked Questions About Sticky Honey Garlic Chicken
What ingredients are in honey garlic sauce for sticky chicken?
Honey garlic sauce for sticky chicken typically includes 1/2 cup honey, 1/4 cup soy sauce (low-sodium works best), 2 tablespoons rice vinegar or apple cider vinegar, 4-6 minced garlic cloves, and 2 tablespoons water or chicken broth to thin it out. Optional additions like 1 tablespoon cornstarch slurry help thicken for that glossy, sticky glaze. Whisk everything together in a saucepan over medium heat until it simmers and coats the back of a spoon, about 5 minutes. This simple mix balances sweet, savory, and tangy flavors. For a gluten-free version, swap soy sauce for tamari. Taste and adjust honey for sweetness or vinegar for tang before tossing with baked chicken. Yields enough sauce for 4-6 chicken pieces—store extras in the fridge for up to a week.
What chicken parts work best for sticky honey garlic chicken?
Bone-in, skin-on chicken thighs or drumsticks are ideal for sticky honey garlic chicken because the skin crisps up beautifully while the bones keep the meat juicy during baking. They absorb the sauce’s flavors deeply, creating that irresistible sticky glaze. You can also use a mix of wings, breasts, or legs. For skinless breasts, pound them to even thickness to avoid drying out, but expect less crispiness—broil for 2-3 minutes at the end to mimic it. Pat chicken dry, season with salt and pepper, then bake at 350°F for 50-60 minutes until 165°F internal temp. Baste twice with sauce for maximum stickiness. Serves 4-6; adjust quantities as needed for your crowd.
How long do you bake sticky honey garlic chicken?
Bake sticky honey garlic chicken at 350°F for 50-60 minutes, or until the internal temperature hits 165°F in the thickest part—use a meat thermometer for accuracy. Start with chicken on a foil-lined baking sheet, skin-side up, seasoned simply. After 30 minutes, baste with half the prepared honey garlic sauce. Baste again at 45 minutes for even glazing. For extra crispiness, broil on high for 2-3 minutes at the end, watching closely to avoid burning. Total time varies slightly by piece size: thighs take about 50 minutes, whole legs closer to 60. Rest 5 minutes post-bake to lock in juices. This method yields tender, sticky results every time without flipping.
Can you make sticky honey garlic chicken spicy?
Yes, easily spice up sticky honey garlic chicken by adding 1/2-1 teaspoon crushed red pepper flakes or 1-2 tablespoons sriracha or chili garlic sauce to the honey garlic mixture while simmering. Start mild and taste-test, as heat balances the sweetness. For more kick, include fresh minced ginger (1 tablespoon) or a pinch of cayenne. Mix into the sauce base of honey, soy, vinegar, and garlic, then proceed with basting as usual. This keeps the sticky texture intact while adding warmth—perfect for heat lovers. Adjust per preference; kids might prefer the original mild version. Pairs well with cooling sides like rice. The spice infuses during baking, making each bite flavorful without overpowering.
How do you store leftover sticky honey garlic chicken?
Store leftover sticky honey garlic chicken in an airtight container in the fridge for 3-4 days. For longer storage, freeze in a freezer bag for up to 3 months—flatten for quick thawing. Reheat in a 350°F oven for 10-15 minutes to restore crispiness, or microwave covered with a damp paper towel for 2-3 minutes, stirring halfway. Avoid sogginess by reheating sauce separately and tossing at the end. Pro tip: Portion into single servings before freezing. Always check for safe internal temp of 165°F when reheating. Leftovers make great meal prep over rice or salads. If sauce separates, whisk with a splash of water before using. This keeps the sticky glaze tasty and safe.
Sticky Honey Garlic Chicken
🍯 Enjoy a deliciously sticky and sweet chicken dish with minimal ingredients and maximum flavor
🐔 Perfect for busy weeknights with just 5 ingredients and simple preparation for a crowd-pleasing meal
- Total Time: 1 hour 5 minutes
- Yield: 4 servings
Ingredients
– 3-4 pounds bone-in, skin-on chicken parts main protein for juicy, flavorful results
– 1/2 cup honey provides the sweet base for the sticky glaze
– 2 tablespoons minced fresh garlic or garlic powder adds bold garlic flavor
– 2 tablespoons rice vinegar adds brightness and balances the honey
– 2 tablespoons less-sodium soy sauce provides savory umami and salt
– 1-2 tablespoons water thins the sauce as needed for basting
– Kosher salt to season the chicken before baking
– Ground black pepper seasoning to taste
– Nonstick cooking spray to prepare the baking sheet
– Aluminum foil to line a rimmed baking sheet for easy cleanup
– Sesame seeds garnish for texture and nutty flavor
– Sliced green onion garnish for freshness and color
Instructions
1-First Step: Prep and mise en place Preheat the oven to 350°F. Line a rimmed baking sheet with aluminum foil and spray with nonstick cooking spray. Pat the chicken parts dry with paper towels; removing surface moisture helps the skin crisp up in the oven. Place the chicken on the prepared baking sheet, skin-side up, spacing pieces so air circulates.
2-Second Step: Season the chicken Season the chicken liberally with kosher salt and ground black pepper. Keep seasoning simple to let the sticky honey garlic sauce shine. For an even flavor boost, season under the skin where possible for thicker pieces like breasts and thighs.
3-Third Step: Make the sticky honey garlic sauce Whisk the sauce ingredients together in a small bowl: 1/2 cup honey, 2 tablespoons minced fresh garlic or garlic powder, 2 tablespoons rice vinegar, 2 tablespoons less-sodium soy sauce, and 1-2 tablespoons water. The water helps thin the glaze so it spreads easily for basting. Taste and adjust: add a splash more vinegar if you want extra tang, or a pinch of salt if the soy sauce was light.
4-Fourth Step: Apply the first layer of sauce Spoon about half of the sauce evenly over the chicken, coating the skin lightly. This initial layer gives the meat flavor and begins the sticky glaze formation during baking. Reserve the remaining sauce for basting later so you get a rich, layered glaze rather than a single heavy coating.
5-Fifth Step: Bake low and slow for tender meat Place the baking sheet in the preheated oven and bake uncovered for 50 minutes to 1 hour. The oven temperature and time produce tender meat while allowing the glaze to caramelize. Aim for an internal temperature of 165°F measured in the thickest part of a thigh or breast. Start checking around 50 minutes if your pieces are on the smaller side.
6-Sixth Step: Baste for extra stickiness Baste once or twice with the remaining sauce during baking. A good schedule is to baste at about 30 minutes and again around 45 minutes. Basting builds up a glossy, sticky coating without soggy skin. If you want more color or a slightly crispier edge, broil for 2-3 minutes at the end while watching closely.
7-Final Step: Rest and garnish Remove the chicken from the oven and let it rest 5 minutes to lock in juices. Transfer to a serving platter and garnish with optional sesame seeds and sliced green onion for visual contrast and a fresh bite. Serve the sticky honey garlic chicken over steamed rice, with roasted vegetables, or alongside a simple slaw.
Notes
🍗 Pat chicken completely dry before seasoning to ensure extra crispy skin
🌟 Add crushed red pepper flakes or sriracha to the sauce for a spicy kick
⏰ Recipe halves easily for 2 servings without changing baking time or temperature
- Prep Time: 5 minutes
- Cook Time: 60 minutes
- Category: Main Dish
- Method: Baking
- Cuisine: Asian Fusion
- Diet: Non-vegetarian
Nutrition
- Serving Size: 1/4 of recipe (about 1 pound chicken)
- Calories: 305
- Sugar: 15
- Sodium: 600
- Fat: 12.6
- Saturated Fat: 3.4
- Unsaturated Fat: 9.2
- Trans Fat: 0
- Carbohydrates: 16.4
- Fiber: 0.1
- Protein: 40
- Cholesterol: 102


