
Why You’ll Love This Vanilla Cake Recipe
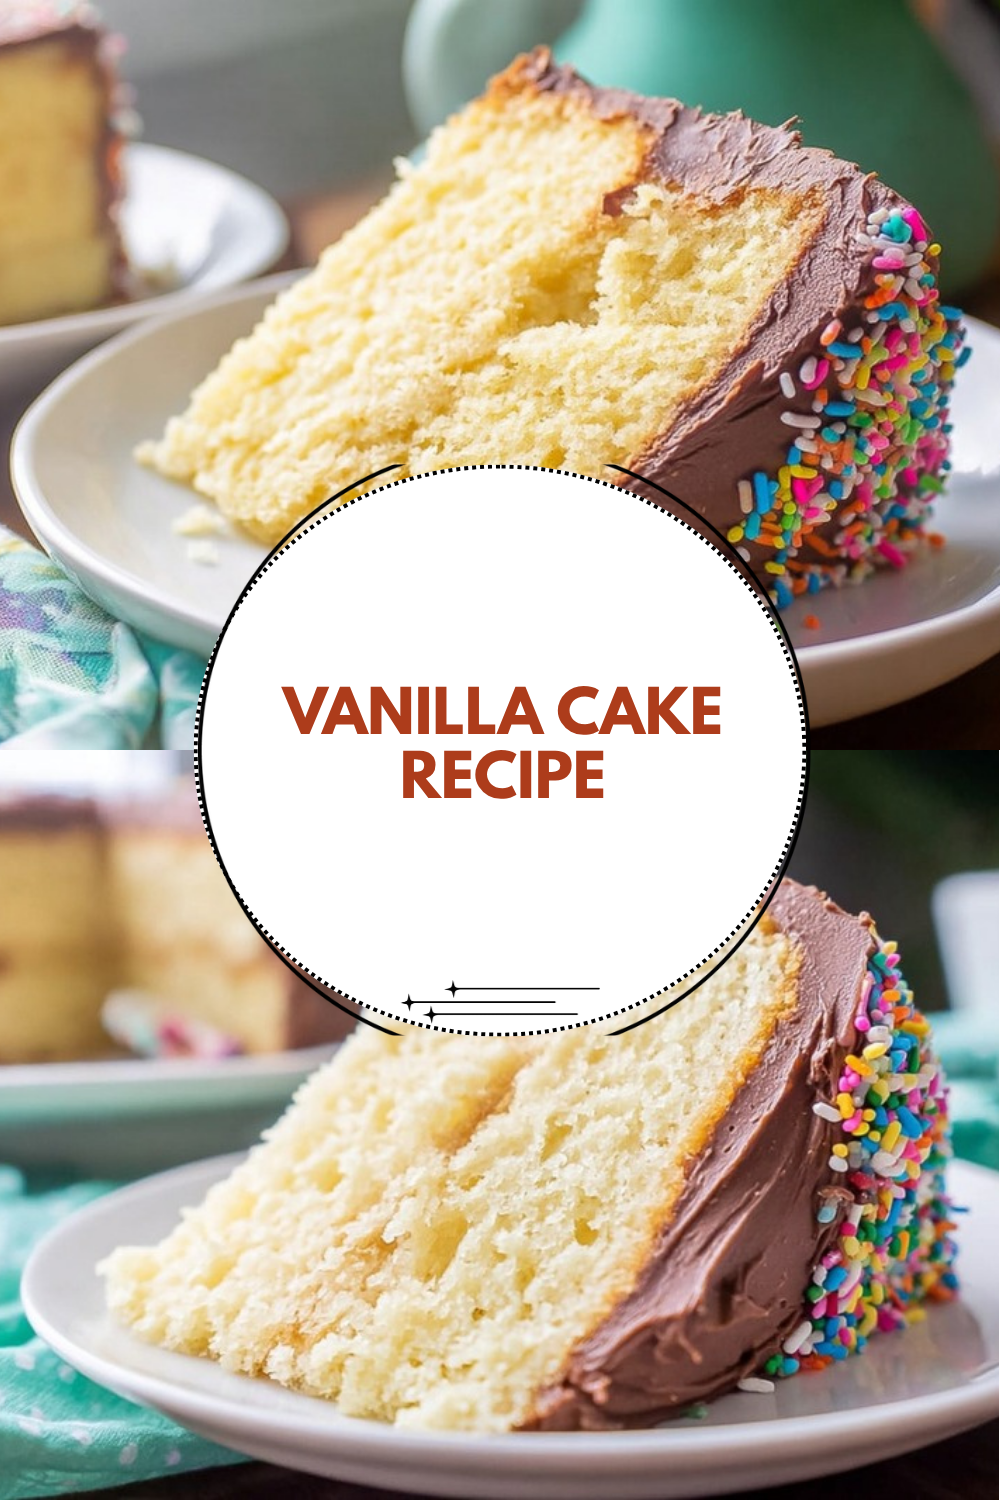
If you are looking for a Vanilla Cake Recipe that feels simple, reliable, and truly homemade, this one is a great fit. It makes a soft, buttery cake with a gentle vanilla flavor and a creamy buttercream that tastes just as good on day four as it does on day one. For busy home cooks, students, and parents, that kind of result matters.
- Easy to make: This vanilla cake recipe uses basic pantry ingredients and simple mixing steps, so you do not need special baking skills to get a lovely result.
- Stays moist for days: The mix of butter, milk, eggs, and a little oil helps keep the crumb soft, which is why this cake can stay moist for 4 days when stored well.
- Great for many occasions: It works for birthdays, tea time, school treats, weekend baking, and even simple family desserts. You can also dress it up or keep it plain.
- Rich vanilla flavor: With vanilla in both the cake and buttercream, every bite tastes warm, sweet, and comforting without being too heavy.
Tip: A good vanilla cake should taste like comfort. This recipe gives you that classic bakery style flavor with ingredients you probably already have at home.
If you like simple desserts that still feel special, you may also enjoy these vanilla custard cream squares or this lovely blueberry cream cake for another soft and creamy treat.
Jump To
- 1. Why You’ll Love This Vanilla Cake Recipe
- 2. Essential Ingredients for Vanilla Cake Recipe
- 3. How to Prepare the Perfect Vanilla Cake Recipe: Step-by-Step Guide
- 4. Dietary Substitutions to Customize Your Vanilla Cake Recipe
- 5. Mastering Vanilla Cake Recipe: Advanced Tips and Variations
- 6. How to Store Vanilla Cake Recipe: Best Practices
- 7. FAQs: Frequently Asked Questions About Vanilla Cake Recipe
- 8. Vanilla Cake Recipe
Essential Ingredients for Vanilla Cake Recipe
Main Ingredients for the Cake
- 2 cups plain or all-purpose flour – Gives the cake its structure and light crumb.
- 2 1/2 teaspoons baking powder – Helps the cake rise and stay fluffy.
- 1/4 teaspoon salt – Balances the sweetness and brings out the vanilla flavor.
- 4 large eggs at room temperature – Add richness, help with structure, and keep the batter smooth.
- 1 1/2 cups caster or superfine sugar – Sweetens the cake and helps create a tender texture.
- 115g unsalted butter – Adds flavor, softness, and a classic buttery taste.
- 1 cup full-fat milk – Keeps the batter moist and helps everything blend well.
- 3 teaspoons vanilla extract – Gives the cake its signature flavor.
- 3 teaspoons vegetable or canola oil – Adds extra moisture so the cake stays soft for longer.
Ingredients for the Vanilla Buttercream
- 225g unsalted butter – Creates a smooth and creamy base.
- 500g sifted icing sugar – Sweetens and thickens the buttercream.
- 3 teaspoons vanilla extract – Brings the same warm vanilla flavor to the frosting.
- 2 to 4 tablespoons milk – Loosens the frosting to a spreadable texture.
Special Dietary Options
- Vegan: Use plant-based butter, unsweetened oat or soy milk, and an egg replacer made for baking. A dairy-free vanilla frosting works well too.
- Gluten-free: Replace the plain flour with a good 1:1 gluten-free baking blend that includes xanthan gum.
- Low-calorie: Use a reduced-sugar frosting, slightly less butter, and a lighter layer of icing on top instead of thick filling.
| Ingredient | Job in the Recipe | Easy Swap |
|---|---|---|
| Flour | Builds structure | 1:1 gluten-free flour blend |
| Butter | Adds flavor and tenderness | Plant-based butter |
| Milk | Keeps the batter moist | Oat milk or soy milk |
| Eggs | Bind and lift the batter | Egg replacer for baking |
How to Prepare the Perfect Vanilla Cake Recipe: Step-by-Step Guide
First Step: Get everything ready
Begin by preheating your oven to 350 F, which is 180 C. Grease and line two 8-inch round cake pans or one deep 9-inch pan, depending on how you want to serve the cake. If you are baking for a smaller household, you can also make cupcakes from the same vanilla cake recipe and adjust the baking time.
Take the eggs, milk, and butter out ahead of time so they can come to room temperature. This helps the batter mix more evenly and gives the cake a finer crumb. Measure all your ingredients before you begin, since quick and steady mixing matters in this recipe.
Second Step: Mix the dry ingredients
In a medium bowl, whisk together the flour, baking powder, and salt. This simple step spreads the baking powder evenly through the flour, so the cake rises in a more balanced way. If you are using a gluten-free blend, whisk it just as you would regular flour to remove lumps and keep the texture light.
Set the bowl aside while you work on the wet ingredients. Keeping the dry ingredients ready first makes the whole process smoother, especially when you are baking after a long day.
Third Step: Cream the butter and sugar
In a large mixing bowl, beat the 115g unsalted butter and 1 1/2 cups caster or superfine sugar until the mixture looks pale and fluffy. This usually takes about 3 to 4 minutes with a hand mixer. Scrape down the sides of the bowl so everything blends evenly.
This step matters because it adds air to the batter, which helps create a lighter cake. If your butter is still a little firm, let it sit a bit longer at room temperature before mixing. Soft butter blends better and gives you a smoother batter.
Fourth Step: Add the eggs, vanilla, and oil
Add the 4 large eggs one at a time, mixing well after each addition. This keeps the batter smooth and helps prevent curdling. Next, mix in the 3 teaspoons vanilla extract and 3 teaspoons vegetable or canola oil.
The oil is a small but smart addition because it helps the vanilla cake stay moist for 4 days. If you are baking for a celebration and want the cake to taste fresh the next day, do not skip it. For a dairy-free version, this same method works well with suitable plant-based replacements.
Fifth Step: Add the flour mixture and milk
Add the flour mixture in three parts, alternating with the 1 cup full-fat milk. Begin and end with the flour mixture. Mix on low speed or stir gently by hand, just until the batter comes together. Overmixing can make the cake dense, so stop as soon as you no longer see dry flour.
The batter should look smooth and thick, but still easy to pour. If you want a slightly lighter flavor, you can add a touch more vanilla, but stay close to the measurements for the best texture.
Sixth Step: Bake the cake layers
Divide the batter evenly between your prepared pans and smooth the tops. Bake for 25 to 30 minutes, or until a toothpick inserted into the center comes out clean or with just a few moist crumbs. Oven times can vary, so begin checking at the 25-minute mark.
Let the cakes cool in the pans for about 10 minutes before turning them out onto a wire rack. Cooling them properly helps the layers stay intact and makes frosting easier later on. If you are making cupcakes, start checking them a little earlier.
Seventh Step: Make the vanilla buttercream
While the cake cools, beat the 225g unsalted butter until smooth. Add the 500g sifted icing sugar gradually, mixing on low speed at first so the sugar does not fly everywhere. Add the 3 teaspoons vanilla extract and 2 to 4 tablespoons milk, then beat until fluffy and spreadable.
If the frosting feels too thick, add a little more milk, one teaspoon at a time. If it feels too soft, add a bit more sifted icing sugar. This frosting is great for layering, piping, or simply spreading with a knife for a more relaxed look.
Eighth Step: Assemble and serve
Once the cake layers are completely cool, spread buttercream between the layers and over the top and sides. For a smooth finish, use an offset spatula or the back of a spoon. If you like a more homemade look, make soft swoops in the frosting and top with sprinkles, berries, or a few edible flowers.
Let the cake sit for about 20 to 30 minutes before slicing so the frosting can set slightly. This vanilla cake recipe tastes wonderful with tea, coffee, or a cold glass of milk. It is the kind of dessert that feels right for both simple family dinners and special celebrations.
Best result tip: Room temperature ingredients help the batter blend better, which means a softer crumb and a more even bake.

Dietary Substitutions to Customize Your Vanilla Cake Recipe
Protein and Main Component Alternatives
If you need to adjust the main ingredients in this vanilla cake recipe, there are a few easy ways to do it without losing the soft texture. For eggs, use a baking egg replacer if you need a vegan version. For the butter, plant-based butter can work well in both the cake and frosting, especially if you choose one with a higher fat content.
For milk, unsweetened oat milk, soy milk, or almond milk can stand in for full-fat milk. If you want a richer dairy-free result, oat milk is often the closest match in texture. For flour, a quality gluten-free baking blend is the safest choice because it is made to behave more like regular all-purpose flour.
Vegetable, Sauce, and Seasoning Modifications
Although this is a classic vanilla cake, you can change the flavor in small ways. Add a little lemon zest for brightness, or swap part of the vanilla extract for almond extract if you like a deeper bakery style taste. You can also fold in finely chopped strawberries or serve it with fruit sauce on the side.
For a lighter finish, use a thin glaze instead of full buttercream, or frost only the top layer. If you want more dessert ideas that pair nicely with a simple cake, try this silky lemon cream treat for a fresh, creamy option that feels bright and easy.
Mastering Vanilla Cake Recipe: Advanced Tips and Variations
Pro cooking techniques
For the best vanilla cake, measure your flour properly by spooning it into the cup and leveling it off. This keeps the cake from turning dry. Sifting the icing sugar for the buttercream also helps you get a smooth finish with fewer lumps.
Another helpful trick is to check your oven temperature with an oven thermometer if your cakes often bake too fast or too slowly. A steady oven gives more even layers and a softer crumb. Also, avoid opening the oven door too early, since that can cause the cake to sink.
Flavor variations
You can turn this vanilla cake recipe into several fun versions. Add rainbow sprinkles for a birthday cake, fresh berries between the layers for a summer dessert, or a light caramel drizzle for a richer treat. A little citrus zest can also brighten the flavor without hiding the vanilla.
Presentation tips
For a pretty finish, top the cake with fresh berries, white chocolate curls, or a few piped buttercream swirls. If you want a rustic look, keep the frosting soft and simple, then add sliced strawberries on top. This cake also looks lovely on a cake stand for birthdays, brunches, or holiday gatherings.
Make-ahead options
You can bake the cake layers one day ahead, wrap them well, and frost them the next day. The buttercream can also be made ahead and stored in the fridge. Let it come back to room temperature before beating again. This is a smart option for working professionals and busy parents who want dessert ready without last-minute stress.
How to Store Vanilla Cake Recipe: Best Practices
To keep this vanilla cake recipe moist, store it in an airtight container at room temperature for up to 2 days if your kitchen is cool. If the cake is frosted, refrigeration is safer, especially in warmer weather. Just let the slices sit at room temperature for about 20 minutes before serving so the buttercream softens.
For longer storage, wrap individual slices or whole unfrosted layers tightly in plastic wrap and place them in a freezer-safe bag. Frozen cake can keep well for up to 2 months. When you are ready to eat it, thaw it in the fridge overnight, then bring it to room temperature.
If you want to prep ahead for a party, freeze the cake layers separately and make the buttercream closer to serving time. This keeps the texture fresh and saves time on busy days.
FAQs: Frequently Asked Questions About Vanilla Cake Recipe
Print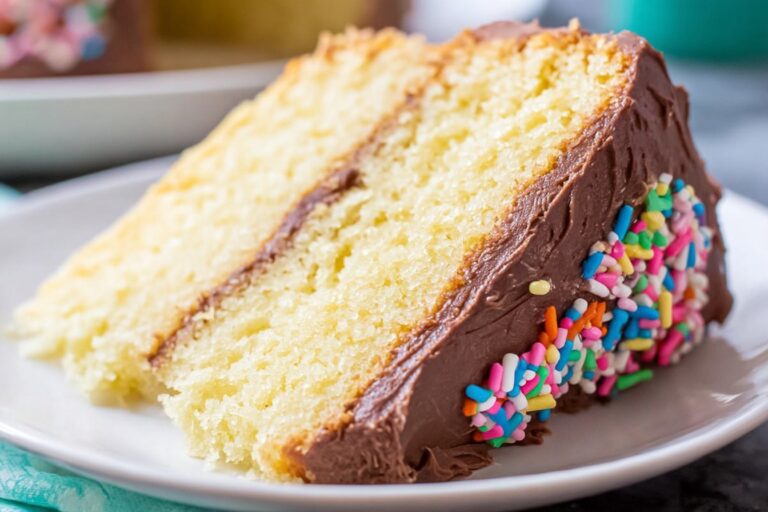
Vanilla Cake Recipe
🍰 Revel in incredibly moist vanilla cake layers that stay soft and fresh for up to 4 days, perfect for make-ahead celebrations.
🧈 Paired with fluffy buttercream, it’s tender, flavorful, and foolproof for stunning desserts anytime.
- Total Time: 1 hour 45 minutes
- Yield: 12 servings
Ingredients
– 2 cups plain or all-purpose flour
– 2 1/2 teaspoons baking powder
– 1/4 teaspoon salt
– 4 large eggs at room temperature
– 1 1/2 cups caster or superfine sugar
– 115g unsalted butter
– 1 cup full-fat milk
– 3 teaspoons vanilla extract
– 3 teaspoons vegetable or canola oil
– 225g unsalted butter
– 500g sifted icing sugar
– 3 teaspoons vanilla extract
– 2 to 4 tablespoons milk
Instructions
1-First Step: Get everything ready Begin by preheating your oven to 350 F, which is 180 C. Grease and line two 8-inch round cake pans or one deep 9-inch pan, depending on how you want to serve the cake. If you are baking for a smaller household, you can also make cupcakes from the same vanilla cake recipe and adjust the baking time. Take the eggs, milk, and butter out ahead of time so they can come to room temperature. This helps the batter mix more evenly and gives the cake a finer crumb. Measure all your ingredients before you begin, since quick and steady mixing matters in this recipe.
2-Second Step: Mix the dry ingredients In a medium bowl, whisk together the flour, baking powder, and salt. This simple step spreads the baking powder evenly through the flour, so the cake rises in a more balanced way. If you are using a gluten-free blend, whisk it just as you would regular flour to remove lumps and keep the texture light. Set the bowl aside while you work on the wet ingredients. Keeping the dry ingredients ready first makes the whole process smoother, especially when you are baking after a long day.
3-Third Step: Cream the butter and sugar In a large mixing bowl, beat the 115g unsalted butter and 1 1/2 cups caster or superfine sugar until the mixture looks pale and fluffy. This usually takes about 3 to 4 minutes with a hand mixer. Scrape down the sides of the bowl so everything blends evenly. This step matters because it adds air to the batter, which helps create a lighter cake. If your butter is still a little firm, let it sit a bit longer at room temperature before mixing. Soft butter blends better and gives you a smoother batter.
4-Fourth Step: Add the eggs, vanilla, and oil Add the 4 large eggs one at a time, mixing well after each addition. This keeps the batter smooth and helps prevent curdling. Next, mix in the 3 teaspoons vanilla extract and 3 teaspoons vegetable or canola oil. The oil is a small but smart addition because it helps the vanilla cake stay moist for 4 days. If you are baking for a celebration and want the cake to taste fresh the next day, do not skip it. For a dairy-free version, this same method works well with suitable plant-based replacements.
5-Fifth Step: Add the flour mixture and milk Add the flour mixture in three parts, alternating with the 1 cup full-fat milk. Begin and end with the flour mixture. Mix on low speed or stir gently by hand, just until the batter comes together. Overmixing can make the cake dense, so stop as soon as you no longer see dry flour. The batter should look smooth and thick, but still easy to pour. If you want a slightly lighter flavor, you can add a touch more vanilla, but stay close to the measurements for the best texture.
6-Sixth Step: Bake the cake layers Divide the batter evenly between your prepared pans and smooth the tops. Bake for 25 to 30 minutes, or until a toothpick inserted into the center comes out clean or with just a few moist crumbs. Oven times can vary, so begin checking at the 25-minute mark. Let the cakes cool in the pans for about 10 minutes before turning them out onto a wire rack. Cooling them properly helps the layers stay intact and makes frosting easier later on. If you are making cupcakes, start checking them a little earlier.
7-Seventh Step: Make the vanilla buttercream While the cake cools, beat the 225g unsalted butter until smooth. Add the 500g sifted icing sugar gradually, mixing on low speed at first so the sugar does not fly everywhere. Add the 3 teaspoons vanilla extract and 2 to 4 tablespoons milk, then beat until fluffy and spreadable. If the frosting feels too thick, add a little more milk, one teaspoon at a time. If it feels too soft, add a bit more sifted icing sugar. This frosting is great for layering, piping, or simply spreading with a knife for a more relaxed look.
8-Eighth Step: Assemble and serve Once the cake layers are completely cool, spread buttercream between the layers and over the top and sides. For a smooth finish, use an offset spatula or the back of a spoon. If you like a more homemade look, make soft swoops in the frosting and top with sprinkles, berries, or a few edible flowers. Let the cake sit for about 20 to 30 minutes before slicing so the frosting can set slightly. This vanilla cake recipe tastes wonderful with tea, coffee, or a cold glass of milk. It is the kind of dessert that feels right for both simple family dinners and special celebrations.
Notes
🥚 Beat eggs and sugar to ribbon stage for maximum lightness and moisture retention.
🧈 Use full-fat milk and real butter for superior tenderness that lasts days.
❄️ Wrap cooled cake tightly to maintain moisture; stores well at room temp for 4 days.
- Prep Time: 20 minutes
- Cooling Time: 1 hour
- Cook Time: 25 minutes
- Category: Dessert
- Method: Baking
- Cuisine: American
- Diet: Vegetarian
Nutrition
- Serving Size: 1 slice
- Calories: 480
- Sugar: 45g
- Sodium: 220mg
- Fat: 22g
- Saturated Fat: 13g
- Unsaturated Fat: 8g
- Trans Fat: 0g
- Carbohydrates: 65g
- Fiber: 1g
- Protein: 5g
- Cholesterol: 110mg


