
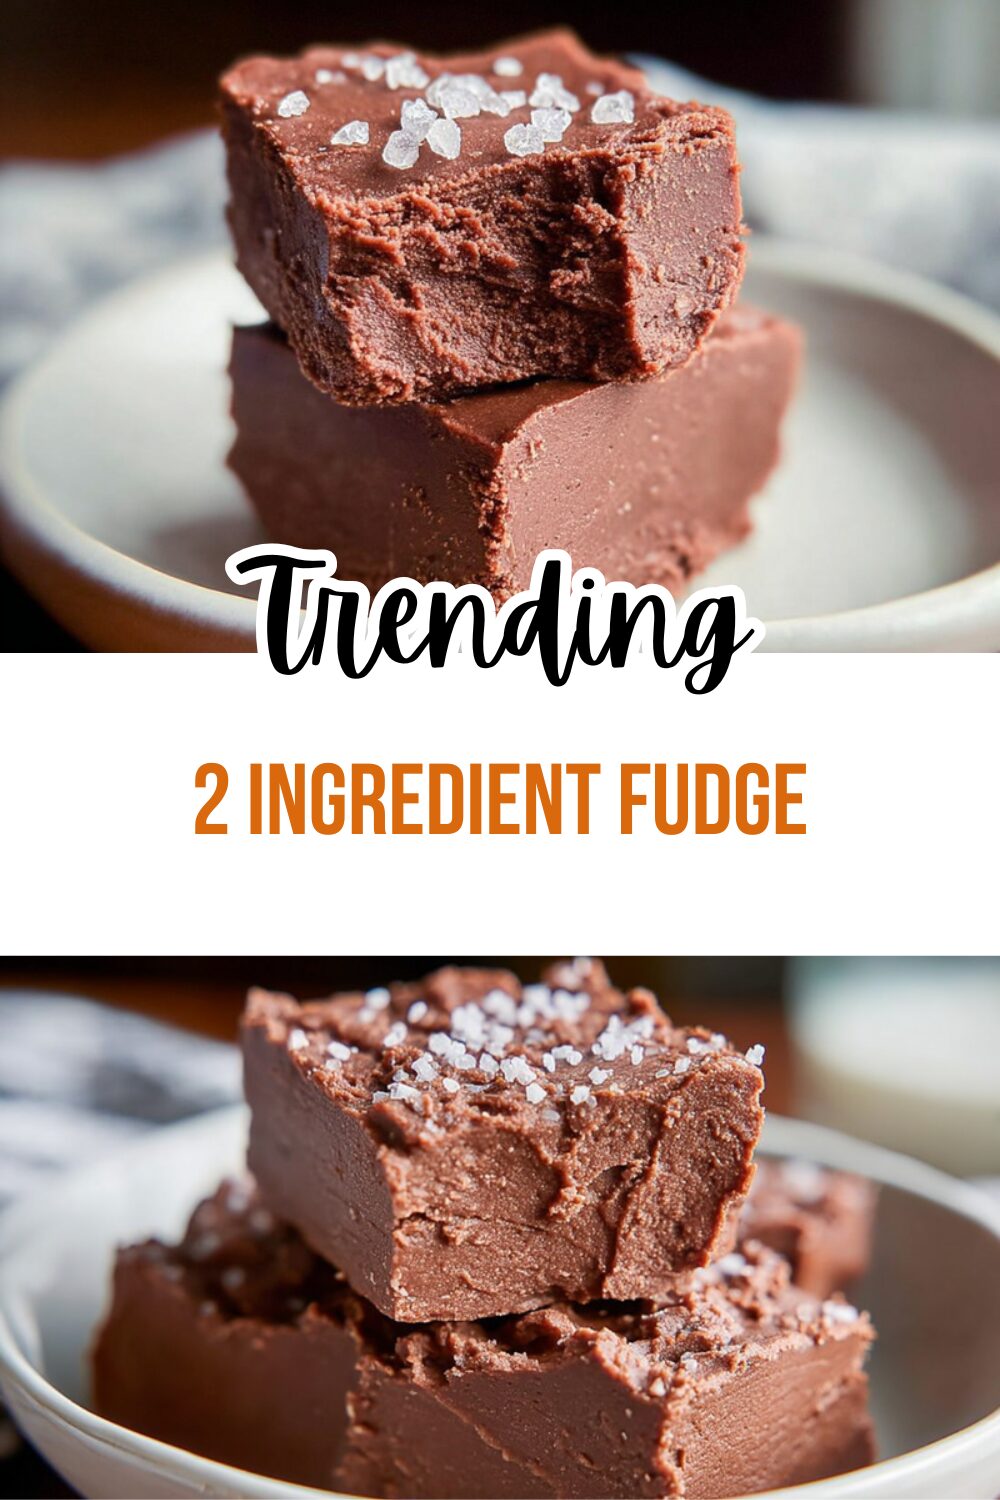
Why You’ll Love This 2 Ingredient Fudge
This 2 ingredient fudge recipe is a game-changer for anyone who craves a sweet treat without the hassle. It’s incredibly simple and quick to make, taking only about 5 minutes of prep time before setting for 2 hours, giving you a total of 2 hours and 5 minutes from start to finish. Whether you’re a busy parent or a baking enthusiast, this recipe fits perfectly into your routine with its minimal steps and everyday ingredients.
One of the best parts is how it offers a balance of indulgence and health-conscious choices. For instance, using semi-sweet chocolate chips means you get that rich, chocolatey goodness without overloading on extra sugars, making it a smarter option for diet-conscious individuals. Plus, it’s highly versatile, allowing you to tweak it for different needs like vegan or gluten-free versions, which we’ll cover later.
Imagine creating a dessert that’s both satisfying and memorable, perfect for family gatherings or a quick snack. This fudge stands out with its creamy texture and deep flavors, turning simple ingredients into something special that everyone can enjoy. It’s no wonder this recipe has become a favorite among home cooks looking for easy wins in the kitchen.
Exploring the Ease of Preparation
The beauty of this 2 ingredient fudge lies in its straightforward process. You only need a few items from your pantry, and the steps are so simple that even beginners can succeed on the first try. This means less time stressing over complicated recipes and more time enjoying the results with your loved ones.
For busy parents and working professionals, the quick prep time is a real lifesaver. You can whip this up during a break or while dinner is cooking, and let it set while you handle other tasks. It’s all about making cooking joyful and accessible, just like the spirit of Smart Family Recipes.
I’ve tried this with my own family, and it always brings smiles. For more ideas on simple desserts, check out our chocolate covered strawberries recipe for another easy treat that pairs wonderfully with fudge.
Diving into Health Benefits and Versatility
While fudge might seem like a guilty pleasure, this version keeps things lighter. By focusing on key ingredients like chocolate chips, which contain antioxidants, it provides a more balanced option compared to traditional recipes loaded with added fats. This makes it appealing for seniors or anyone watching their diet without giving up flavor.
Its adaptability is another highlight swap in different chocolate types for variety, or adjust for dietary preferences to keep it inclusive. Travelers and students will appreciate how portable it is once set, making it a great on-the-go snack. Overall, this recipe supports a healthy relationship with food, as noted in various sources on enjoying treats mindfully.
As one expert puts it:
This simple approach to desserts shows that you can have your cake and eat it too, promoting a positive connection with chocolate in everyday life.For more on this, visit the benefits of a healthy relationship with chocolate.
Jump To
- 1. Why You’ll Love This 2 Ingredient Fudge
- 2. Essential Ingredients for 2 Ingredient Fudge
- 3. How to Prepare the Perfect 2 Ingredient Fudge: Step-by-Step Guide
- 4. Dietary Substitutions to Customize Your 2 Ingredient Fudge
- 5. Mastering 2 Ingredient Fudge: Advanced Tips and Variations
- 6. How to Store 2 Ingredient Fudge: Best Practices
- 7. FAQs: Frequently Asked Questions About 2 Ingredient Fudge
- 8. 2 Ingredient Fudge
Essential Ingredients for 2 Ingredient Fudge
To make this 2 ingredient fudge, you’ll need just two main items that create magic in the kitchen. Let’s break down the essentials so you can gather everything quickly and get started. Remember, quality matters here, as these components form the base of your treat.
Now, as promised, here’s the comprehensive list of ingredients based on the recipe. I’ll format it clearly for you, including the precise measurements from the details provided:
- 4 cups semi-sweet chocolate chips (alternatively, you can use milk chocolate, mint, butterscotch, white chocolate, or other flavors for variety)
- 1 (14-ounce) can sweetened condensed milk
This list covers everything needed, making it straightforward for home cooks to follow. If you’re exploring special dietary options, don’t worry we’ll discuss those next to keep things flexible.
Special Dietary Options
For those with specific needs, this recipe shines with easy swaps. If you’re vegan, try using a plant-based condensed milk like coconut or almond versions, paired with dairy-free chocolate chips. For gluten-free preparation, just ensure your chocolate chips are certified gluten-free to avoid any issues.
If you’re aiming for a low-calorie option, go for sugar-free condensed milk and reduced-sugar chocolate chips to cut down on calories. These changes keep the fudge delicious while fitting various lifestyles, from busy parents to health-focused food enthusiasts. For another fun twist on chocolate treats, explore our peanut butter chocolate molten lava cake recipe.
Talk about versatility it’s like having a blank canvas for your creativity. Always check labels to confirm your choices meet your dietary goals, ensuring everyone at the table can enjoy a piece.
How to Prepare the Perfect 2 Ingredient Fudge: Step-by-Step Guide
Getting this 2 ingredient fudge just right is all about following a few key steps that anyone can master. Start by gathering your ingredients and tools to make the process smooth and enjoyable. The actual hands-on time is only about 5 minutes, with the rest being wait time for setting.
First, line an 8×5 inch bread pan with parchment paper and lightly spray it with pan spray for easy removal later. If you prefer thinner fudge, an 8×8 inch pan works great too. This step ensures your fudge comes out neatly and doesn’t stick to the pan.
Next, in a large microwave-safe bowl, combine the 4 cups of semi-sweet chocolate chips and the 1 (14-ounce) can of sweetened condensed milk. Microwave the mixture for about 3 minutes, using 45-second intervals at 50% power, and stir after each interval until it’s fully melted and turns thick and matte.
Continuing the Steps for Smooth Results
Once melted, pour the mixture into your prepared pan and smooth the top with a spatula for an even finish. Cover it and let it set for at least 2 hours or until it’s firm this is key for the perfect texture. If you’re in a rush, popping it in the fridge can speed things up.
Finally, once set, lift the fudge out using the parchment paper and cut it into squares for serving. Feel free to add extras like sprinkles, nuts, or coconut at this stage to customize your treat. Remember, the size of the pan you use will affect how thick the fudge turns out, so choose based on your preference.
Tips for success include stirring carefully to avoid burning and using alternatives like a double boiler if you don’t have a microwave. This method keeps everything gentle and even, perfect for home cooks experimenting with flavors.

Dietary Substitutions to Customize Your 2 Ingredient Fudge
Making this 2 ingredient fudge your own is easy with a few smart swaps. Whether you’re vegan or watching calories, these changes keep the recipe simple yet adaptable. Let’s look at how to tweak the ingredients without losing that creamy goodness.
For protein and main component alternatives, swap dairy condensed milk with coconut or almond versions to make it vegan-friendly. You can also replace traditional chocolate chips with sugar-free or dairy-free options to meet various restrictions, keeping the 4 cups measurement for the best consistency.
When it comes to vegetable, sauce, and seasoning modifications, try adding spices like cinnamon or chili powder for a unique kick. Natural extracts such as vanilla or peppermint can enhance the taste without extra calories, and you can adjust seasonings based on what’s in season or your personal likes.
More Ways to Personalize
This flexibility makes the recipe ideal for newlyweds starting their cooking adventures or seniors seeking light treats. Always measure carefully, like using exactly 4 cups of your chosen chips, to maintain the fudge’s texture. Experimenting with these options adds fun and variety to your kitchen routine.
| Substitution Type | Option | Benefits |
|---|---|---|
| Dairy-Free | Coconut condensed milk | Keeps it creamy and vegan |
| Flavor Boost | Peppermint extract | Enhances taste with minimal calories |
As you can see, these substitutions open up endless possibilities for food enthusiasts and busy individuals alike.
Mastering 2 Ingredient Fudge: Advanced Tips and Variations
Once you’re comfortable with the basics of this 2 ingredient fudge, it’s time to level up with some pro techniques. Using a double boiler for melting ensures gentle heat, preventing any scorching and giving you that perfect smooth mixture every time.
Flavor variations are where the fun begins add nuts, dried fruits, or extracts like orange for a fresh twist. Presentation matters too; serve your fudge on a nice tray with garnishes like cocoa dust to make it look as good as it tastes, impressing your guests effortlessly.
For make-ahead options, prepare batches in advance and store them for busy days. This supports meal prep and keeps treats handy, ideal for students or working professionals. Remember, chilling the fudge longer can firm it up if it’s too soft initially.
Pro Tips for Every Occasion
One handy tip is to experiment with different chocolate flavors, like mint or butterscotch, while sticking to the 4 cups measure for consistency. If you’re adding extras, incorporate them right after melting to blend flavors seamlessly. These tricks can turn your fudge into a signature dish for family events.
Keep in mind that the pan size affects thickness, so for special gatherings, try the 8×5 inch for thicker pieces. As you master this, you’ll find it’s a reliable recipe that adapts to seasonal ingredients or personal tastes.
How to Store 2 Ingredient Fudge: Best Practices
Proper storage keeps your 2 ingredient fudge fresh and delicious for longer. Start with refrigeration: keep it in an airtight container in the fridge for up to one week to hold its texture. This is perfect for making ahead and enjoying throughout the week.
For freezing, wrap pieces individually in parchment paper and place them in sealed bags they can last up to three months. When you’re ready to eat, thaw in the fridge to keep the flavor intact, avoiding any direct heating that might alter the consistency.
Meal prep enthusiasts will love how this fits into routines; prepare in batches and store for quick access. Always thaw to room temperature before serving for the best experience, making it a convenient option for travelers or families on the go.
Additional Storage Insights
If your fudge feels too soft, extra chilling in the fridge can help firm it up quickly. Using alternatives like greased aluminum foil for lining also aids in easy storage and removal. These methods ensure your homemade treats stay enjoyable without much effort.
FAQs: Frequently Asked Questions About 2 Ingredient Fudge
What can I use to line my pan if I don’t have parchment paper?
If you don’t have parchment paper, aluminum foil is a good alternative. Be sure to lightly grease the foil with butter or non-stick spray to prevent the fudge from sticking. Wax paper can also work, but only use it if the fudge is cool enough when poured, as wax paper can melt with hot ingredients. You can also grease the pan directly without lining it, but this may make removing the fudge more difficult, so allow the fudge to cool completely before cutting.
How long can I store 2 ingredient fudge in the freezer, and what is the best way to freeze it?
You can freeze 2 ingredient fudge for up to 3 months. To keep it fresh, wrap the fudge tightly in plastic wrap, then add a layer of aluminum foil or place it in an airtight freezer container or ziplock bag. When ready to eat, thaw the fudge at room temperature to maintain its texture and flavor.
How much sweetened condensed milk do I need if I use two kinds of chips, like chocolate and peanut butter?
For every 4 cups of combined chips, you need one 14-ounce can of sweetened condensed milk. For example, if you mix 2 cups of chocolate chips and 2 cups of peanut butter chips, one can is sufficient. If you double both to 4 cups each, then two cans will be needed to achieve the right fudge consistency.
Why is my 2 ingredient fudge soft, and how can I fix it?
Soft fudge often hasn’t set properly. To firm it up, place the fudge in the refrigerator for at least an hour. This helps the mixture harden and become easier to cut. If it remains too soft, ensure you allowed it enough cooling time or consider adjusting the amount of sweetened condensed milk in your recipe.
Can I melt the ingredients for 2 ingredient fudge without a microwave?
Yes, you can melt the ingredients on the stove using a double boiler. Fill the bottom pot with water and bring it to a simmer, placing the top pot or bowl with the chocolate chips and sweetened condensed milk over it. Stir continuously until the mixture is smooth and fully melted. This method prevents burning and works well if you don’t have a microwave.
2 Ingredient Fudge
🍫 Simple two-ingredient fudge that delivers rich, creamy chocolate perfection with minimal effort
⚡ Quick microwave method creates homemade candy in just minutes – perfect for last-minute treats
- Total Time: 2 hours 5 minutes
- Yield: 24 squares
Ingredients
– 4 cups semi-sweet chocolate chips (alternatively, you can use milk chocolate, mint, butterscotch, white chocolate, or other flavors for variety)
– 1 (14-ounce) can sweetened condensed milk
Instructions
1-Getting this 2 ingredient fudge just right is all about following a few key steps that anyone can master. Start by gathering your ingredients and tools to make the process smooth and enjoyable. The actual hands-on time is only about 5 minutes, with the rest being wait time for setting.
2-First, line an 8×5 inch bread pan with parchment paper and lightly spray it with pan spray for easy removal later. If you prefer thinner fudge, an 8×8 inch pan works great too. This step ensures your fudge comes out neatly and doesn’t stick to the pan.
3-Next, in a large microwave-safe bowl, combine the 4 cups of semi-sweet chocolate chips and the 1 (14-ounce) can of sweetened condensed milk. Microwave the mixture for about 3 minutes, using 45-second intervals at 50% power, and stir after each interval until it’s fully melted and turns thick and matte.
4-Once melted, pour the mixture into your prepared pan and smooth the top with a spatula for an even finish. Cover it and let it set for at least 2 hours or until it’s firm this is key for the perfect texture. If you’re in a rush, popping it in the fridge can speed things up.
5-Finally, once set, lift the fudge out using the parchment paper and cut it into squares for serving. Feel free to add extras like sprinkles, nuts, or coconut at this stage to customize your treat. Remember, the size of the pan you use will affect how thick the fudge turns out, so choose based on your preference.
Notes
🎨 Add sprinkles, nuts, coconut, or candy pieces before setting for custom flavors
📏 Use 8×8 inch pan for thinner fudge or smaller pan for thicker pieces
🧊 If fudge is too soft, chill in refrigerator to firm up before cutting
- Prep Time: 5 minutes
- Setting time: 2 hours
- Cook Time: 3 minutes
- Category: Dessert
- Method: Microwave
- Cuisine: American
- Diet: None
Nutrition
- Serving Size: 1 square
- Calories: 168
- Sugar: 22
- Sodium: 45
- Fat: 9
- Saturated Fat: 5
- Unsaturated Fat: 4
- Trans Fat: 0
- Carbohydrates: 20
- Fiber: 1
- Protein: 2
- Cholesterol: 8


