Ingredients
– 2 cups sifted powdered sugar
– 1/3 cup sifted cocoa powder
– 1/4 cup melted butter (half salted, half unsalted)
– 3 to 5 tablespoons whole milk
– 1 tablespoon corn syrup (optional)
Instructions
1-Step 1: Prepare Your Dry IngredientsBegin by measuring out your powdered sugar and cocoa powder. This is perhaps the most important step for achieving a lump-free glaze. Place a fine mesh sieve over a large mixing bowl and sift both ingredients together. Take your time with this step because any lumps left behind will show up in your finished glaze. If you notice any stubborn lumps, use the back of a spoon to press them through the sieve or discard them.The sifting process also helps incorporate air into the powdered sugar, which contributes to a lighter, more spreadable consistency. Your bowl should contain a uniform, chocolate-colored powder with no visible dark spots or white clumps.
2-Step 2: Add Wet IngredientsMelt your butter in the microwave or on the stovetop until completely liquid but not boiling hot. Remember to use a combination of half salted and half unsalted butter for the best flavor balance. Pour the melted butter over your sifted dry ingredients.Add 3 tablespoons of whole milk to start, along with the corn syrup if you’re using it. The corn syrup is optional but makes a noticeable difference in achieving that glossy, professional appearance that catches the light beautifully on finished desserts.
3-Step 3: Mix Until CombinedUsing a whisk, begin mixing all the ingredients together. Start slowly to prevent the dry ingredients from flying out of the bowl. As you continue whisking, you’ll notice the mixture starts to thicken and come together into a cohesive mixture.At this stage, your glaze will be quite thick. Don’t worry, this is exactly what you want before the next step of adjusting the consistency.
4-Step 4: Adjust ConsistencyThis is where you customize your chocolate glaze for its intended use. Continue mixing while gradually adding more milk, one tablespoon at a time, until the glaze reaches your desired consistency. The amount of milk needed can vary based on humidity, the brand of powdered sugar, and personal preference.For a thick cake glaze that stays in place: aim for a consistency like heavy cream. It should coat the back of a spoon and leave a clear trail when you run your finger through it.For a thinner donut glaze: add more milk until the mixture flows easily but still coats a spoon with a thin layer. It should drip smoothly without running off completely.The glaze is ready when it’s smooth, thick, and creamy with absolutely no lumps. Test it by lifting your whisk and observing how it falls back into the bowl. It should ribbon off smoothly.
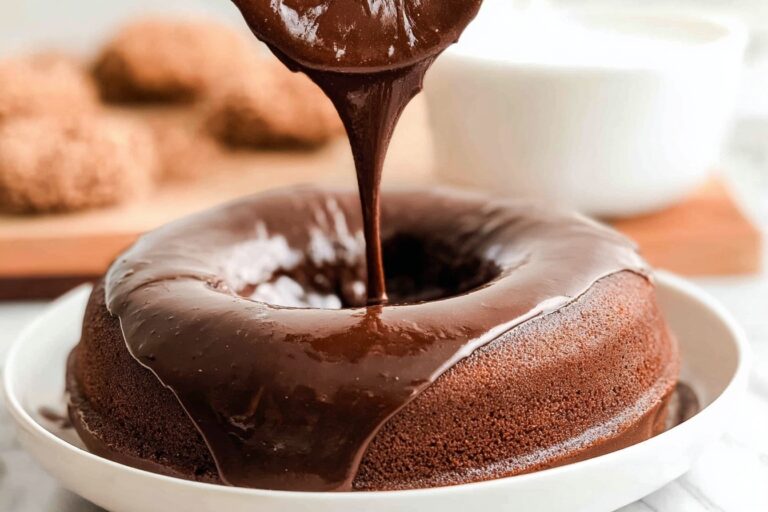
5-Step 5: Use Immediately or StoreYour homemade chocolate glaze is now ready to use! For the best results, apply it immediately while it’s still at room temperature. The glaze spreads most easily when slightly warm and will set as it cools on your baked goods.If you’re glazing cakes, make sure they’ve cooled completely before applying the glaze. A warm cake will cause the glaze to melt and slide right off. For donuts, dip the tops directly into the glaze, lift and let excess drip off, then place on a wire rack set over parchment paper to catch drips.If not using right away, see the storage section below for proper handling instructions.
Notes
🧷 Always sift powdered sugar and cocoa to prevent lumps for ultra-smooth glaze.
🥛 Add milk gradually to achieve the perfect pourable consistency without thinning too much.
✨ Include corn syrup for extra glossy shine, or skip for matte finish.
- Prep Time: 10 minutes
- Category: Dessert
- Method: No Cook
- Cuisine: American
- Diet: Vegetarian
Nutrition
- Serving Size: 2 tablespoons
- Calories: 80 kcal
- Sugar: 13g
- Sodium: 22mg
- Fat: 3g
- Saturated Fat: 2g
- Unsaturated Fat: 1g
- Trans Fat: 0g
- Carbohydrates: 14g
- Fiber: 1g
- Protein: 1g
- Cholesterol: 7mg