
Why You’ll Love This Lemon Bars
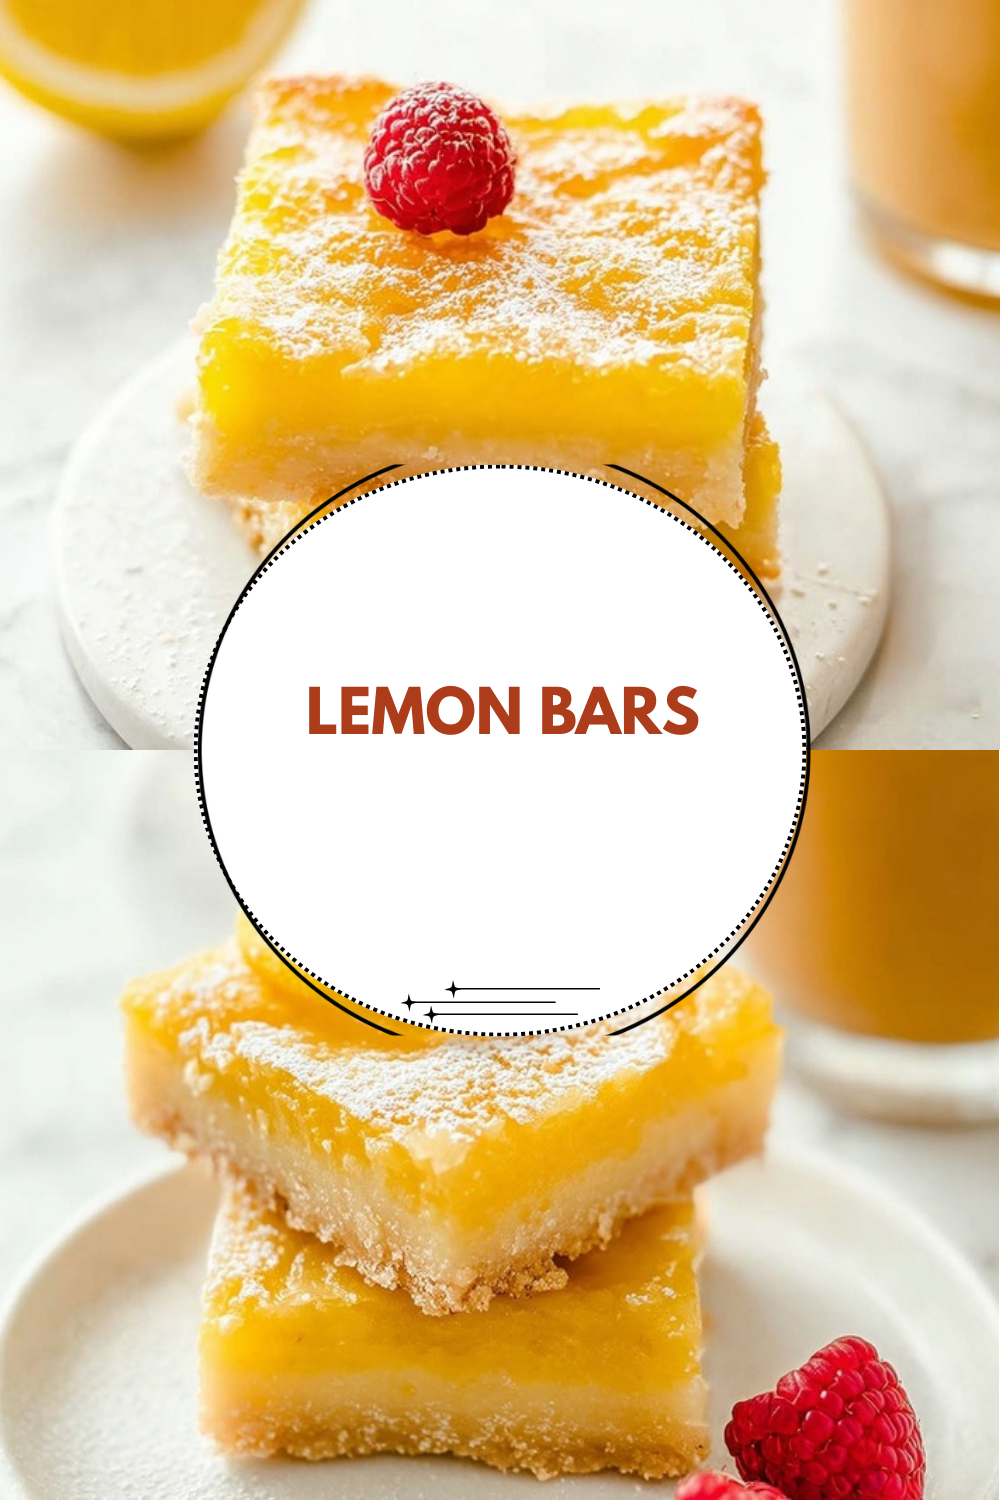
There’s something truly special about a dessert that balances tangy and sweet in every single bite. These lemon bars have been a family favorite for generations, and once you try them, you’ll understand exactly why they’ve stood the test of time. Whether you’re an experienced baker or just starting out in the kitchen, this recipe delivers consistent, crowd-pleasing results every single time.
- Ease of preparation: This lemon bars recipe requires just 20 minutes of active prep time with simple ingredients you likely already have in your pantry. The shortbread crust comes together without any special equipment, and the filling whisking takes mere minutes. No complicated techniques or fancy tools needed, just straightforward steps that anyone can follow with confidence.
- Nutritional benefits: Each bar contains 8mg of Vitamin C from the fresh lemon juice, along with 6g of protein from the eggs. According to health experts, lemons offer numerous health benefits including immune support and antioxidants. While these are certainly an indulgent treat, the real fruit juice provides more nutritional value than many packaged desserts.
- Versatility: This classic dessert adapts beautifully to different occasions and preferences. Serve them chilled for a refreshing summer treat, or enjoy at room temperature for a softer, more delicate texture. They work equally well for casual family dinners, potluck gatherings, or dressed up on a pretty platter for special celebrations.
- Distinctive flavor: The combination of buttery shortbread crust and bright, citrusy filling creates an irresistible contrast. Using fresh lemon zest and juice gives these bars an authentic, vibrant flavor that bottled alternatives simply cannot match, making them stand out from any boxed mix or bakery option.
Jump To
- 1. Why You’ll Love This Lemon Bars
- 2. Essential Ingredients for Lemon Bars
- 3. How to Prepare the Perfect Lemon Bars: Step-by-Step Guide
- 4. Dietary Substitutions to Customize Your Lemon Bars
- 5. Mastering Lemon Bars: Advanced Tips and Variations
- 6. How to Store Lemon Bars: Best Practices
- 7. FAQs: Frequently Asked Questions About Lemon Bars
- 8. Lemon Bars
Essential Ingredients for Lemon Bars
Gathering your ingredients before you begin makes the entire baking process smoother and more enjoyable. This lemon bars recipe uses pantry staples with just a few fresh items to create something truly spectacular.
For the Shortbread Crust
- 2 1/2 cups all-purpose flour (300g) – Forms the tender, buttery base that perfectly supports the custard filling
- 2/3 cup powdered sugar (66g) – Adds subtle sweetness and creates that melt-in-your-mouth texture
- 1/2 teaspoon salt – Balances the sweetness and enhances all the flavors
- 12 tablespoons unsalted butter, melted (170g) – Provides richness and binds the crust together beautifully
- 1 teaspoon vanilla extract (optional) – Adds a warm, aromatic undertone to the crust
For the Lemon Filling
- 3 cups granulated sugar (600g) – Sweetens the filling and helps create the signature texture
- Zest of three lemons (about 3 tablespoons) – Infuses the filling with intense citrus oils for maximum flavor
- 1/2 cup all-purpose flour (60g) – Helps stabilize the custard filling as it bakes
- 8 large eggs, room temperature – Creates the silky, custard-like texture and provides structure
- 1 cup fresh lemon juice (240mL) – The star ingredient that delivers that bright, tangy flavor
For Finishing
- Powdered sugar for dusting – Adds a beautiful snowy finish and extra sweetness
Special Dietary Options
For those with dietary restrictions, you can make modifications:
- Gluten-free option: Substitute a 1:1 gluten-free flour blend for the all-purpose flour
- Dairy-free option: Replace butter with vegan butter sticks or coconut oil
- Lower calorie option: Reduce sugar by 1/4 cup and use a sugar substitute blend designed for baking
How to Prepare the Perfect Lemon Bars: Step-by-Step Guide
Making lemon bars at home is easier than you might think. Follow these detailed steps for foolproof results that will impress everyone who takes a bite.
Step 1: Prepare Your Baking Dish
Start by preheating your oven to 350°F. This temperature ensures the crust bakes evenly without browning too quickly while giving the filling the right amount of gentle heat to set properly. Line a 9×13-inch baking dish with parchment paper, leaving some overhang on the sides. This overhang becomes your built-in handles for lifting the bars out later, making cutting so much easier and keeping your pan clean.
Step 2: Make the Shortbread Crust
In a large mixing bowl, whisk together 2 1/2 cups of flour, 2/3 cup of powdered sugar, and 1/2 teaspoon of salt until well combined. Pour in the melted butter and stir until everything comes together into a cohesive dough. If you’d like an extra layer of flavor, add 1 teaspoon of vanilla extract to the butter before mixing.
The dough will feel soft and slightly sticky, which is exactly what you want. Transfer the dough to your prepared pan and press it evenly across the bottom. Aim for a uniform thickness so the crust bakes consistently. A flat-bottomed measuring cup or glass works wonderfully for pressing the dough into place, giving you a nice, even surface.
Step 3: Bake the Crust
Place the crust in your preheated oven and bake for 20 minutes until it turns lightly golden around the edges. You’re looking for a subtle color change, not a deep brown. While the crust bakes, you’ll have perfect timing to prepare the lemon filling.
Step 4: Prepare the Lemon Sugar
This step is the secret to incredibly flavorful lemon bars. Place 3 cups of granulated sugar in your food processor along with the zest of three lemons. Pulse until the sugar becomes fragrant and takes on a beautiful yellow tint. This process releases the essential oils from the zest, infusing the sugar with intense lemon flavor throughout every bite.
Don’t have a food processor? No problem at all. Simply mince the zest as finely as possible with a sharp knife, then use your fingers to rub it into the sugar until fragrant and well combined.
Step 5: Mix the Filling
Transfer your zesty lemon sugar to a large mixing bowl and add the remaining 1/2 cup of flour. Whisk to combine so the flour doesn’t clump when you add the wet ingredients. Add 1 cup of fresh lemon juice and 8 room temperature eggs. Whisk everything together until completely smooth.
Using room temperature eggs helps them incorporate more easily and prevents any streaks in your filling. Take your time whisking to ensure no bits of sugar or flour remain on the bottom of the bowl.
Step 6: Assemble and Bake
When the crust comes out of the oven, pour the lemon filling directly over the warm crust. The residual heat helps the filling begin setting immediately. Return the pan to the oven and bake for 25 minutes at 350°F, rotating the pan halfway through for even baking.
The filling is done when the edges are set and the center has just a slight jiggle, similar to firm Jell-O. Trust your instincts here, the bars will continue setting as they cool. Overbaking leads to a rubbery texture, so remove them when they still have that gentle wobble in the center.
Step 7: Cool Completely
Patience is essential at this stage. Allow the bars to cool at room temperature for 1 hour, then transfer them to the refrigerator to chill for at least 2 hours. This cooling time allows the filling to set properly and makes cutting clean slices much easier.
Step 8: Cut and Serve
Once fully chilled, lift the bars out of the pan using the parchment paper overhang. Dust generously with powdered sugar using a fine mesh sieve for that classic bakery finish. Use a sharp knife dipped in hot water to cut clean slices, wiping the blade between each cut. A damp knife prevents the sticky filling from clinging to the blade.
Cut into 15 bars for generous portions, or make smaller squares for a larger crowd. These bars store beautifully and taste even better the next day when the flavors have had time to meld together. If you love citrus desserts, you might also enjoy our lemon tart recipe for another tangy treat.

Dietary Substitutions to Customize Your Lemon Bars
Protein and Main Component Alternatives
The eggs in this lemon bars recipe provide both structure and richness, but you can make substitutions if needed. For an egg-free version, try using a commercial egg replacer mixed according to package directions. Each egg can typically be replaced with 1/4 cup of silken tofu blended until completely smooth, though the texture will be slightly more dense.
For a lighter version, you can use egg whites in place of some whole eggs. Replace up to 4 of the whole eggs with 8 egg whites. This reduces the fat content while maintaining the protein that helps set the filling. Just keep in mind the custard won’t be quite as rich.
Those following a vegan diet can substitute each egg with 3 tablespoons of aquafaba, the liquid from canned chickpeas. This creates a surprisingly similar texture in the finished bars. You’ll also need to swap the butter for vegan butter or coconut oil.
Vegetable, Sauce, and Seasoning Modifications
While lemons are the star of this recipe, you can experiment with other citrus fruits for unique variations. Try substituting half the lemon juice with fresh lime juice for a lemon-lime bar with a tropical twist. Orange juice and zest create a sweeter, more mellow bar that’s equally delicious.
For those who enjoy herbal notes, try infusing the sugar with fresh lavender buds or rosemary along with the lemon zest. Just pulse them together in the food processor the same way you would with the lemon zest alone. Strain out any large herb pieces before mixing the filling.
If you’re looking to reduce the sugar content, you can substitute up to half the sugar with a granulated sweetener designed for baking. Keep in mind that sugar contributes to the texture of the filling, so the bars may be slightly softer. For more dessert inspiration, check out our carrot cake cheesecake bars for another crowd-pleasing treat.
Mastering Lemon Bars: Advanced Tips and Variations
Once you’ve mastered the basic lemon bars recipe, you can experiment with techniques and variations to make this dessert truly your own. According to expert bakers, the key to exceptional lemon bars lies in the details.
Pro Cooking Techniques
For the flakiest shortbread crust, consider cutting cold butter into the flour mixture instead of using melted butter. This traditional method creates delicate layers in the crust that add wonderful texture contrast to the smooth filling. Simply work quickly to keep the butter cold, then press the mixture into your pan.
Strain your filling through a fine-mesh sieve before pouring over the crust. This removes any bits of cooked egg or zest that didn’t incorporate fully, resulting in an incredibly silky custard. It takes just an extra minute but elevates the final texture significantly.
Flavor Variations
Create a Meyer lemon bar by using Meyer lemons, which are naturally sweeter and less acidic than regular lemons. Their floral notes add a sophisticated twist to this classic dessert. You might also try adding a layer of fresh berries on top of the crust before pouring the filling for a lemon-berry bar.
For adults-only variations, add a tablespoon of limoncello or Grand Marnier to the filling mixture. The alcohol cooks off during baking, leaving behind a subtle complexity that pairs beautifully with the bright citrus notes.
Presentation Tips
Make your bars look bakery-worthy with a few simple tricks. Use a fine mesh sieve for the most even powdered sugar coating, dusting just before serving so the sugar doesn’t melt into the filling. For special occasions, top each bar with a thin slice of candied lemon or a fresh berry.
Consider using decorative stencils when dusting with powdered sugar. Place a stencil over the bars before dusting, then lift gently to reveal a beautiful pattern. This small touch makes these bars look professionally decorated with minimal effort.
Make-Ahead Options
These bars are perfect for advance preparation. Bake them up to 2 days before your event, storing them covered in the refrigerator. Cut and dust with powdered sugar just before serving for the freshest presentation.
For longer storage, freeze the uncut slab wrapped tightly in plastic wrap and foil. Thaw overnight in the refrigerator, then cut and serve. This method keeps the bars tasting freshly baked for up to 3 months.
How to Store Lemon Bars: Best Practices
Proper storage ensures your lemon bars stay fresh and delicious for as long as possible. Follow these guidelines to maintain quality and flavor.
Refrigeration Guidelines
Lemon bars contain eggs and butter, so they require refrigeration if you’re keeping them longer than 2 hours. Store cut bars in an airtight container with wax paper or parchment between layers to prevent sticking. They’ll stay fresh in the refrigerator for up to 5 days, though they rarely last that long.
For the best flavor, remove the bars from the refrigerator 15-30 minutes before serving. This allows the flavors to come through fully and gives you a softer, more tender texture. Press plastic wrap directly onto the surface of cut bars to prevent a skin from forming on the filling.
Freezing Instructions
These bars freeze beautifully for up to 3 months. Cool completely before freezing, then wrap the uncut slab tightly in plastic wrap followed by aluminum foil. For individual portions, cut into bars and wrap each one separately before placing in a freezer bag.
Label your package with the date and contents so you remember what’s inside. Thaw frozen bars in the refrigerator overnight rather than at room temperature for the best texture. Add the powdered sugar dusting after thawing to avoid a messy appearance.
Meal Prep Considerations
If you’re batch baking for the week, cut the bars into individual portions before storing. This makes it easy to grab just one or two without disturbing the rest. Place each bar in a small container or wrap individually for convenient snacks or desserts throughout the week.
Transport bars to parties or potlucks in a cooler with ice packs if the weather is warm. The custard filling can become soft at room temperature, so keeping them chilled ensures they maintain their shape and texture.
FAQs: Frequently Asked Questions About Lemon Bars
Do lemon bars need to be refrigerated?
Yes, lemon bars should be refrigerated if you’re leaving them out for more than 2 hours to prevent spoilage from the eggs and dairy in the filling. Store them in an airtight container in the fridge, where they stay fresh for up to 5 days. They taste great chilled straight from the fridge for a firmer texture or at room temperature for a softer bite—let them sit out for 15-30 minutes before serving. For best results, cover them with plastic wrap pressed directly on the surface to avoid a skin forming. If transporting to a party, use a cooler with ice packs. Always check for any off smells or sliminess before eating.
How do I know when lemon bars are done baking?
Lemon bars are done when the edges are set and firm, and the center has just a slight jiggle—like firm Jell-O—rather than being liquidy. Bake according to your recipe, typically 25-35 minutes at 350°F, but start checking at 25 minutes. If the center looks too runny, add 3-5 more minutes. The filling will continue setting as it cools completely on a wire rack, which takes 2-4 hours. Avoid overbaking to prevent cracks or rubbery texture. Gently shake the pan or use a toothpick inserted in the center—it should come out clean or with moist crumbs, not wet batter. Patience during cooling ensures perfect slices.
Can you make lemon bars a day ahead?
Absolutely, lemon bars are ideal for making ahead—they taste even better after the flavors meld overnight. Bake them fully, let cool to room temperature, then chill in the fridge for at least 4 hours or overnight. This makes cutting cleaner and easier. Store covered in the fridge until ready to serve; they hold up well for 1-2 days ahead. Dust with powdered sugar right before serving to avoid sogginess. They’re perfect for parties—prep on Thursday for a weekend event. If making further ahead, freeze uncut bars wrapped tightly in plastic and foil for up to 2 months, thawing in the fridge overnight.
How do you cut lemon bars cleanly?
For neat slices, chill the lemon bars fully in the fridge for at least 4 hours until firm. Use a sharp, thin-bladed knife like a chef’s knife—heat it under hot water, dry it, then make one smooth downward cut without sawing to avoid crumbling. Wipe the blade clean with a damp cloth after each cut and re-warm as needed. For sticky tops, lightly score the surface first with a razor blade. Line your pan with foil or parchment overhanging the edges for easy lifting. Cut into 16-24 squares or bars. Pro tip: Dip the knife in hot water between cuts for ultra-clean edges every time.
Can you freeze lemon bars?
Yes, lemon bars freeze beautifully for up to 2-3 months, making them great for batch prepping. Cool completely, then cut into portions if desired. Wrap each bar tightly in plastic wrap, followed by aluminum foil or place in a freezer-safe zip-top bag, squeezing out air to prevent freezer burn. For whole pans, cover tightly with plastic wrap and foil. Thaw in the fridge overnight or at room temperature for 1-2 hours before serving—avoid microwaving to prevent sogginess. They retain their tangy flavor and texture well. Dust with fresh powdered sugar after thawing. Freezing works best before dusting to avoid mess.
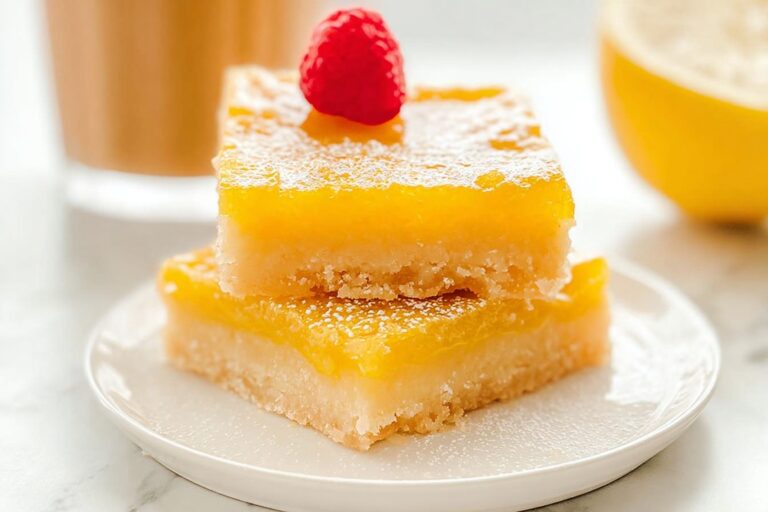
Lemon Bars
🍋 Zesty lemon bars deliver perfect tangy-sweet balance over buttery shortbread crust – timeless dessert that’s refreshing and foolproof for any gathering!
☀️ Creamy custard filling firms perfectly after chilling, slices neatly, freezes 3 months for year-round citrus craving satisfaction.
- Total Time: 4 hours 15 minutes
- Yield: 15 bars
Ingredients
– 2 1/2 cups all-purpose flour (300g)
– 2/3 cup powdered sugar (66g)
– 1/2 teaspoon salt
– 12 tablespoons unsalted butter, melted (170g)
– 1 teaspoon vanilla extract (optional)
– 3 cups granulated sugar (600g)
– Zest of three lemons (about 3 tablespoons)
– 1/2 cup all-purpose flour (60g)
– 8 large eggs, room temperature
– 1 cup fresh lemon juice (240mL)
– Powdered sugar for dusting
Instructions
1-Step 1: Prepare Your Baking Dish Start by preheating your oven to 350°F. This temperature ensures the crust bakes evenly without browning too quickly while giving the filling the right amount of gentle heat to set properly. Line a 9×13-inch baking dish with parchment paper, leaving some overhang on the sides. This overhang becomes your built-in handles for lifting the bars out later, making cutting so much easier and keeping your pan clean.
2-Step 2: Make the Shortbread Crust In a large mixing bowl, whisk together 2 1/2 cups of flour, 2/3 cup of powdered sugar, and 1/2 teaspoon of salt until well combined. Pour in the melted butter and stir until everything comes together into a cohesive dough. If you’d like an extra layer of flavor, add 1 teaspoon of vanilla extract to the butter before mixing. The dough will feel soft and slightly sticky, which is exactly what you want. Transfer the dough to your prepared pan and press it evenly across the bottom. Aim for a uniform thickness so the crust bakes consistently. A flat-bottomed measuring cup or glass works wonderfully for pressing the dough into place, giving you a nice, even surface.
3-Step 3: Bake the Crust Place the crust in your preheated oven and bake for 20 minutes until it turns lightly golden around the edges. You’re looking for a subtle color change, not a deep brown. While the crust bakes, you’ll have perfect timing to prepare the lemon filling.
4-Step 4: Prepare the Lemon Sugar This step is the secret to incredibly flavorful lemon bars. Place 3 cups of granulated sugar in your food processor along with the zest of three lemons. Pulse until the sugar becomes fragrant and takes on a beautiful yellow tint. This process releases the essential oils from the zest, infusing the sugar with intense lemon flavor throughout every bite. Don’t have a food processor? No problem at all. Simply mince the zest as finely as possible with a sharp knife, then use your fingers to rub it into the sugar until fragrant and well combined.
5-Step 5: Mix the Filling Transfer your zesty lemon sugar to a large mixing bowl and add the remaining 1/2 cup of flour. Whisk to combine so the flour doesn’t clump when you add the wet ingredients. Add 1 cup of fresh lemon juice and 8 room temperature eggs. Whisk everything together until completely smooth. Using room temperature eggs helps them incorporate more easily and prevents any streaks in your filling. Take your time whisking to ensure no bits of sugar or flour remain on the bottom of the bowl.
6-Step 6: Assemble and Bake When the crust comes out of the oven, pour the lemon filling directly over the warm crust. The residual heat helps the filling begin setting immediately. Return the pan to the oven and bake for 25 minutes at 350°F, rotating the pan halfway through for even baking. The filling is done when the edges are set and the center has just a slight jiggle, similar to firm Jell-O. Trust your instincts here, the bars will continue setting as they cool. Overbaking leads to a rubbery texture, so remove them when they still have that gentle wobble in the center.
7-Step 7: Cool Completely Patience is essential at this stage. Allow the bars to cool at room temperature for 1 hour, then transfer them to the refrigerator to chill for at least 2 hours. This cooling time allows the filling to set properly and makes cutting clean slices much easier.
8-Step 8: Cut and Serve Once fully chilled, lift the bars out of the pan using the parchment paper overhang. Dust generously with powdered sugar using a fine mesh sieve for that classic bakery finish. Use a sharp knife dipped in hot water to cut clean slices, wiping the blade between each cut. A damp knife prevents the sticky filling from clinging to the blade. Cut into 15 bars for generous portions, or make smaller squares for a larger crowd. These bars store beautifully and taste even better the next day when the flavors have had time to meld together. If you love citrus desserts, you might also enjoy our lemon tart recipe for another tangy treat.
Notes
🍋 Always use fresh lemons for juice and zest to maximize bright flavor.
🧊 Chill fully before cutting for clean slices that hold shape.
❄️ Freeze bars up to 3 months; thaw and dust with powdered sugar before serving.
- Prep Time: 20 minutes
- Chilling: 3 hours
- Cook Time: 45 minutes
- Category: Dessert
- Method: Bake
- Cuisine: American
- Diet: Vegetarian
Nutrition
- Serving Size: 1 bar
- Calories: 385 kcal
- Sugar: 46g
- Sodium: 113mg
- Fat: 12g
- Saturated Fat: 7g
- Unsaturated Fat: 5g
- Trans Fat: 0g
- Carbohydrates: 66g
- Fiber: 1g
- Protein: 6g
- Cholesterol: 111mg


