Ingredients
22 regular cookies (not double-filled) – These provide the base crumbs for the crust
5 tablespoons (71g) unsalted butter, melted – binds the crumbs together, adds richness
71g melted coconut oil as plant-based alternative to butter for vegan option
22 pieces or 250g gluten-free cookies for gluten-free option
4 tablespoons (57g) unsalted butter, melted – reduced amount for low-calorie option
Instructions
First Step: Preparation and Mise en Place Start by gathering your ingredients and tools to make the process smooth. Measure out 22 whole regular cookies and 5 tablespoons (71g) of unsalted butter, melting the butter in advance. For dietary adaptations, if you’re going vegan, swap the butter for coconut oil now. This step takes about 2 minutes and sets you up for success, reducing any kitchen chaos.
Second Step: Crushing the Cookies Pulse the 22 whole cookies, including their cream filling, in a food processor or blender until you get about 2 cups (packed) of fine crumbs, roughly 250g. If you don’t have a processor, crush them in a sealed bag using a rolling pin for even results. For gluten-free options, use certified gluten-free cookies here to maintain the same crumb texture, ensuring the base holds together well. This step should take 1-2 minutes and is key for a stable Oreo Cookie Crust.
Third Step: Mixing the Crumbs Once you have your crumbs, mix in the melted unsalted butter until everything combines evenly, breaking up any large chunks. Aim for a mixture that’s moist but not overly wet; if it feels greasy, add crumbs from 2 more cookies. For low-calorie versions, you could reduce butter slightly, but watch the binding to keep the crust intact. This quick mix, about 1 minute, ensures your Oreo Cookie Crust has the right consistency for pressing.
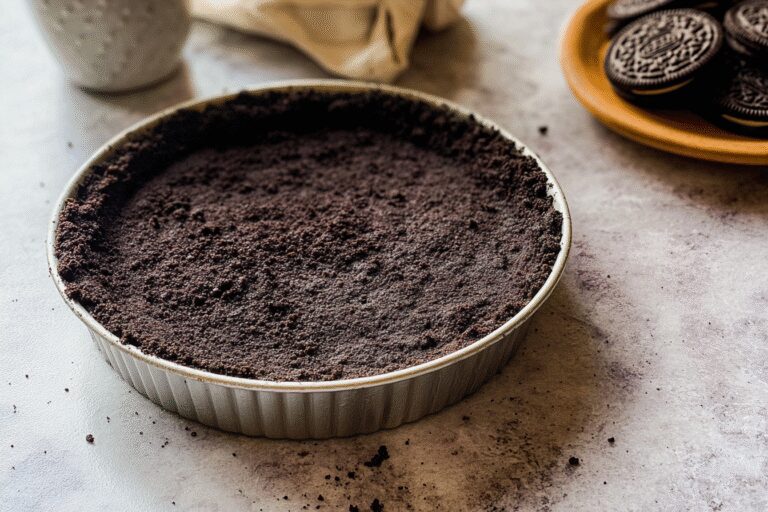
Fourth Step: Pressing the Mixture Press the crumb mixture firmly and evenly into an ungreased 8-inch, 9-inch, or 10-inch pie dish, cake pan, springform pan, or square pan. Use medium pressure with your hands to smooth the bottom and sides, then shape the edges by flattening the top with your thumb and fingers, and round the inside corners with a spoon to avoid cracks. If adapting for various needs, like vegan swaps, the technique stays the same, but for a low-calorie version, pack lightly to prevent density. This step takes around 2 minutes and is crucial for a neat Oreo Cookie Crust that doesn’t separate when sliced.
Fifth Step: Baking the Crust Bake the crust at 350°F (177°C) for 8 to 10 minutes if you’re using it for baked fillings, or 10 to 12 minutes for no-bake options. This helps set the crust and prevent sogginess, but if your recipe calls for no baking, you can skip this. For chilling before baking to reduce shrinking, pop it in the fridge for 10 minutes first, especially with gluten-free cookies. Once done, cool it completely before adding filling, which takes about 10-15 minutes. Always check your specific filling recipe for adaptations to keep the Oreo Cookie Crust versatile.
Final Step: Finishing Touches and Serving After cooling, your Oreo Cookie Crust is ready for your favorite filling, like a creamy cheesecake or pudding. If making ahead, store it as outlined later for freshness. For presentations with dietary tweaks, such as low-calorie fillings, add garnishes that match, like fresh fruits. This final step ensures your crust enhances the dessert, making it easy to serve and enjoy with family or friends, turning a simple base into a delightful treat.
Notes
🍪 Use regular or flavored cookies but avoid double-filled or plain varieties that can make the crust too soft.
📏 Measure crumbs by packing them tightly in the measuring cup for accurate quantity.
❄️ Chill the crust before baking to minimize side shrinking and improve texture.
- Prep Time: 5 minutes
- Cook time: 10 minutes
- Cook Time: 10 minutes
- Category: Dessert, Pie Crust
- Method: Baking, Pressing
- Cuisine: American