
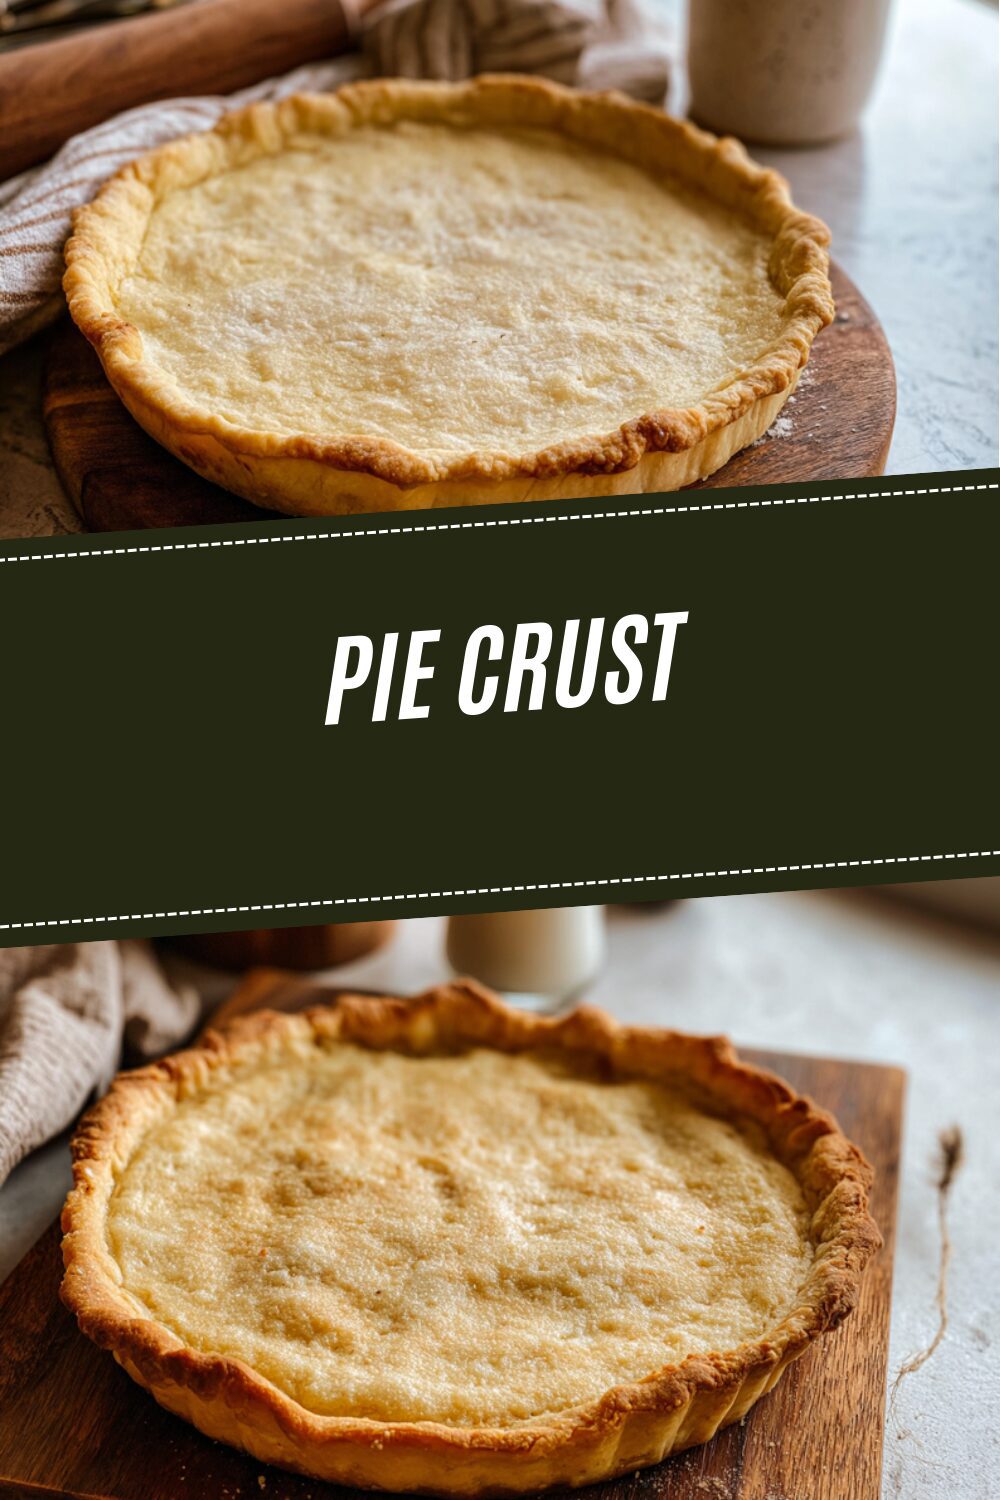
Why You’ll Love This Pie Crust
Imagine biting into a pie where the crust is perfectly flaky, buttery, and just right for any filling you dream up. This pie crust recipe stands out because it’s simple yet delivers impressive results every time. Whether you’re new to baking or a seasoned pro, you’ll find joy in how easy it is to make and how versatile it becomes for your kitchen adventures.
- Ease of preparation: This recipe comes together quickly with basic ingredients you likely have on hand, taking about 1 hour and 15 minutes including chilling time. The short steps mean less fuss in the kitchen, making it ideal for busy parents or students who want a reliable pie crust without spending all day. You’ll appreciate the straightforward process that keeps things light and fun.
- Health benefits: This pie crust offers solid nutritional value, with each serving clocking in at 345 calories, 4 grams of protein, and 1 gram of dietary fiber. It uses everyday items like flour and butter, supporting a balanced diet when enjoyed in moderation, which is great for diet-conscious folks seeking tasty yet mindful options. Plus, you can tweak it for lower-calorie versions to fit various wellness goals without losing that delicious appeal.
- Versatility: From sweet pies like fruit-filled treats to savory ones such as quiches, this crust adapts to single or double layers, lattice tops, and even free-form styles. It’s flexible for different dietary needs, including gluten-free swaps or vegan adjustments, so baking enthusiasts and families can tailor it to their preferences. This makes it a go-to choice for creating memorable meals that everyone can enjoy.
- Distinctive flavor: The buttery texture and light tenderness come from using very cold butter and a special technique that keeps the crust flaky without extra effort. Optional sugar adds a subtle sweetness, while the base shines with its rich, homemade taste that elevates simple pies. It’s all about that perfect balance of crisp edges and a melt-in-your-mouth feel, which really sets this pie crust apart in your baking routine.
Jump To
- 1. Why You’ll Love This Pie Crust
- 2. Essential Ingredients for Pie Crust
- 3. How to Prepare the Perfect Pie Crust: Step-by-Step Guide
- 4. Dietary Substitutions to Customize Your Pie Crust
- 5. Mastering Pie Crust: Advanced Tips and Variations
- 6. How to Store Pie Crust: Best Practices
- 7. FAQs: Frequently Asked Questions About Pie Crust
- 8. Pie Crust
Essential Ingredients for Pie Crust
Creating a great pie crust starts with the right ingredients, each playing a key role in the final result. Below is a detailed list of everything you need, including precise measurements and a quick note on why each one matters. This setup ensures your pie pastry turns out just right every time.
- All-purpose flour: 2 ½ cups (spooned and leveled), divided into 1 ½ cups for the initial mixture and 1 cup added later This forms the base structure, providing the necessary gluten for holding the dough together while keeping it tender.
- Unsalted butter, very cold: 1 cup, cut into 1/2-inch cubes The cold butter creates those flaky layers and imparts a rich, buttery flavor that makes the crust irresistible.
- Fine sea salt: 1/2 teaspoon (or kosher salt: 1 teaspoon) Salt enhances the overall taste and balances the flavors, making your tart base more enjoyable.
- Sugar: 1 tablespoon (optional) This adds a touch of sweetness for sweet pies or helps with browning, but you can skip it for savory options.
- Ice water: 6 to 8 tablespoons, or more as needed (added 4 tablespoons initially) It binds the dough without making it tough, with the cold temperature helping maintain flakiness.
- Egg yolk: 1 (for optional egg wash) Mixed with a small amount of cream, it gives the crust a shiny finish and helps seal it for baking.
- Cream: A small amount (for optional egg wash) This combines with the egg yolk to create a glaze that adds appeal and prevents sogginess.
Special Dietary Options
For those with specific needs, here are some easy swaps to keep your crust just as good. These changes maintain the pie pastry’s texture and flavor while fitting different lifestyles.
- Vegan: Replace unsalted butter with vegan butter or solid coconut oil in the same 1 cup amount This keeps the flakiness intact and offers a plant-based option that works well for a dairy-free crust.
- Gluten-free: Use a 1:1 gluten-free flour blend for the full 2 ½ cups of all-purpose flour, and add 1 teaspoon of xanthan gum if needed It helps bind the dough properly, ensuring a similar tender texture without the gluten.
- Low-calorie: Opt for a reduced-fat spread in place of butter, using 1 cup, or mix in unsweetened applesauce to cut fat These adjustments lower the calorie count while still achieving a workable dough that bakes up nicely.
How to Prepare the Perfect Pie Crust: Step-by-Step Guide
Making pie crust doesn’t have to be intimidating follow these steps for a foolproof result. We’ll cover everything from gathering your ingredients to baking that golden crust, with tips for keeping it simple and effective. This guide uses the exact measurements and techniques from our recipe to help you create a flaky pie crust that’s ready for any filling. For instance, if you’re planning a fruit pie, check out our lemon tart recipe for inspiration on fillings.
First Step: Get Everything Ready
Start by measuring out all your ingredients to make the process smooth. Measure 2 ½ cups of all-purpose flour, cube 1 cup of very cold unsalted butter, and have 6 to 8 tablespoons of ice water on hand. Chill the butter in the fridge beforehand to keep it cold, which is key for flakiness, and preheat your oven if you’re planning to bake right away. This mise en place takes just a few minutes and sets you up for success, especially if you’re adapting for dietary needs like using vegan butter.
Second Step: Combine Dry Ingredients
Take 1 ½ cups of the flour and mix it with 1/2 teaspoon of fine sea salt and 1 tablespoon of sugar if you’re using it. You can whisk these together in a bowl or use a food processor for speed. Sifting the flour helps avoid lumps and ensures even distribution, which is crucial for a tender crust. For gluten-free versions, add xanthan gum here to help with binding without changing the basic technique.
Third Step: Cut in the Fat
Now, add the 1 cup of cold butter cubes to the flour mixture. If using a food processor, pulse until the flour coats the butter and it starts to hold shape; if doing it by hand, use a pastry cutter or your fingers to work the butter in until you have pea-sized pieces. Aim for a crumbly texture that looks like coarse crumbs, as this creates the layers for flakiness. Remember to keep everything cold to prevent the butter from melting, and for low-calorie options, use a lighter spread at this stage.
Fourth Step: Add Liquid and Form Dough
Sprinkle in the remaining 1 cup of flour and stir it in until it’s evenly mixed. Gradually add 4 tablespoons of ice water, pressing the dough together in the bowl until it starts to hold. If it’s too dry, add more water one tablespoon at a time until the dough forms without being sticky total might reach 6 to 8 tablespoons. Avoid overworking to keep the crust tender; shape into two disks, wrap them, and chill for at least 1 hour. For vegan adaptations, use plant-based milk if needed to adjust moisture.
Fifth Step: Roll Out the Dough
Let the chilled dough sit at room temperature for about 5 minutes to make it easier to handle. Lightly flour your surface and rolling pin, then roll one disk into a 12-inch circle, turning it frequently to prevent sticking. If tears occur, patch them with extra dough and a bit of water. For gluten-free dough, handle it gently to avoid breaking, and aim for an even thickness of about 1/8 inch for the best results.
Sixth Step: Fit into the Pan
Carefully transfer the rolled dough to your pie dish by wrapping it around the rolling pin. Gently press it in without stretching, then trim and crimp the edges by folding the dough under and pinching for a decorative finish. For blind baking, prick the bottom with a fork, line with parchment, add weights, and bake at 375°F for 15 minutes, then another 15 to 20 minutes until golden. Use pie weights to prevent slumping, and for double crust pies, chill the assembled pie for 30 minutes before baking.
Seventh Step: Fill and Bake
Once your crust is ready, add your filling whether it’s for a sweet pie or savory one and cover with the second crust if needed. Brush with an egg wash made from 1 egg yolk and a small amount of cream for a shiny top, then vent the crust by cutting slits. Bake at the recommended temperature, like 375°F, and check for doneness after 30 to 45 minutes; shield edges with foil if they brown too fast. For wet fillings, fully blind bake first to avoid sogginess, and adjust for low-fat techniques by monitoring bake times.
Final Step: Finish and Serve
Let the pie cool for at least 30 minutes to set, making it easier to slice. Add any finishing touches like a sprinkle of sugar or a glaze for extra appeal. Serve warm for the best flavor, and store leftovers properly to keep that flaky texture. This step ensures your pie crust shines in every bite, whether you’re making it vegan or gluten-free.

Dietary Substitutions to Customize Your Pie Crust
Everyone has different needs, so tweaking this recipe is straightforward. Let’s look at how to swap ingredients for better options without losing quality. These changes keep your pie pastry adaptable and delicious.
Protein and Main Component Alternatives
For the main parts, try these swaps to fit your diet. Replace the 1 cup of unsalted butter with vegan butter or solid coconut oil for a plant-based version; this maintains flakiness but might add a subtle coconut taste, so adjust chilling time if the dough feels softer. Use a 1:1 gluten-free flour blend for the 2 ½ cups of flour, adding xanthan gum to prevent crumbling and ensure the dough handles well. For low-calorie tweaks, incorporate unsweetened applesauce in place of some butter to reduce fat, which could make the crust a bit denser, so add extra water as needed for the right consistency.
Vegetable, Sauce, and Seasoning Modifications
Spice things up with herbs or zests for variety. Add thyme or rosemary to the dough for savory pies, using about 1 teaspoon to enhance flavors without overwhelming. For sweet versions, mix in citrus zest or cinnamon try 1 tablespoon for a burst of taste that pairs well with fruits. If using sauces, opt for dairy-free custard with your fillings, and balance moisture by adding less water if the mixture is wet, ensuring your tart base stays crisp.
Mastering Pie Crust: Advanced Tips and Variations
Once you’re comfortable with the basics, level up your skills with these ideas. Get creative while keeping the focus on a great pie crust experience. For even better results, check out tips from online communities, like this guide on rolling out pie dough evenly.
This technique can transform your baking game, making every pie a standout.
Pro Cooking Techniques
Use cold butter lamination for extra layers, blitz-freezing butter cubes before mixing to enhance flakiness. A bench scraper helps keep your workspace clean, and a pastry cloth reduces sticking during rolling. For dietary tweaks, use vegan fats in lamination to keep it plant-based, and adjust gluten-free dough with extra chilling for better handling.
Flavor Variations
Infuse the crust with toasted nuts or browned butter for depth add 1/4 cup of nuts to the mix. Try sweet twists with cinnamon or savory ones with herbs, scaling for larger batches. Pair these with fillings from our pumpkin cheesecake recipe, and use lower-fat enhancers like flavored extracts for diet-conscious bakers.
How to Store Pie Crust: Best Practices
Proper storage keeps your pie crust fresh and ready for later. Follow these tips to maintain that perfect texture whether you’re prepping ahead or saving leftovers.
| Storage Method | Duration | Tips |
|---|---|---|
| Refrigeration | Up to 3 days for raw dough | Wrap tightly in plastic and store in the fridge; thaw if needed before use. |
| Freezing | Up to 3 months | Wrap disks in plastic and foil; thaw overnight in the fridge for best results. |
FAQs: Frequently Asked Questions About Pie Crust
How do I make a pie crust flaky and tender every time?
To achieve a flaky and tender pie crust, start by coating part of the flour with cold, cubed butter. This creates a barrier that limits gluten formation, resulting in a crumbly texture. Use ice-cold water added gradually to bring the dough together without overworking it. Keep all ingredients cold, handle the dough minimally, and chill it before rolling to help maintain flakiness during baking.
Can I make pie crust without a food processor?
Yes, making pie crust by hand is simple. Use a pastry cutter, two knives, or your fingers to cut cold butter into the flour until the mixture resembles coarse crumbs with pea-sized pieces of butter. Then add ice water little by little until the dough just holds together. This method produces excellent results without special equipment.
How much water do I need to add to pie dough?
Begin with about 4 tablespoons of ice-cold water and add more one tablespoon at a time as needed. The dough should hold together when pinched without being wet or sticky. Variations in flour type and humidity affect water absorption, so adjust accordingly for the best texture.
Is it okay to freeze pie crust dough or pre-rolled crusts?
Yes, pie dough freezes well. Wrap shaped dough disks tightly in plastic wrap and freeze for up to 3 months. For pre-rolled crusts, place them carefully into pie plates, wrap securely, and freeze. Thaw in the refrigerator overnight before rolling or filling to maintain shape and texture.
Why does my pie crust sometimes become soggy or hard after baking?
Soggy crusts often result from underbaking, especially with moist fillings like lemon meringue. Blind baking the crust until golden and fully cooled before adding filling helps prevent sogginess. Hard crusts can occur if overbaked or if edges are exposed too long. Protect edges with foil and monitor baking time for best results.
Pie Crust
🥧 This easy flaky butter pie crust delivers a perfectly tender and crisp base for both sweet and savory pies.
🧈 Simple ingredients and straightforward steps make achieving a bakery-quality crust accessible to all home bakers.
- Total Time: 1 hour 50 minutes
- Yield: Enough dough for a double 9-inch pie crust or two single crusts
Ingredients
– 2 ½ cups all-purpose flour (spooned and leveled), divided into 1 ½ cups for the initial mixture and 1 cup added later This forms the base structure, providing the necessary gluten for holding the dough together while keeping it tender.
– 1 cup unsalted butter, very cold, cut into 1/2-inch cubes The cold butter creates those flaky layers and imparts a rich, buttery flavor that makes the crust irresistible.
– 1/2 teaspoon fine sea salt Salt enhances the overall taste and balances the flavors, making your tart base more enjoyable.
– 1 teaspoon kosher salt Salt enhances the overall taste and balances the flavors, making your tart base more enjoyable.
– 1 tablespoon sugar (optional) This adds a touch of sweetness for sweet pies or helps with browning, but you can skip it for savory options.
– 6 to 8 tablespoons ice water, or more as needed (added 4 tablespoons initially) It binds the dough without making it tough, with the cold temperature helping maintain flakiness.
– 1 egg yolk (for optional egg wash) Mixed with a small amount of cream, it gives the crust a shiny finish and helps seal it for baking.
– A small amount cream (for optional egg wash) This combines with the egg yolk to create a glaze that adds appeal and prevents sogginess.
– 1 cup vegan butter or solid coconut oil (vegan substitute for unsalted butter) This keeps the flakiness intact and offers a plant-based option that works well for a dairy-free crust.
– 2 ½ cups 1:1 gluten-free flour blend (gluten-free substitute for all-purpose flour)
– 1 teaspoon xanthan gum (added if needed when using gluten-free flour) It helps bind the dough properly, ensuring a similar tender texture without the gluten.
– 1 cup reduced-fat spread (low-calorie substitute for butter)
– unsweetened applesauce (low-calorie substitute, mixed with butter) These adjustments lower the calorie count while still achieving a workable dough that bakes up nicely.
Instructions
1-First Step: Get Everything Ready Start by measuring out all your ingredients to make the process smooth. Measure 2 ½ cups of all-purpose flour, cube 1 cup of very cold unsalted butter, and have 6 to 8 tablespoons of ice water on hand. Chill the butter in the fridge beforehand to keep it cold, which is key for flakiness, and preheat your oven if you’re planning to bake right away. This mise en place takes just a few minutes and sets you up for success, especially if you’re adapting for dietary needs like using vegan butter.
2-Second Step: Combine Dry Ingredients Take 1 ½ cups of the flour and mix it with 1/2 teaspoon of fine sea salt and 1 tablespoon of sugar if you’re using it. You can whisk these together in a bowl or use a food processor for speed. Sifting the flour helps avoid lumps and ensures even distribution, which is crucial for a tender crust. For gluten-free versions, add xanthan gum here to help with binding without changing the basic technique.
3-Third Step: Cut in the Fat Now, add the 1 cup of cold butter cubes to the flour mixture. If using a food processor, pulse until the flour coats the butter and it starts to hold shape; if doing it by hand, use a pastry cutter or your fingers to work the butter in until you have pea-sized pieces. Aim for a crumbly texture that looks like coarse crumbs, as this creates the layers for flakiness. Remember to keep everything cold to prevent the butter from melting, and for low-calorie options, use a lighter spread at this stage.
4-Fourth Step: Add Liquid and Form Dough Sprinkle in the remaining 1 cup of flour and stir it in until it’s evenly mixed. Gradually add 4 tablespoons of ice water, pressing the dough together in the bowl until it starts to hold. If it’s too dry, add more water one tablespoon at a time until the dough forms without being sticky total might reach 6 to 8 tablespoons. Avoid overworking to keep the crust tender; shape into two disks, wrap them, and chill for at least 1 hour. For vegan adaptations, use plant-based milk if needed to adjust moisture.
5-Fifth Step: Roll Out the Dough Let the chilled dough sit at room temperature for about 5 minutes to make it easier to handle. Lightly flour your surface and rolling pin, then roll one disk into a 12-inch circle, turning it frequently to prevent sticking. If tears occur, patch them with extra dough and a bit of water. For gluten-free dough, handle it gently to avoid breaking, and aim for an even thickness of about 1/8 inch for the best results.
6-Sixth Step: Fit into the Pan Carefully transfer the rolled dough to your pie dish by wrapping it around the rolling pin. Gently press it in without stretching, then trim and crimp the edges by folding the dough under and pinching for a decorative finish. For blind baking, prick the bottom with a fork, line with parchment, add weights, and bake at 375°F for 15 minutes, then another 15 to 20 minutes until golden. Use pie weights to prevent slumping, and for double crust pies, chill the assembled pie for 30 minutes before baking.
7-Seventh Step: Fill and Bake Once your crust is ready, add your filling whether it’s for a sweet pie or savory one and cover with the second crust if needed. Brush with an egg wash made from 1 egg yolk and a small amount of cream for a shiny top, then vent the crust by cutting slits. Bake at the recommended temperature, like 375°F, and check for doneness after 30 to 45 minutes; shield edges with foil if they brown too fast. For wet fillings, fully blind bake first to avoid sogginess, and adjust for low-fat techniques by monitoring bake times.
8-Final Step: Finish and Serve Let the pie cool for at least 30 minutes to set, making it easier to slice. Add any finishing touches like a sprinkle of sugar or a glaze for extra appeal. Serve warm for the best flavor, and store leftovers properly to keep that flaky texture. This step ensures your pie crust shines in every bite, whether you’re making it vegan or gluten-free.
Notes
🔪 Use very cold butter for flakiness and tender texture.
🧊 Add ice water gradually as needed, depending on humidity.
⏲️ Chill dough for at least one hour before rolling for best results.
- Prep Time: 15 minutes
- Chilling time: 1 hour
- Cook Time: 35 minutes
- Category: Baking
- Method: Mixing and Rolling
- Cuisine: American
- Diet: Vegetarian
Nutrition
- Serving Size: 1/8 of dough
- Calories: 345
- Sugar: 0g
- Sodium: 160mg
- Fat: 23g
- Saturated Fat: 15g
- Unsaturated Fat: 7g
- Trans Fat: 0g
- Carbohydrates: 30g
- Fiber: 1g
- Protein: 4g
- Cholesterol: 61mg


