

Easy Refrigerator Dill Pickles Recipe
There is a jar of these pickles sitting in my fridge door most weeks of the year. I started making them because the cucumbers from my garden kept arriving faster than my family could eat them, and I wanted something that did not require a boiling water bath, a pressure canner, or a whole afternoon in the kitchen.
This refrigerator dill pickle recipe solved that problem with about 25 minutes of hands on work.
The idea is simple. You pour a warm vinegar brine over fresh cucumbers and seasonings, seal the jars, and let the refrigerator do the rest. No canning and no special equipment are required, and the pickles come out crisp and tangy with real garlic and dill flavor.

These pickles are ready to eat in one to two days, although I usually try to hold off a little longer. The flavor keeps building and reaches its best after two to three weeks. If you can wait that long, the reward is worth it.
What I appreciate most is how flexible the whole thing is. You can cut the cucumbers as spears, chips, or chunks depending on how you plan to use them, and the seasonings are adjustable, so a spicy jar and a mild jar can sit side by side on the same shelf.
If you are brand new to pickling, this is a friendly place to start. For extra background on brining basics and fridge storage tips, I also keep a beginner guide called Quick Pickling 101 on hand for anyone who wants to understand the method more deeply.
Jump To
About the Ingredients
Every ingredient in this recipe has a job, and knowing what each one does makes it much easier to adjust the jar to your own taste. Here is the full list for one batch.
| Ingredient | Amount | What it does |
|---|---|---|
| Pickling cucumbers | 1 pound, washed and trimmed | Small, firm cucumbers about 4 to 6 inches long give the best crunch |
| White vinegar | 1 cup | About 5% acidity delivers the classic sharp pickle flavor |
| Water | 1 cup | Balances the vinegar so the brine is not overwhelming |
| Pickling salt or kosher salt | 1 tablespoon, not iodized | Dissolves cleanly and seasons the brine |
| Sugar (optional) | 1 teaspoon | Slightly sweetens and mellows the vinegar |
| Garlic | 4 cloves, peeled and smashed | The backbone of traditional dill pickle flavor |
| Fresh dill | 4 sprigs, or dill flower heads | Gives the unmistakable herbal dill note |
| Bay leaves | 2 | Adds a soft, savory background |
| Dill seed | 1 teaspoon | Reinforces the dill flavor as the pickles sit |
| Mustard seeds | 1/2 teaspoon | A gentle peppery bite |
| Coriander seeds | 1/2 teaspoon | A warm citrusy undertone |
| Whole black peppercorns | 1/2 teaspoon | Slow, gentle heat |
| Red pepper flakes (optional) | 1 pinch | A hint of heat if you want it |
Pickling cucumbers are the best choice by far. Look for small, firm cucumbers with thin skins, few seeds, and no soft spots. Oversized cucumbers tend to be seedy and can turn soft or even bitter in the brine.

White vinegar at about 5% acidity gives you the sharp, familiar flavor people expect from a dill pickle. For salt, stick with pickling salt or kosher salt because both dissolve cleanly. Iodized table salt can cloud the brine and affect the flavor.
Sugar is optional. A single teaspoon slightly sweetens the brine and takes the edge off the vinegar, so simply leave it out if you prefer a sharper pickle. Garlic and fresh dill are the heart of the traditional flavor, and everything in the spice list is adjustable.
Recipe Variations
There are plenty of ways to customize a jar of refrigerator pickles based on what you like or what is already sitting in your kitchen.
Different Cucumber Varieties
Pickling cucumbers are ideal, but you can substitute other types with a few small adjustments.
- English cucumbers have tender skin but soften more quickly in brine. Peel them partially and make smaller batches that you plan to eat sooner.
- Persian cucumbers are small and crisp, and they make an excellent substitute for pickling cucumbers.
- Regular slicing cucumbers have thicker skins and larger seeds, which can lead to a softer texture. Peel them and scoop out the seeds before pickling.
Adjust the Flavorings
The brine and the add ins are easy to change once you know the base recipe.
- Swap the white vinegar for apple cider vinegar or white wine vinegar for a subtle flavor shift.
- Adjust or replace the mustard seed, dill seed, coriander seeds, and red pepper flakes to taste.
- For a spicier jar, add extra garlic, more red pepper flakes, or a whole chili pepper.
- For serious garlic lovers, one or two extra crushed cloves make a noticeable difference.
- Stir 1 to 2 teaspoons of sugar into the brine for sweeter pickles.
How to Make Refrigerator Dill Pickles
Exact measurements are in the recipe card, but the whole method is short. Here is the basic picture before we walk through it step by step.
| Detail | Amount |
|---|---|
| Prep time | 15 minutes |
| Cook time | 10 minutes |
| Total time | 25 minutes |
| Servings | 8 servings |
| Yield | 1 quart jar or 2 pint jars |
| Serving size | 1/2 cup |
Step 1: Gather Your Kitchen Equipment
Before you start, pull together the basics: one quart mason jar or two pint jars with lids, a small saucepan for warming the brine, a knife and cutting board, and measuring cups and spoons. That is the entire equipment list.
Step 2: Make the Brine
Combine 1 cup white vinegar, 1 cup water, 1 tablespoon pickling salt or kosher salt, and the optional 1 teaspoon sugar in a small saucepan. Heat over medium, stirring until the salt is fully dissolved.
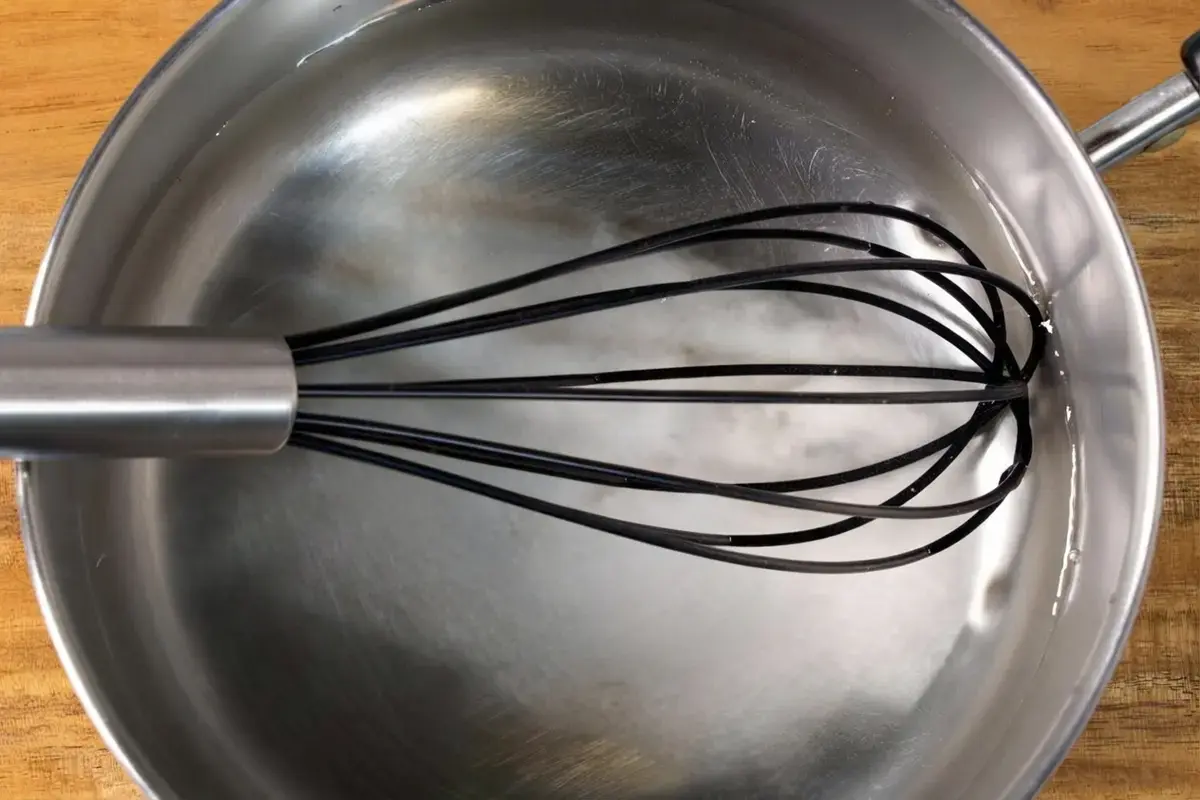
There is no need to boil it. Take the pan off the heat and let the brine cool briefly while you handle the cucumbers.
Step 3: Prep the Cucumbers
Wash the cucumbers thoroughly, then trim off the blossom ends. Those ends contain enzymes that can soften pickles over time. Cut the cucumbers into spears, thick rounds, or chunks, or any other shape you like, and trim them to fit your jars.
Step 4: Pack the Jars
Divide 4 peeled and smashed garlic cloves, 4 sprigs of fresh dill, 2 bay leaves, 1 teaspoon dill seed, 1/2 teaspoon mustard seeds, 1/2 teaspoon coriander seeds, 1/2 teaspoon whole black peppercorns, and the optional pinch of red pepper flakes evenly between the jars.
Then pack the cucumbers in tightly so they sit snugly without being crushed, leaving about 1/2 inch of headspace at the top.
Step 5: Pour the Brine
Pour the warm brine over the cucumbers until they are completely submerged.

Add the lid, then shake the jar gently to mix everything and release trapped air bubbles.
Step 6: Cool and Refrigerate
Let the jars cool to room temperature for about an hour before moving them to the refrigerator.
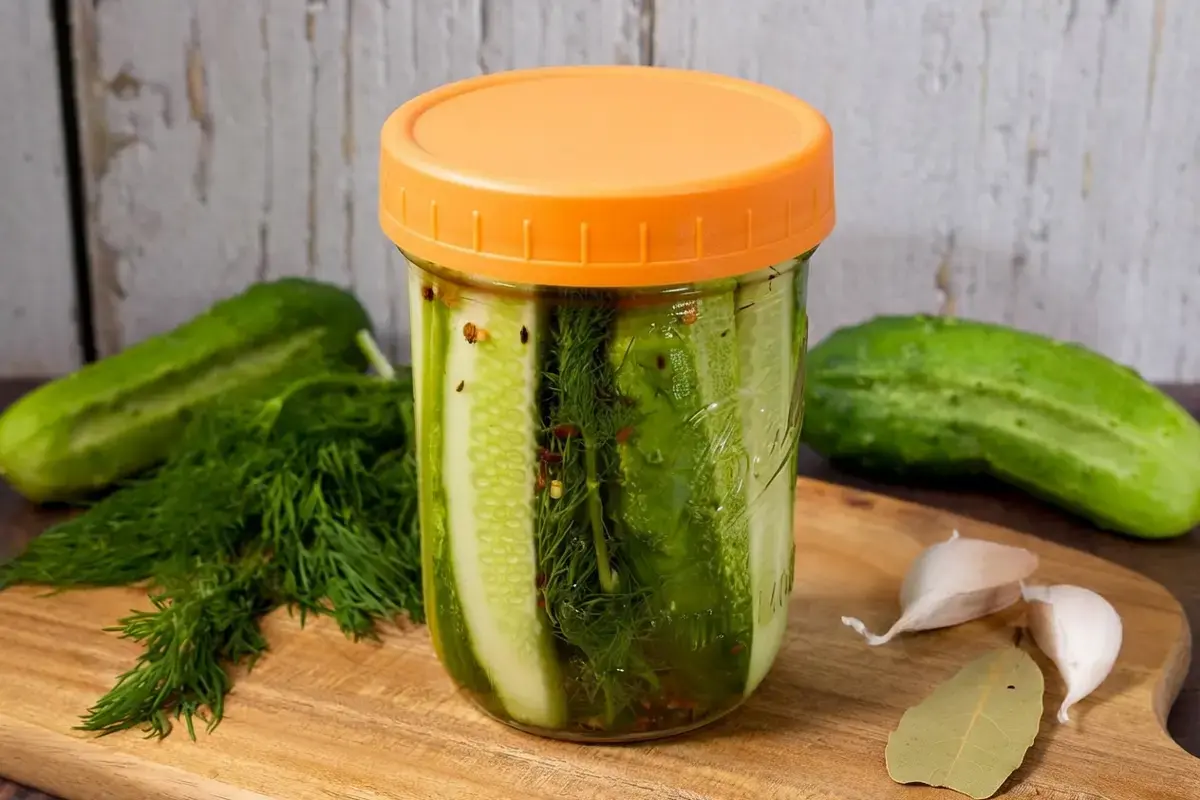
The pickles begin developing flavor after 24 hours and are best after 2 to 3 weeks. For reference, a 1/2 cup serving has about 16 calories.
How Long Do Refrigerator Pickles Last?
Refrigerator dill pickles keep for up to 3 months in the fridge, as long as they stay submerged in the brine and you always remove them with a clean utensil. That is the simple rule I follow, and it has served me well.
Even so, it pays to know the warning signs. Discard the batch if you notice any of the following:
- Cloudy or slimy brine with an off odor
- Mold on the surface or floating in the jar
- Pickles that have turned mushy or soft
- A sour or unpleasant smell that goes beyond the normal vinegar and garlic aroma
- Bubbles or fizzing, which can suggest fermentation or spoilage
When in doubt, throw the batch out and start fresh. A new jar costs a few minutes and a pound of cucumbers, and that is a small price for peace of mind.
Ways to Enjoy Dill Pickles
These crisp, tangy pickles work far beyond simple snacking. Here are the ways they disappear fastest in my house.
- Stack pickle chips on sandwiches and burgers for a bright, crunchy layer.
- Chop them into tuna salad, egg salad, or potato salad for a tangy lift.
- Serve spears on a charcuterie or snack board with cheese, meats, and crackers.
- Layer slices into wraps or a grilled cheese sandwich.
- Add them to picnic or barbecue plates as a vinegary side.
- Toss chopped pieces into salads for extra crunch.
- Or simply eat them straight from the jar, which is the most honest answer.
Their bold flavor and crunch make them a versatile addition to almost any meal, and a jar in the fridge means you are never more than a minute away from a better sandwich.
Crunchy, Tangy, and Ready in No Time
Homemade refrigerator dill pickles are one of those small kitchen projects that pay off all month. There is no canning involved, no special equipment, and no pressure to get everything perfect on the first try.
Whether you make the classic version or spin it into a spicy or sweeter jar, these pickles tend to become a fridge staple fast. Once you see how easily the brine comes together, you may find yourself making a new batch every time cucumbers show up at the market.
If you want to take the method further, my beginner guide, Quick Pickling 101, covers brine basics, flavor combinations, and fridge storage tips for pickling other vegetables too. Start with a single jar of dill pickles, and let the refrigerator handle the rest.
FAQs
How long do refrigerator pickles last?
Refrigerator dill pickles last up to 3 months when stored properly. Always keep the cucumbers fully submerged in the brine and use a clean utensil each time you remove pickles from the jar. Discard the batch immediately if you notice cloudy or slimy brine, mold, a bad smell, or bubbling.
What cucumbers are best for refrigerator pickles?
Small, firm Kirby cucumbers are the best choice because they have low moisture content and tiny seeds, which keeps pickles crunchy. English or Persian cucumbers can be used for small batches, but regular slicing cucumbers should be peeled and seeded to avoid a soft texture. Always use cucumbers that are 4 to 6 inches long and free of blemishes.
How to make crispy refrigerator dill pickles?
Use fresh, firm pickling cucumbers and always trim off the blossom end, which contains enzymes that can cause mushiness. The no-cook method of this recipe, which uses a 1:1 ratio of white vinegar to water, helps maintain crunch by avoiding the heat of canning. For extra firmness, you can add calcium chloride, often sold as Pickle Crisp, to the brine.
How long before refrigerator pickles are ready to eat?
The pickles are safe to eat after 24 hours in the refrigerator, but the flavor is still mild at that point. For the best taste, allow them to pickle for 2 to 3 weeks so the garlic, dill, and spices fully infuse the cucumbers. Shake the jar gently every few days to redistribute the brine and seasonings.

Easy Refrigerator Dill Pickles
Easy Refrigerator Dill Pickles Recipe There is a jar of these pickles sitting in my fridge door most weeks of the year. I started making them because the cucumbers from my garden kept arriving faster than my family could eat them, and I wanted something that did not require a boiling water bath, a pressure canner, or a whole afternoon in the kitchen.
- Total Time: 25 min
- Yield: 1 quart-sized jar or 2 pint-sized jars 1x
Ingredients
Brine
1 cup white vinegar
1 cup water
1 tablespoon pickling salt or kosher salt, non-iodized
1 teaspoon sugar
Cucumbers and Flavorings
1 pound pickling cucumbers, washed and trimmed
4 cloves garlic, peeled and smashed
4 sprigs fresh dill, or use dill flower heads
2 bay leaves
1 teaspoon dill seed
0.5 teaspoon mustard seeds
0.5 teaspoon coriander seeds
0.5 teaspoon whole black peppercorns
1 pinch red pepper flakes
Instructions
1-Make the brine: Make the brine: Combine the vinegar, water, salt, and sugar in a small saucepan. Heat over medium, stirring until the salt is fully dissolved. Remove from heat, and let cool briefly.
2-Prepare the cucumbers: Prepare the cucumbers: Cut the cucumbers into spears, rounds, or chunks, or any other shape you prefer, and trim them to fit your jars.
3-Add flavorings to the jars: Add flavorings to the jars: Divide the garlic, dill, bay leaves, dill seed, mustard seeds, coriander seeds, peppercorns, and red pepper flakes (if using) evenly between the jars.
4-Pack the cucumbers: Pack the cucumbers: Tightly pack the prepared cucumbers into the jars, leaving enough space at the top to allow the brine to cover them.
5-Pour the brine: Pour the brine: Carefully pour the warm pickling liquid over the cucumbers, covering them completely. Add the cover, then shake the jar to mix the ingredients.
6-Cool and refrigerate: Cool and refrigerate: Let the jars cool to room temperature for about an hour before storing them in the refrigerator. The pickles will start to develop flavor after 24 hours and are best after 2 to 3 weeks.
- Prep Time: 15 min
- Cook Time: 10 min
- Method: no_cook
Nutrition
- Serving Size: 0.5 cup
- Calories: 16 kcal


