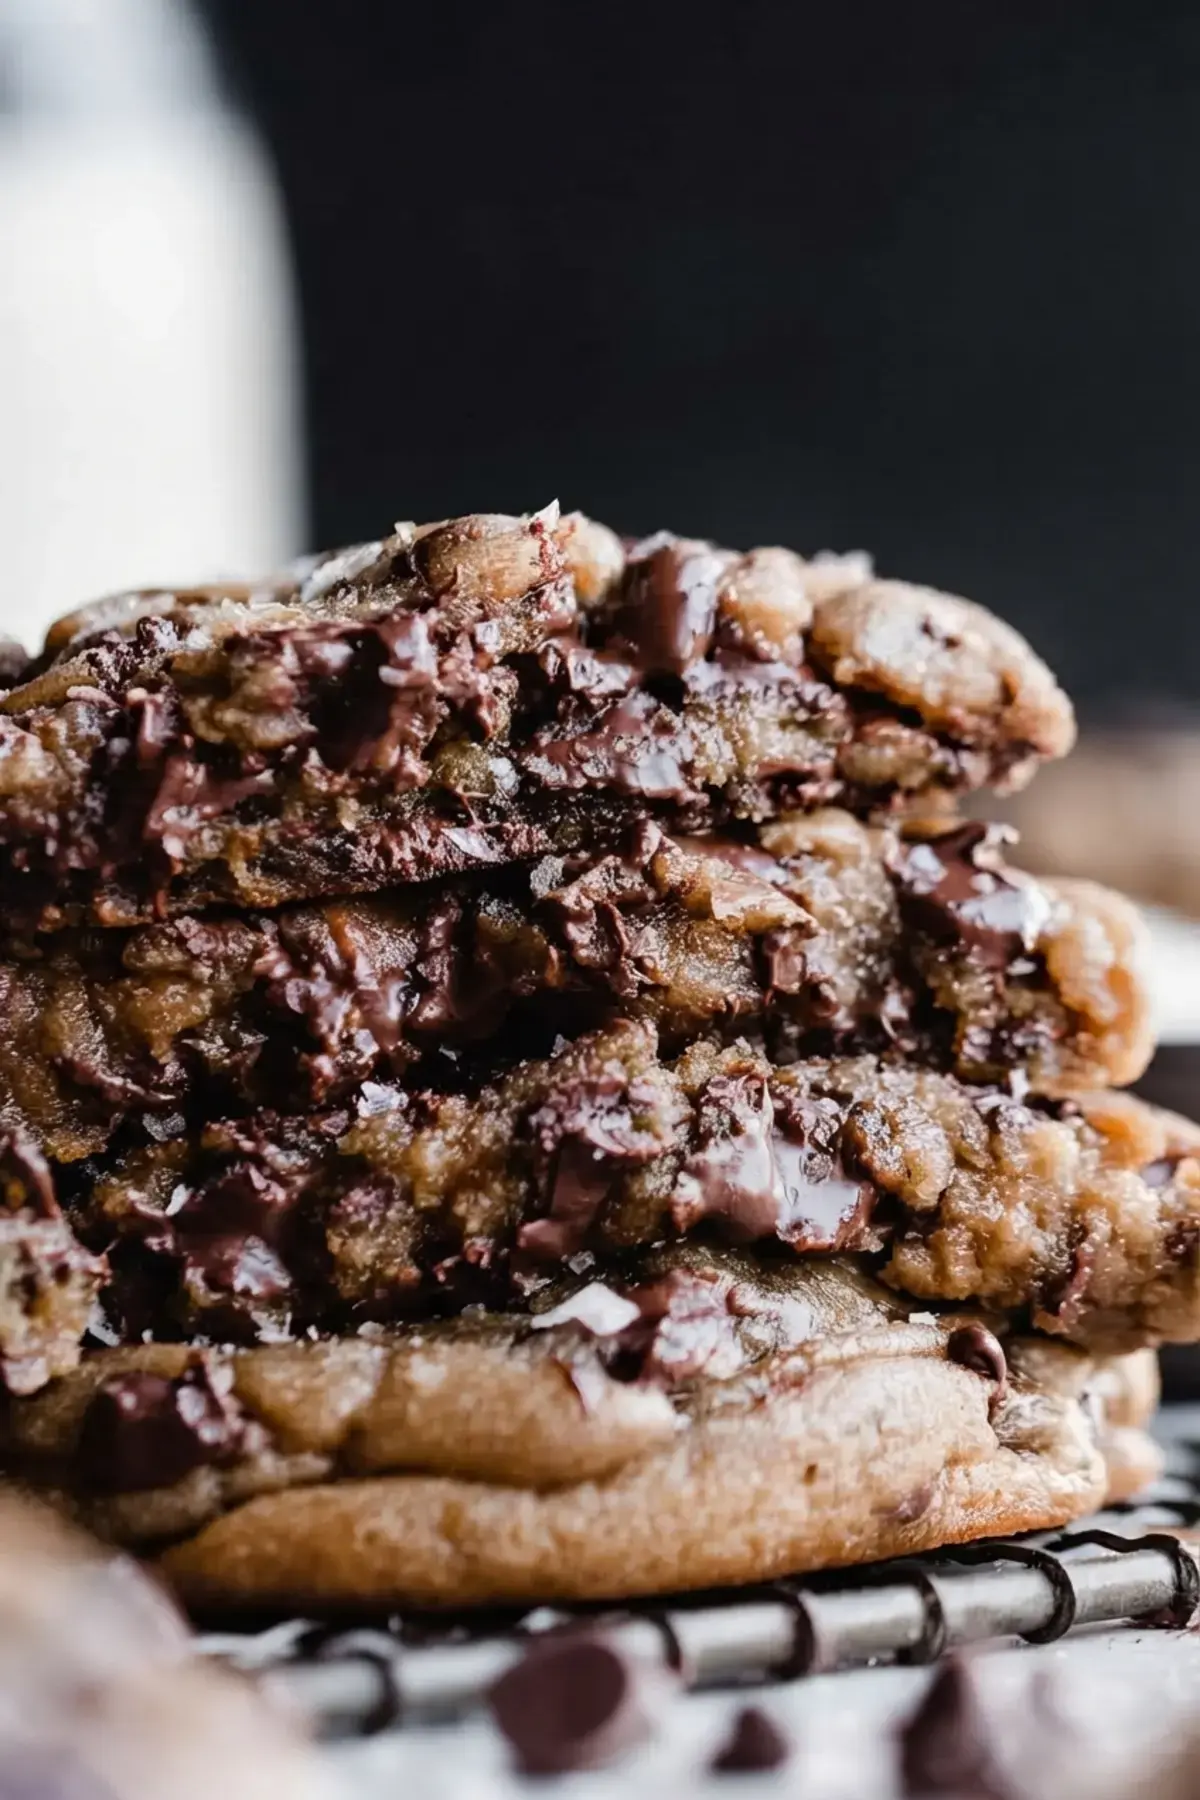
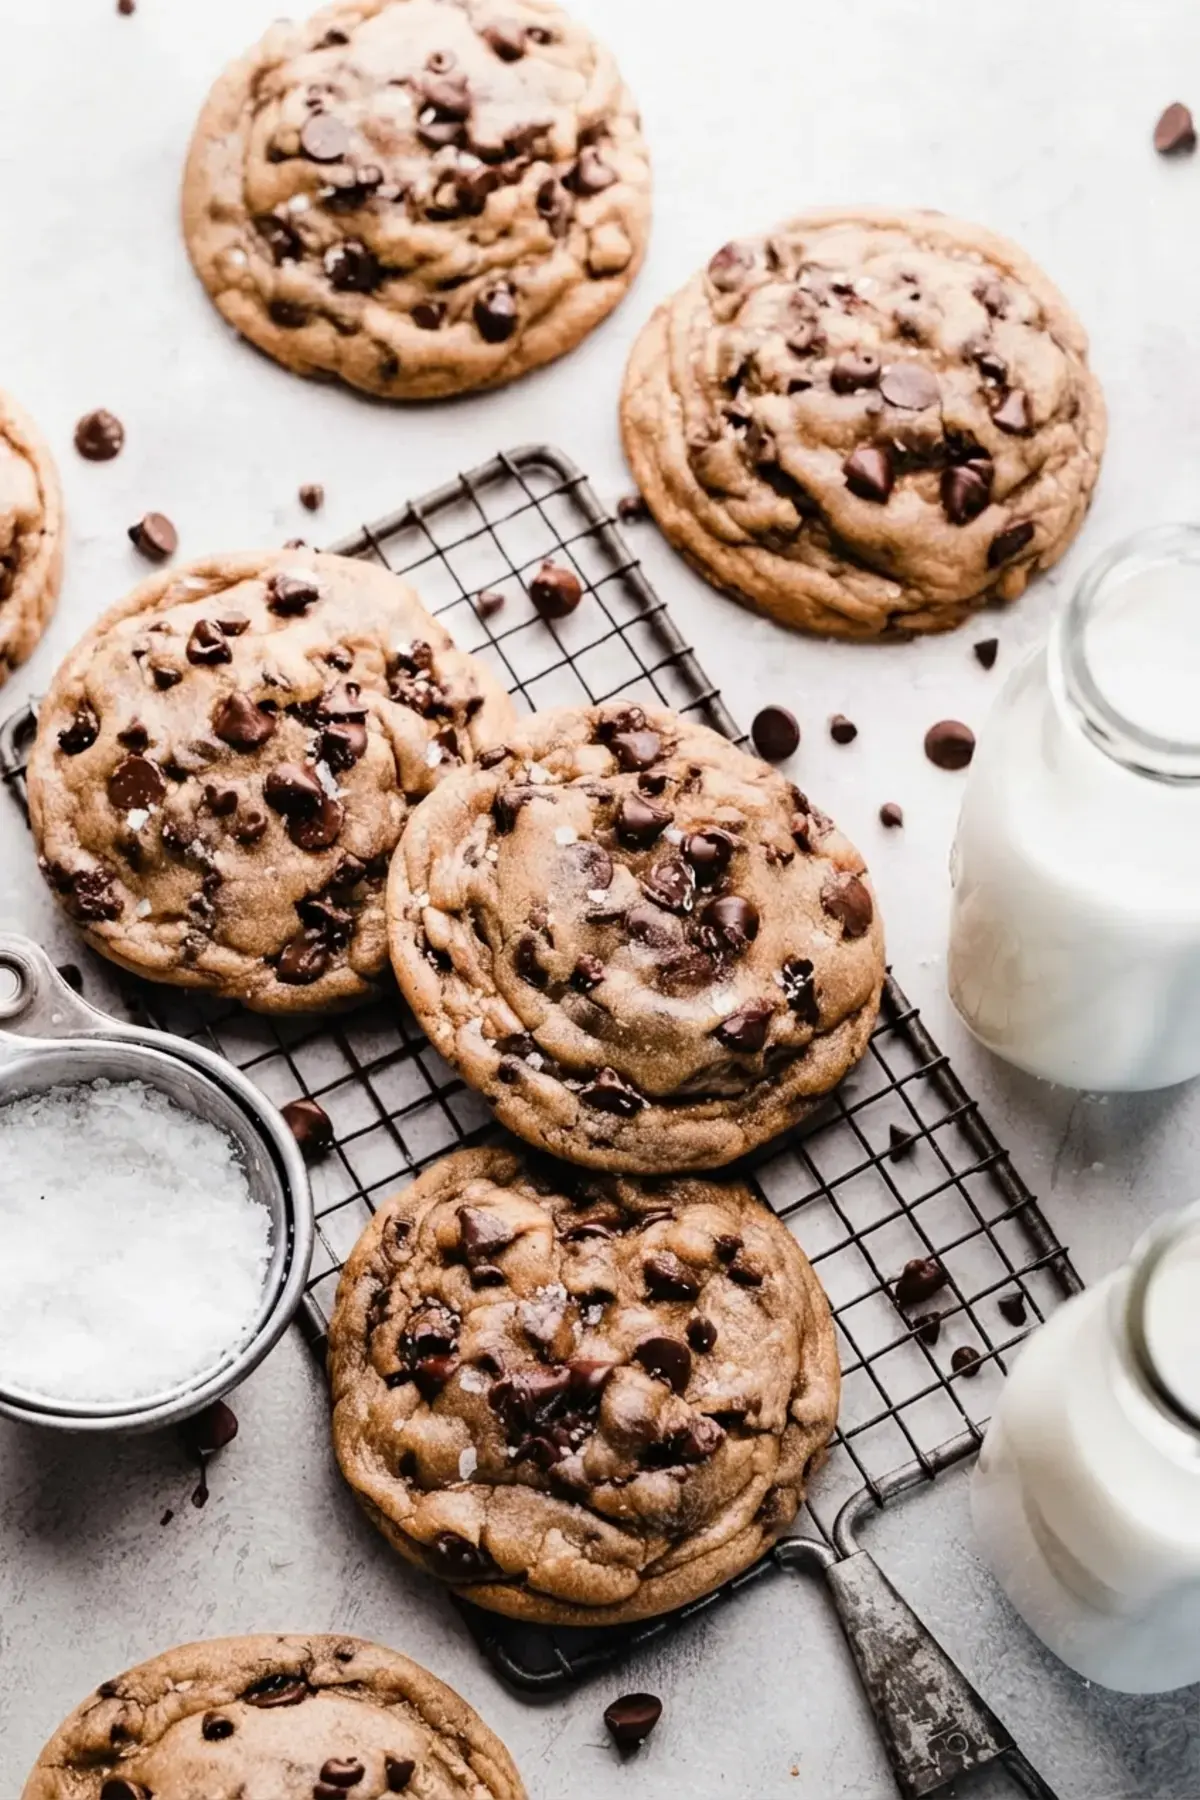
These are the cookies that make people stop mid conversation and ask, “Wait, you baked these at home?” Jumbo Bakery Style Chocolate Chip Cookies are thick and chewy with crisp golden edges, loaded with both regular and mini semi sweet chocolate chips, and sized just like the giant cookies you see in a bakery case.
Each one weighs about 140 grams, nearly 5 ounces of pure cookie joy! One cookie is genuinely a full dessert, and I am not apologizing for it! A pinch of flaky sea salt on top takes them over the edge.
Why you’ll love these Bakery Style Chocolate Chip Cookies:
I have baked a lot of chocolate chip cookies over the years, and this recipe checks every box that matters to me. Here is why these jumbo cookies have earned a permanent spot in my recipe box!
They are seriously jumbo. Each dough ball weighs about 140 grams, almost 5 ounces, so one cookie feels like a real dessert instead of a tiny afterthought.
Double the chocolate. Regular semi sweet chips melt into big gooey pockets, while mini chips tuck chocolate into every single bite.
The texture is exactly right. You get a soft and chewy center with crisp edges, the way a true bakery cookie should eat.
Nothing fancy required. The dough uses regular all purpose flour, no cake flour or bread flour needed, so the ingredient list stays short and friendly.
Bake a batch on a Saturday afternoon and I promise the whole house will smell like your favorite bakery! The batch makes 10 giant cookies too, which is exactly enough for a weekend treat with a couple saved for Monday.
Ingredient Overview:
A quick walk through the important players before you start baking. Salted butter is my pick because it brings lovely flavor, though unsalted butter works just fine too.
Whichever you choose, let it come to room temperature first, because cold butter is hard to cream properly. Real vanilla extract makes a noticeable difference, so skip the imitation if you can. And then there is the chocolate!
A mix of regular and mini semi sweet chocolate chips gives you big melty pools plus chocolate in every bite.
Here is the full list:
1 cup salted butter, softened at room temperature
¾ cup packed brown sugar
¾ cup granulated sugar
1 and ½ teaspoons vanilla extract
2 large eggs
3 cups all purpose flour, spooned and leveled, or 390 grams
1 teaspoon baking soda
1 teaspoon baking powder
¼ teaspoon salt
1 and ½ cups semi sweet chocolate chips
¾ cup mini semi sweet chocolate chips
Flaky sea salt for topping, optional
Ingredient Substitutions and Variations:
One of my favorite things about this dough is how flexible it is. The jumbo cookies are the star of the show, but you can easily bend the recipe to fit your pantry, your diet, or your mood. Here is how to mix things up!
Easy swaps and fun variations:
Dairy free version: use your favorite dairy free butter and dairy free chocolate chips. Everything else stays exactly the same.
Change up the chocolate: swap the semi sweet chips for dark chocolate or milk chocolate chips, or chop a bar into chunks for big rustic puddles of chocolate.
Add nuts: a handful of chopped nuts stirred in with the chips adds a lovely toasty crunch.
Make smaller cookies: portion the dough into 50 gram balls instead and you will get about 28 cookies. Bake them for 8 to 9 minutes. Sizes anywhere from 50 to 140 grams work, so just keep an eye on doneness and use the visual cues below.
One quick note before you bake: a kitchen scale makes dividing the dough simple, but if you do not have one, just portion the balls as evenly as you can by eye.
Now let’s make the dough! Here is the full method, step by step:
Cream the butter and sugars. In a large mixing bowl, beat the softened butter with an electric mixer on high speed. Add the brown sugar and granulated sugar and mix until well creamed together, about 1 to 2 minutes.
Add the vanilla and eggs. Mix in the vanilla extract and both eggs until everything looks combined and smooth.
Add the dry ingredients. Mix in the flour, baking soda, baking powder, and salt until a dough forms. It may look a bit crumbly at first, so keep mixing until it comes together.
Stir in the chocolate. Add the regular and mini chocolate chips and mix until they are evenly distributed. You can do this with the mixer or fold them in with a rubber spatula.
Scoop and press. Divide the dough into 10 balls, about 140 grams each. Press a few extra chocolate chips into any bare spots, because extra chocolate on the outside is what makes them look bakery made!
Chill the dough. This step is not optional! Pop the dough balls into an airtight container and chill in the fridge for at least 2 hours, though the instructions call for at least 3 hours and up to 48 hours is fine if you want to plan ahead, or freeze them for at least 1 hour.
Bake. Preheat your oven to 350°F and line a few baking sheets with parchment paper or silicone baking mats. Place 3 to 4 cookies on a sheet, leaving plenty of room since they are large. Bake for 12 to 16 minutes.
Know when they are done. The centers may look a little underdone and puffy when you pull them out, and the edges should feel set when you gently tap them. That is exactly what you want! The cookies finish setting to a perfect soft baked texture as they cool.
Rest, then dig in. Let the cookies cool on the baking sheet for about 5 minutes, then transfer them to a wire rack or serve them warm.
Want to plan ahead? The dough balls freeze beautifully for up to 2 months, and you can bake them straight from frozen at the same time and temperature, no thawing needed!
Expert Baking Tips:
These little tricks are what take the cookies from homemade to straight out of a bakery case. I use them every single time!
Round the cookies for that perfect circle. Cookies rarely bake into perfect circles on their own, and that is completely normal!
As soon as a cookie comes out of the oven, grab a round cutter that is bigger than the cookie, set it over the top, and swirl the cookie inside it a few times.
This nudges the edges into a round shape without cutting anything off. While the cookie is still warm and soft, press a few extra chocolate chips on top. Instant bakery look!
Do not skip the chill. Chilling the dough is what keeps these giant cookies from spreading into thin puddles on the pan. Jumbo dough balls are heavy, and a cold dough ball holds its shape while it bakes.
Skip the chill and you will end up with cookie pancakes instead of thick, chewy bakery cookies!
Do not over bake. When the timer goes off, the centers should look like they still need 1 to 2 more minutes, with edges that appear just set. It feels wrong, I know! Pull them out anyway.
Trust the visual cues over the clock, since every oven runs a little differently. Baking these cookies any longer makes them hard and dry by the next day, and nobody wants that.
Serving + Storing this Recipe:
These cookies are at their absolute best warm from the oven, when the chocolate is still melty and the center is soft and gooey. Honestly, a slightly warmed cookie with a cold glass of milk is one of my favorite treats on a cozy evening!
If you have leftovers, let them cool completely on a wire rack, then store them in an airtight container at room temperature for 4 to 5 days.
To bring back that fresh baked magic, warm a cookie gently in the oven or give it a few seconds in the microwave!
Here is the nutrition information per cookie. The original recipe notes these values were calculated automatically, so treat them as a friendly estimate:
Nutrient
Amount per cookie
Calories
655
Carbohydrates
78 g
Protein
7 g
Fat
35 g
Saturated fat
21 g
Fiber
4 g
Sugar
46 g
Sodium
337 mg
Cholesterol
88 mg
Special Tools:
You do not need any fancy equipment for this recipe, but a few tools make the job easier and the cookies prettier!
A large cookie scoop. Technically this is an ice cream scoop, but whatever you call it, it portions out big, even dough balls quickly so all the cookies bake evenly.
Your favorite baking sheets. Sturdy sheets lined with parchment paper or a baking mat keep these big cookies from sticking and spreading unevenly.
A silicone baking mat. A washable silicone mat is reusable and cuts down on waste, and I reach for mine constantly.
That is truly it. Simple tools, simple dough, and giant cookies that taste like they came from a professional bakery. If you have any questions along the way, I would love to help! Happy baking, friends, and enjoy every warm, chocolatey bite!
FAQs
What makes a cookie bakery-style?
Bakery-style cookies are oversized, thick, and chewy with a slightly crisp edge and soft center. They achieve this texture through a higher flour-to-fat ratio, a combination of brown and granulated sugars, and chilling the dough to minimize spread. Each dough ball is typically large, around 140 grams, to create that jumbo bakery look.
Why is it necessary to chill the cookie dough?
Chilling the dough solidifies the butter, which dramatically reduces spreading during baking and helps cookies maintain their thickness. It also allows the flour to fully hydrate, creating a more cohesive dough, and gives flavors time to meld. For this recipe, portioned dough balls should be refrigerated for at least 3 hours or up to 48 hours for the best results.
Can you freeze jumbo chocolate chip cookie dough for later baking?
Yes, unbaked dough balls can be frozen for up to 2 months. Place them in an airtight container and freeze. When ready to bake, place the frozen dough balls on a lined baking sheet and bake at 350°F for 12-16 minutes, adding a minute or two if needed. No thawing is required.
How do you get perfectly round cookies at home?
Immediately after removing the cookies from the oven, use a round cutter or glass slightly larger than the cookie and gently swirl it around the cookie to nudge it into a perfect circle. This technique shapes the edges without cutting off any part of the cookie. For a bakery finish, press a few extra chocolate chips onto the warm cookies.
Jumbo Bakery Style Chocolate Chip Cookies These are the cookies that make people stop mid conversation and ask, “Wait, you baked these at home? ” Jumbo Bakery Style Chocolate Chip Cookies are thick and chewy with crisp golden edges, loaded with both regular and mini semi sweet chocolate chips, and sized just like the giant cookies you see in a bakery case.
Total Time:157 min
Yield:10 cookies 1x
Ingredients
Scale
1 cup salted butter, softened at room temperature ¾ cup brown sugar, packed ¾ cup granulated sugar 1 and ½ tsp vanilla extract 2 large eggs 3 cups all-purpose flour, spooned & leveled or weighed out (390 grams) 1 tsp baking soda 1 tsp baking powder ¼ tsp salt 1 and ½ cups semi-sweet chocolate chips ¾ cup mini semi-sweet chocolate chips flaky sea salt, for topping
Instructions
Make the Cookie Dough 1-In a large mixing bowl, cream the: In a large mixing bowl, cream the softened butter with an electric mixer on high speed. Add the sugars and mix until well creamed together with the butter, about 1-2 minutes. Add the vanilla and eggs and mix until combined and smooth. Add the dry ingredients and mix until a dough forms (it may be a bit crumbly at first, but keep mixing until it comes together). Add the chocolate chips and mix until distributed through the dough.
Chill 2-Scoop the dough into 10 balls, about: Scoop the dough into 10 balls, about 140 grams each. Press a few extra chocolate chips into any bare spots in the dough balls. Pop into an airtight container and chill in the fridge at least 3 hours or up to 48 hours, or in the freezer at least 1 hour.
Bake the Cookies 3-Preheat your oven to 350°F: Preheat your oven to 350°F. Line a few cookie sheets with parchment paper or silicone baking mats. Place 3-4 cookies on a sheet, leaving plenty of room since they’re large. Bake for 12-16 minutes. The centers of the cookies may look a bit underdone when you take them out, and they may be a but puffy on top. The edges will feel set when gently tapped. They’ll set up to the perfect soft-baked texture as they cool. Let cookies cool on the baking sheet for about 5 minutes, then dig in!
Serve + Store 4-Sprinkle with flaky sea salt, if desired,: Sprinkle with flaky sea salt, if desired, and enjoy while they’re warm and gooey. Store cooled cookies in an airtight container at room temp for 4-5 days. Warm them back up for a few seconds in the microwave to get that warm gooey texture back!
Notes
Additional time: follow the resting and cooling steps (120 min).